
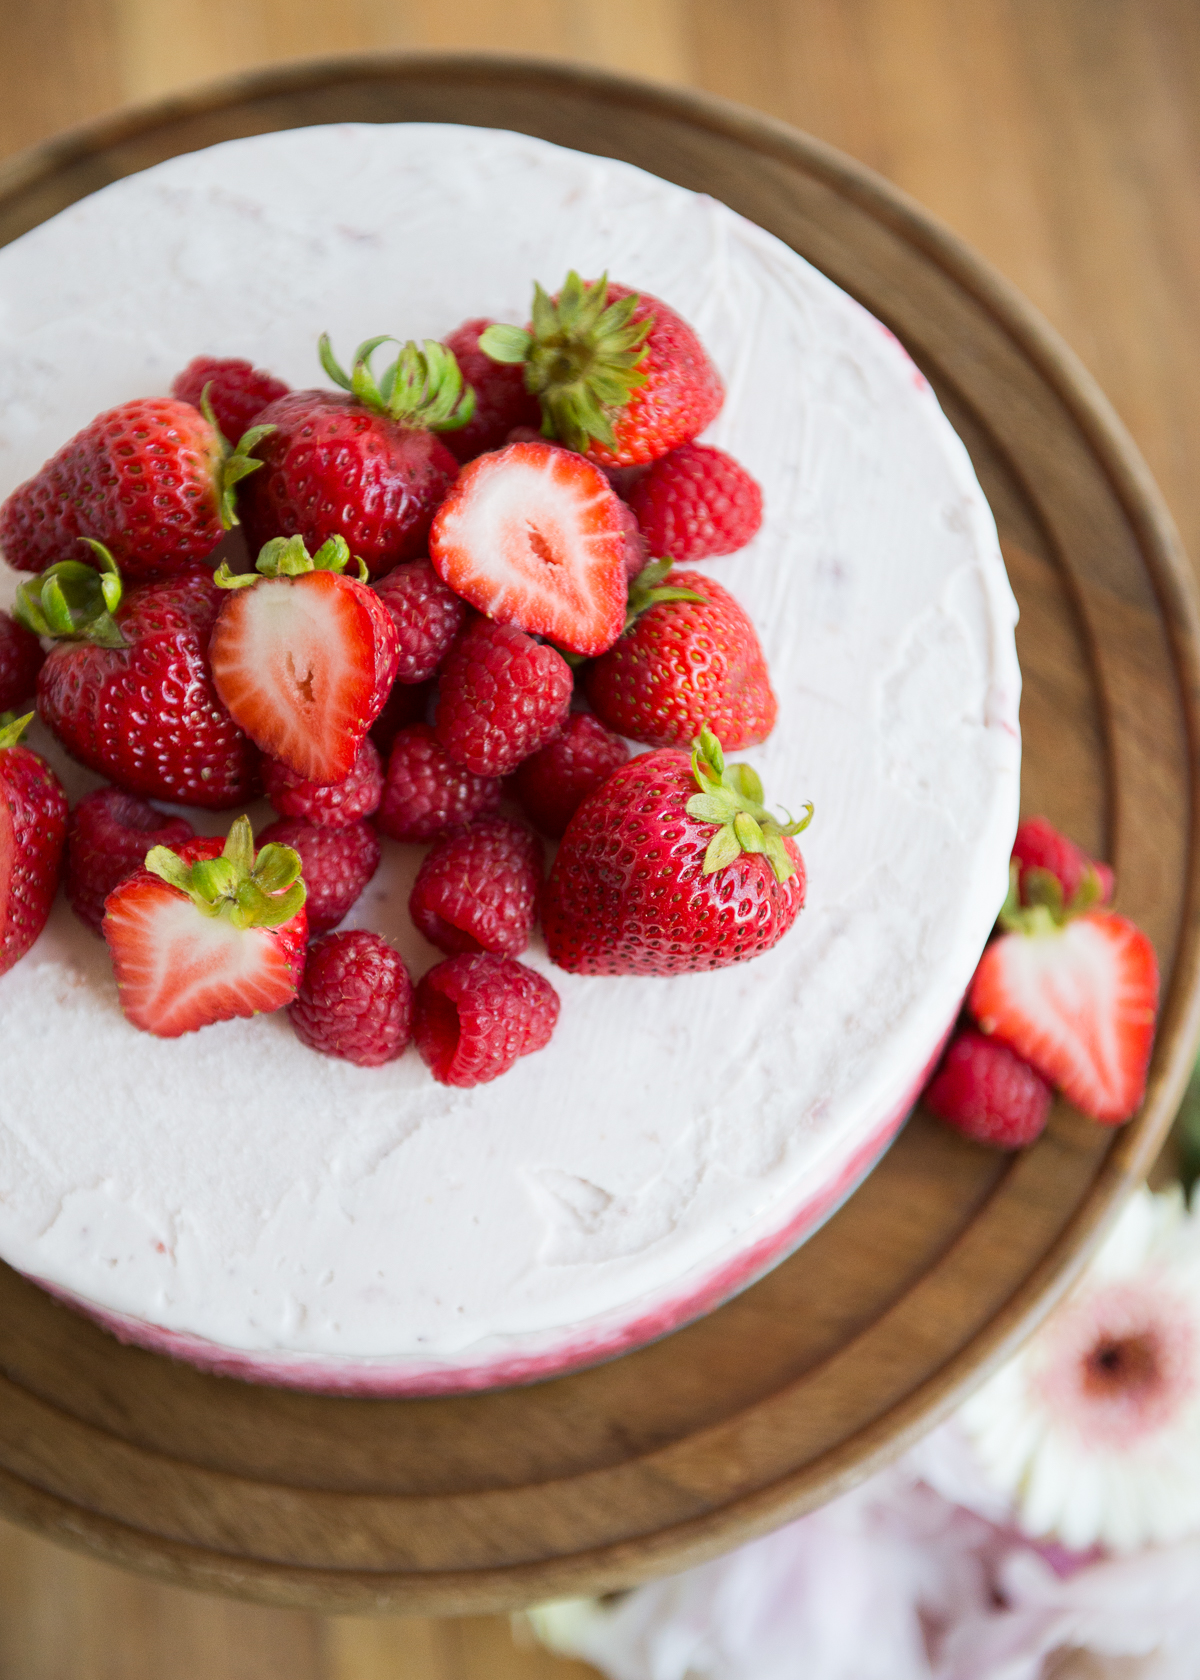
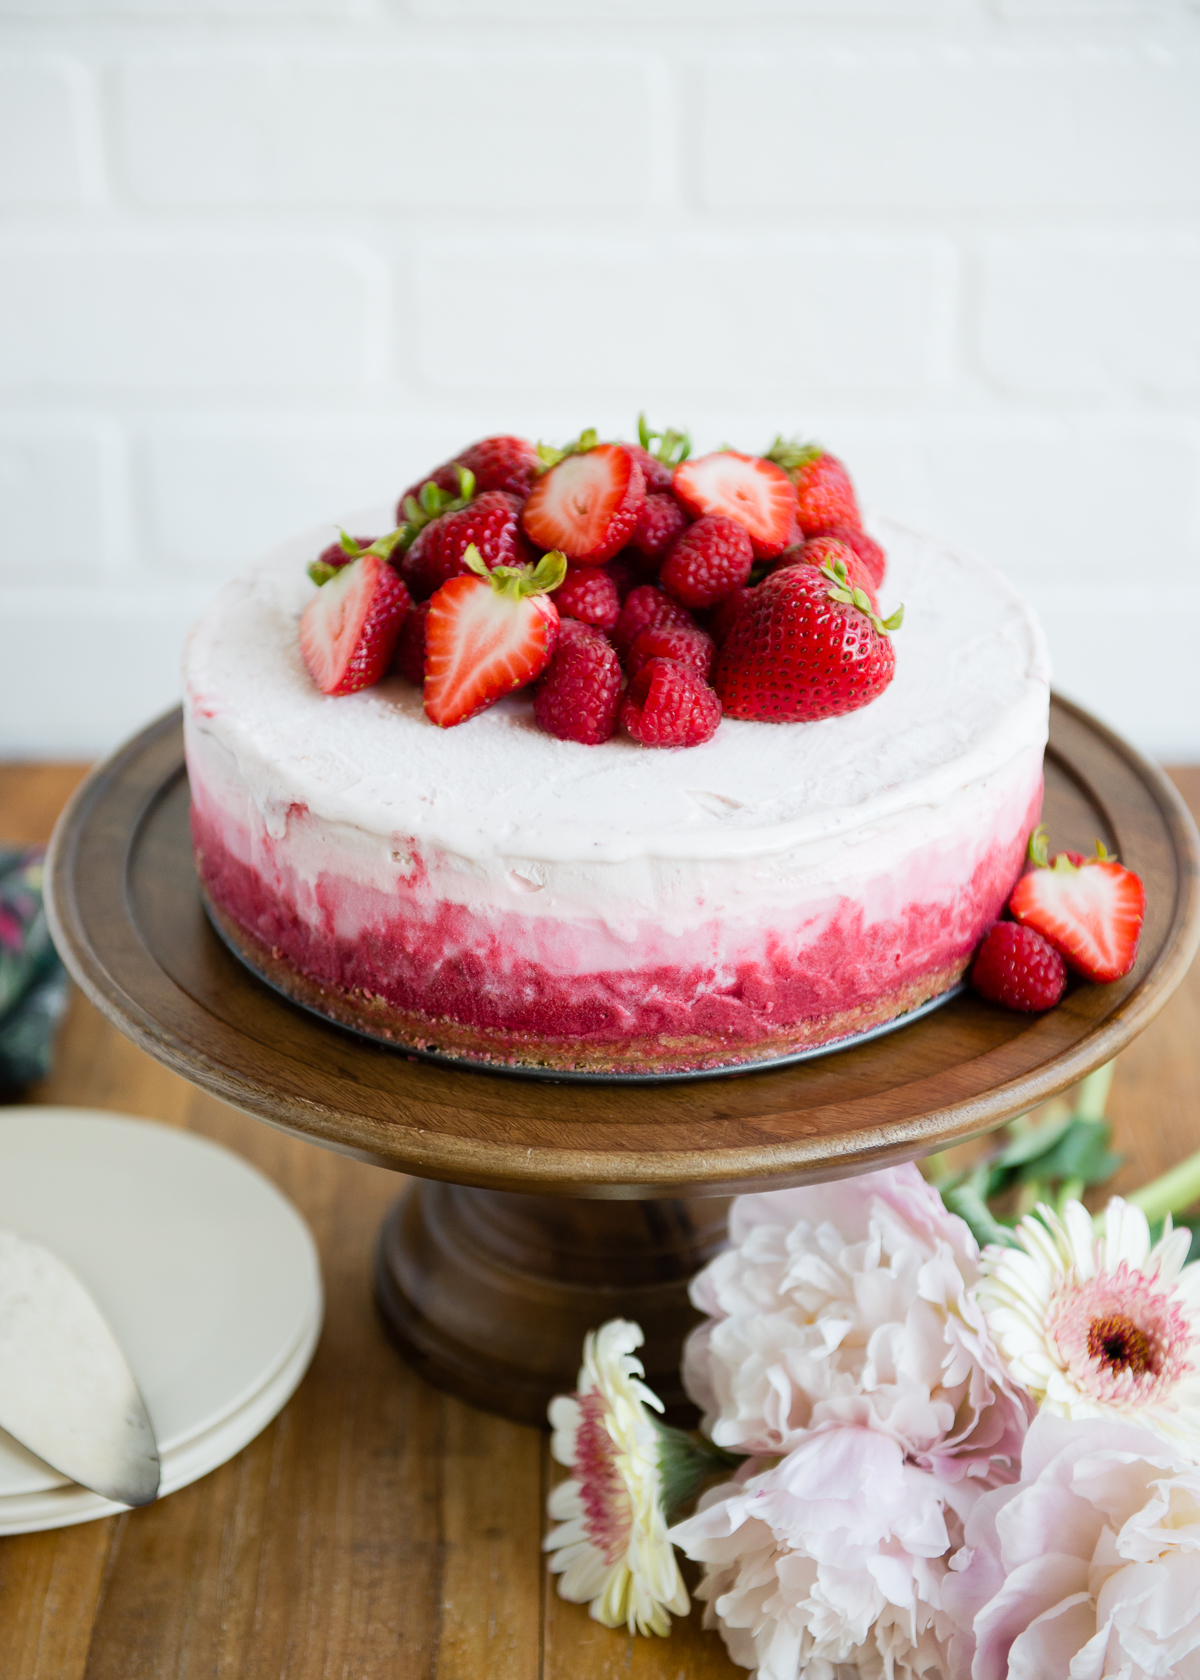
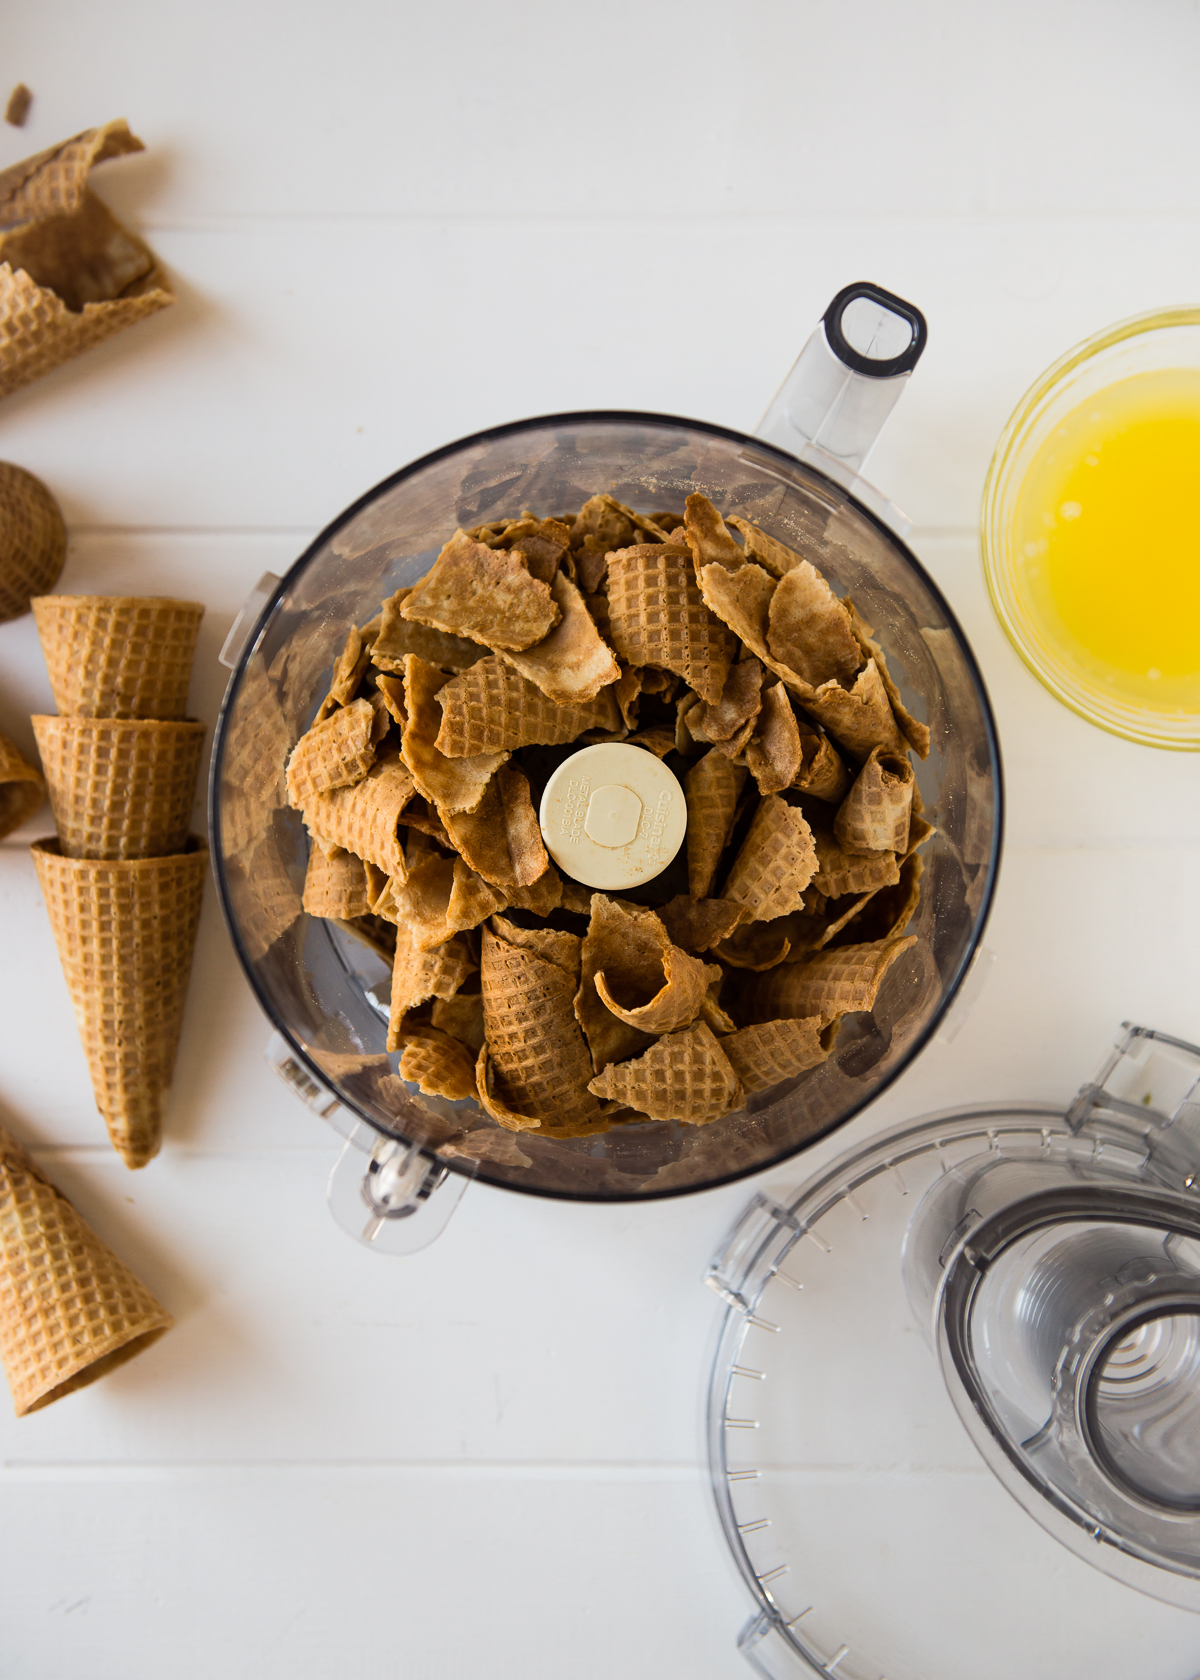
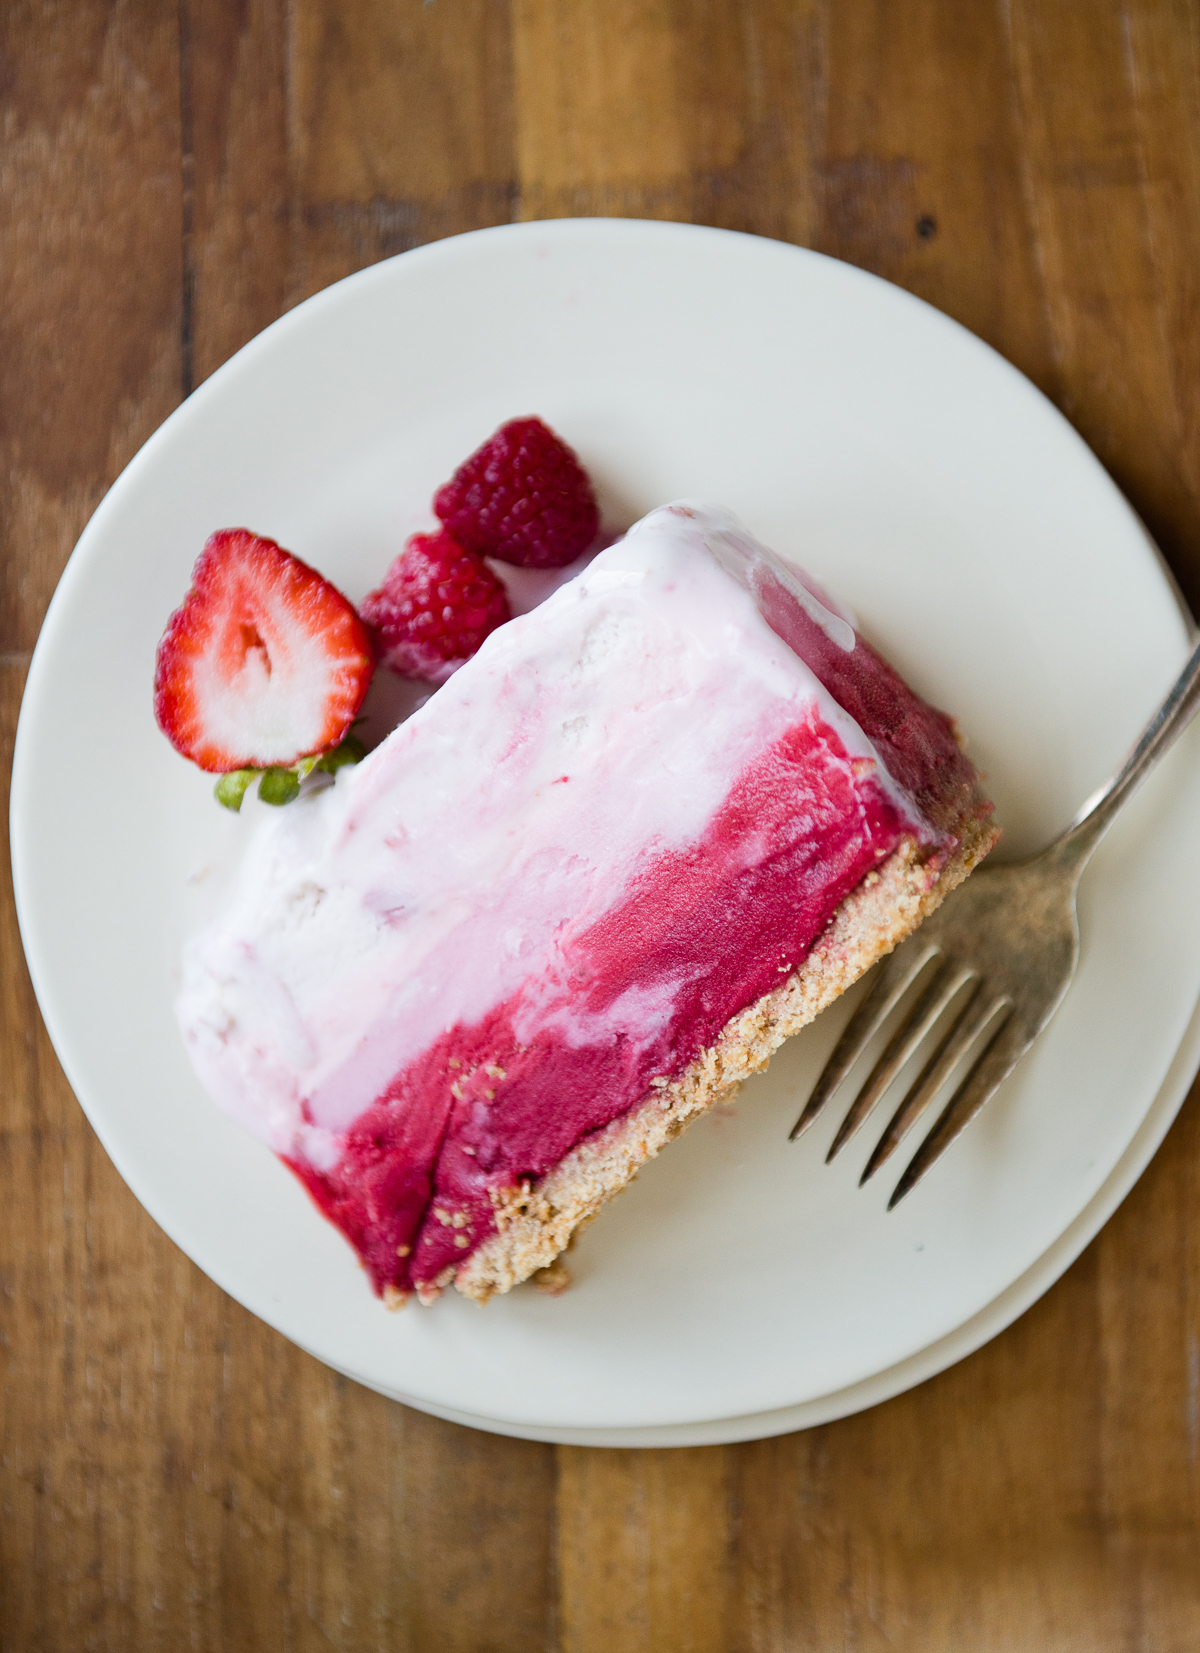
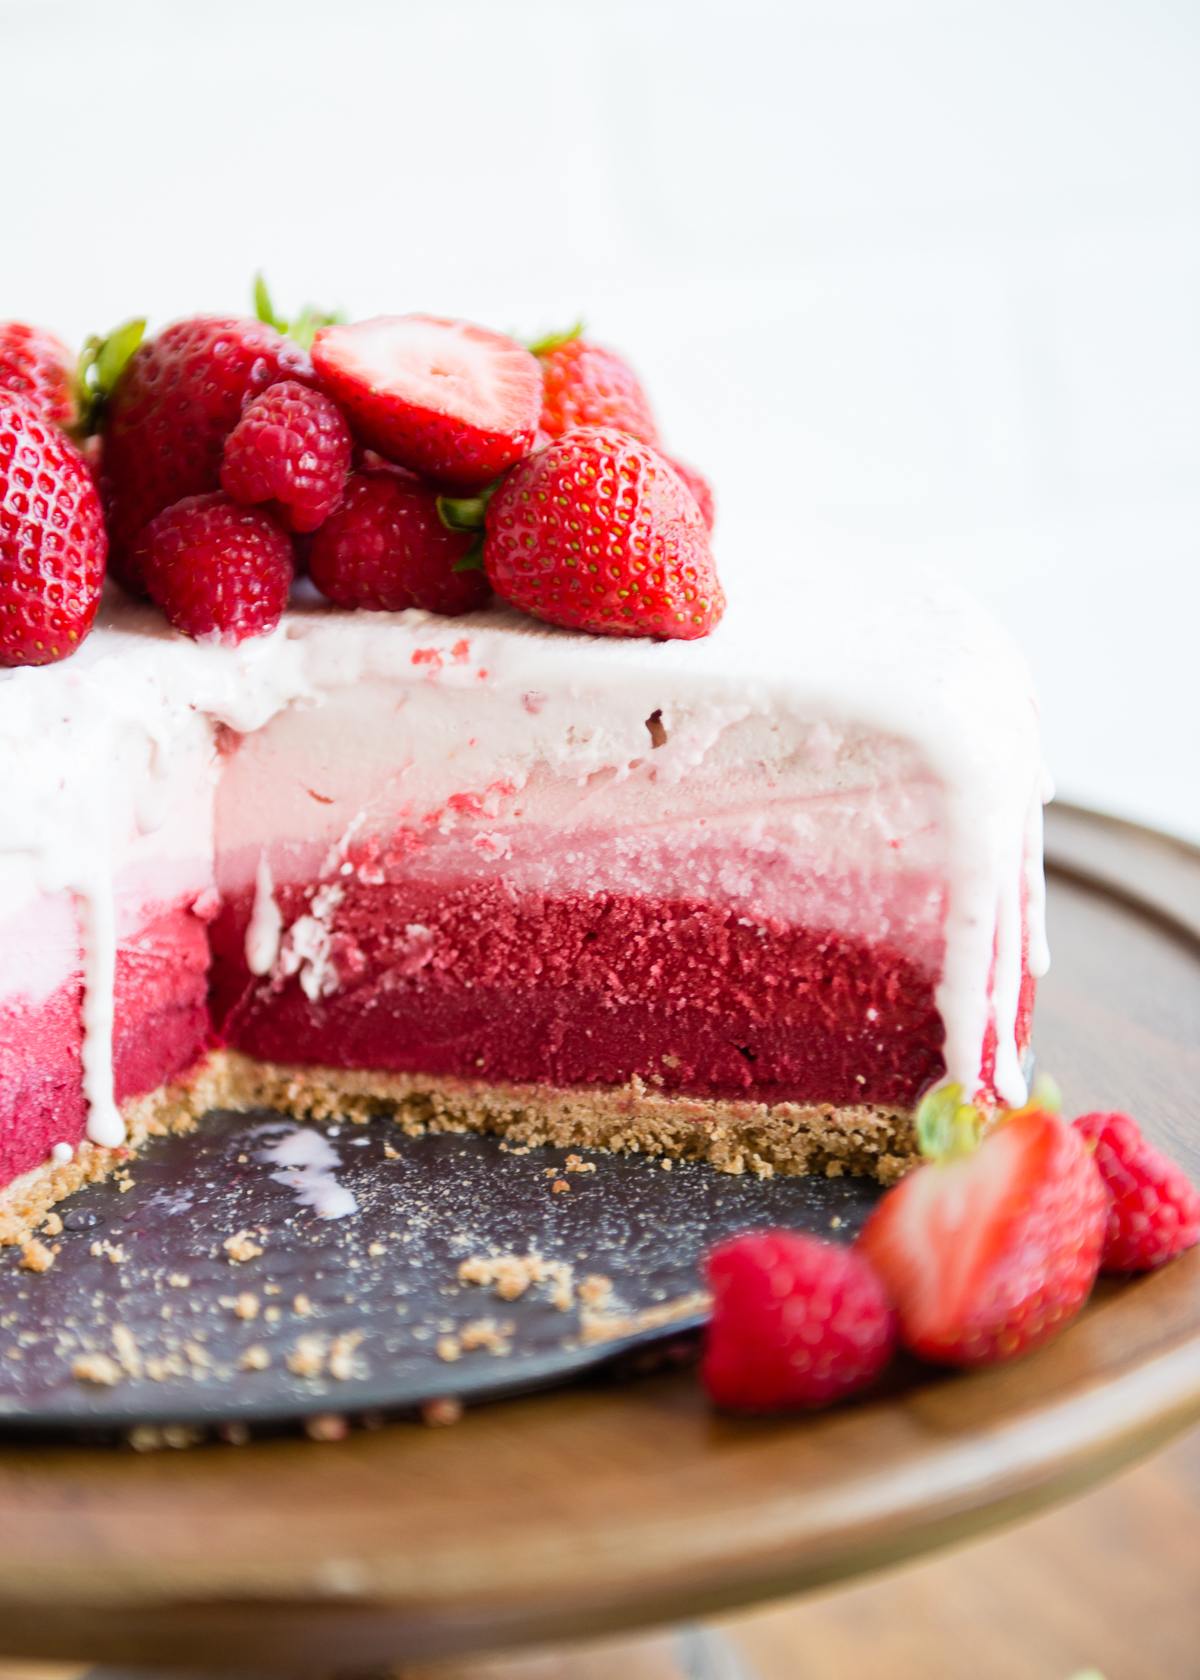
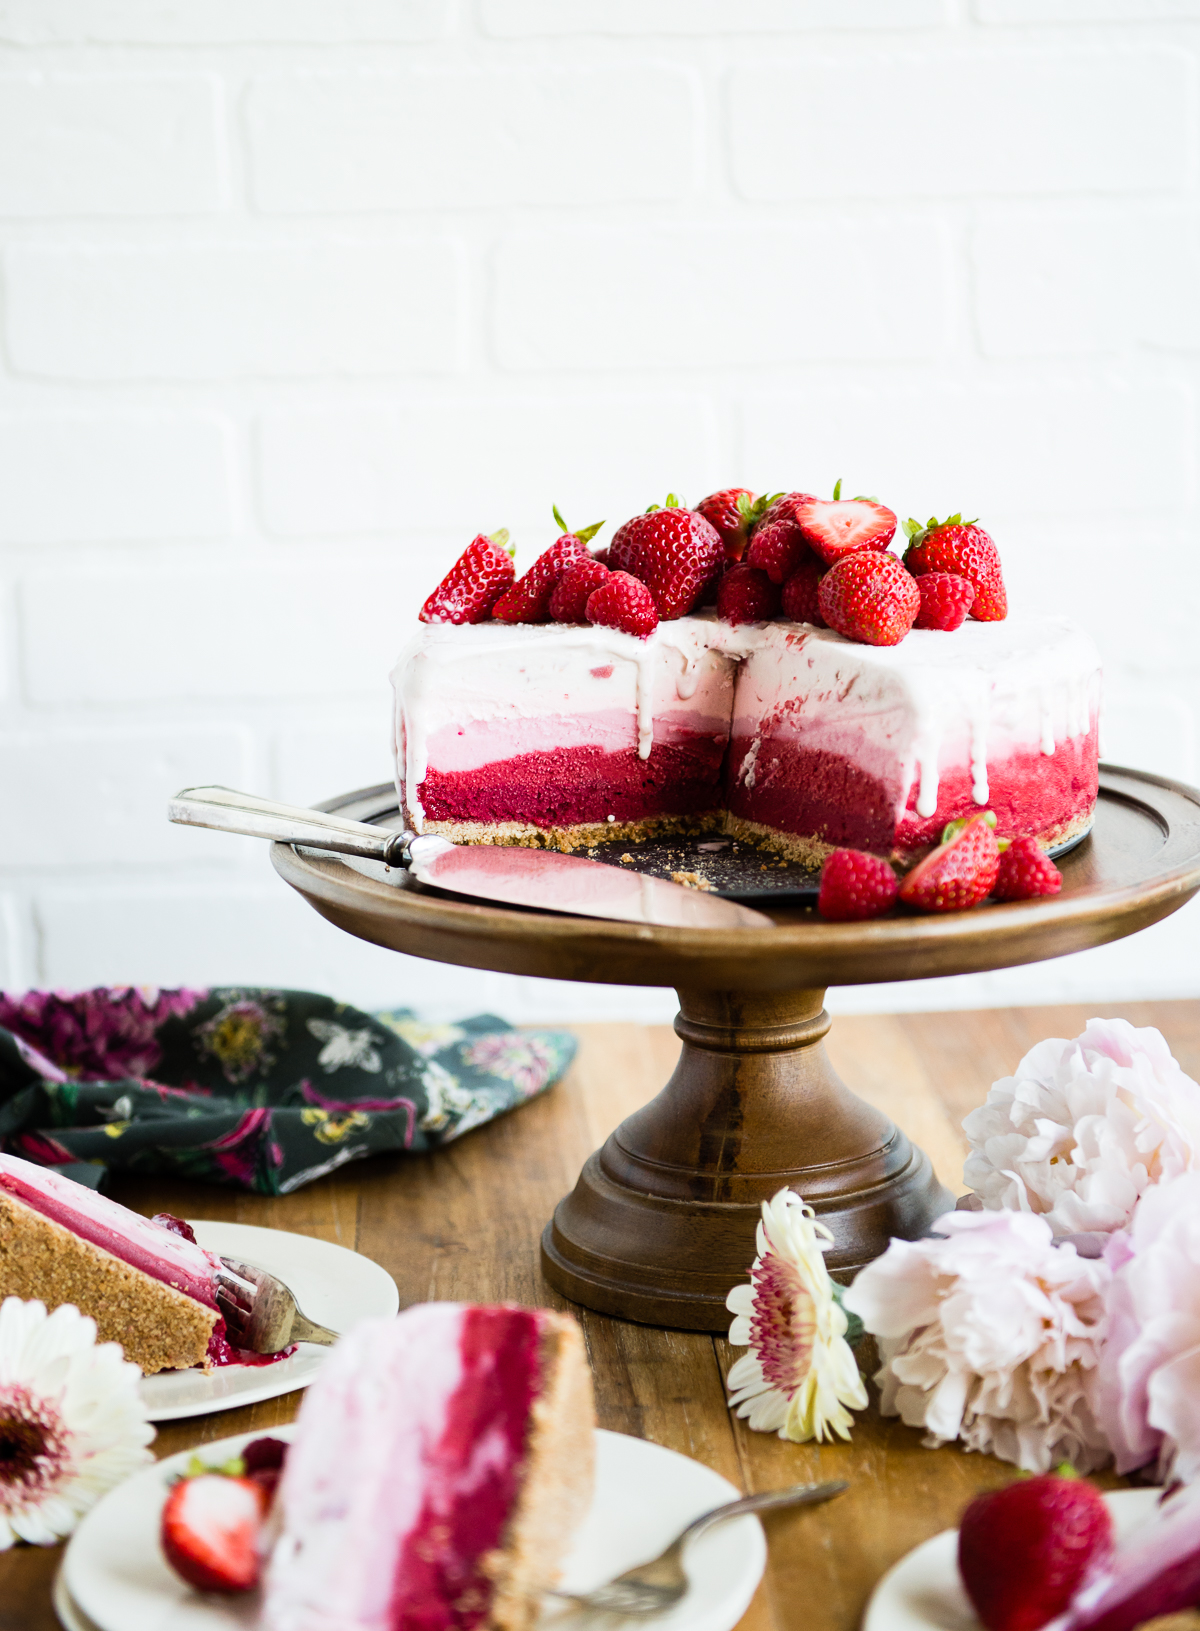
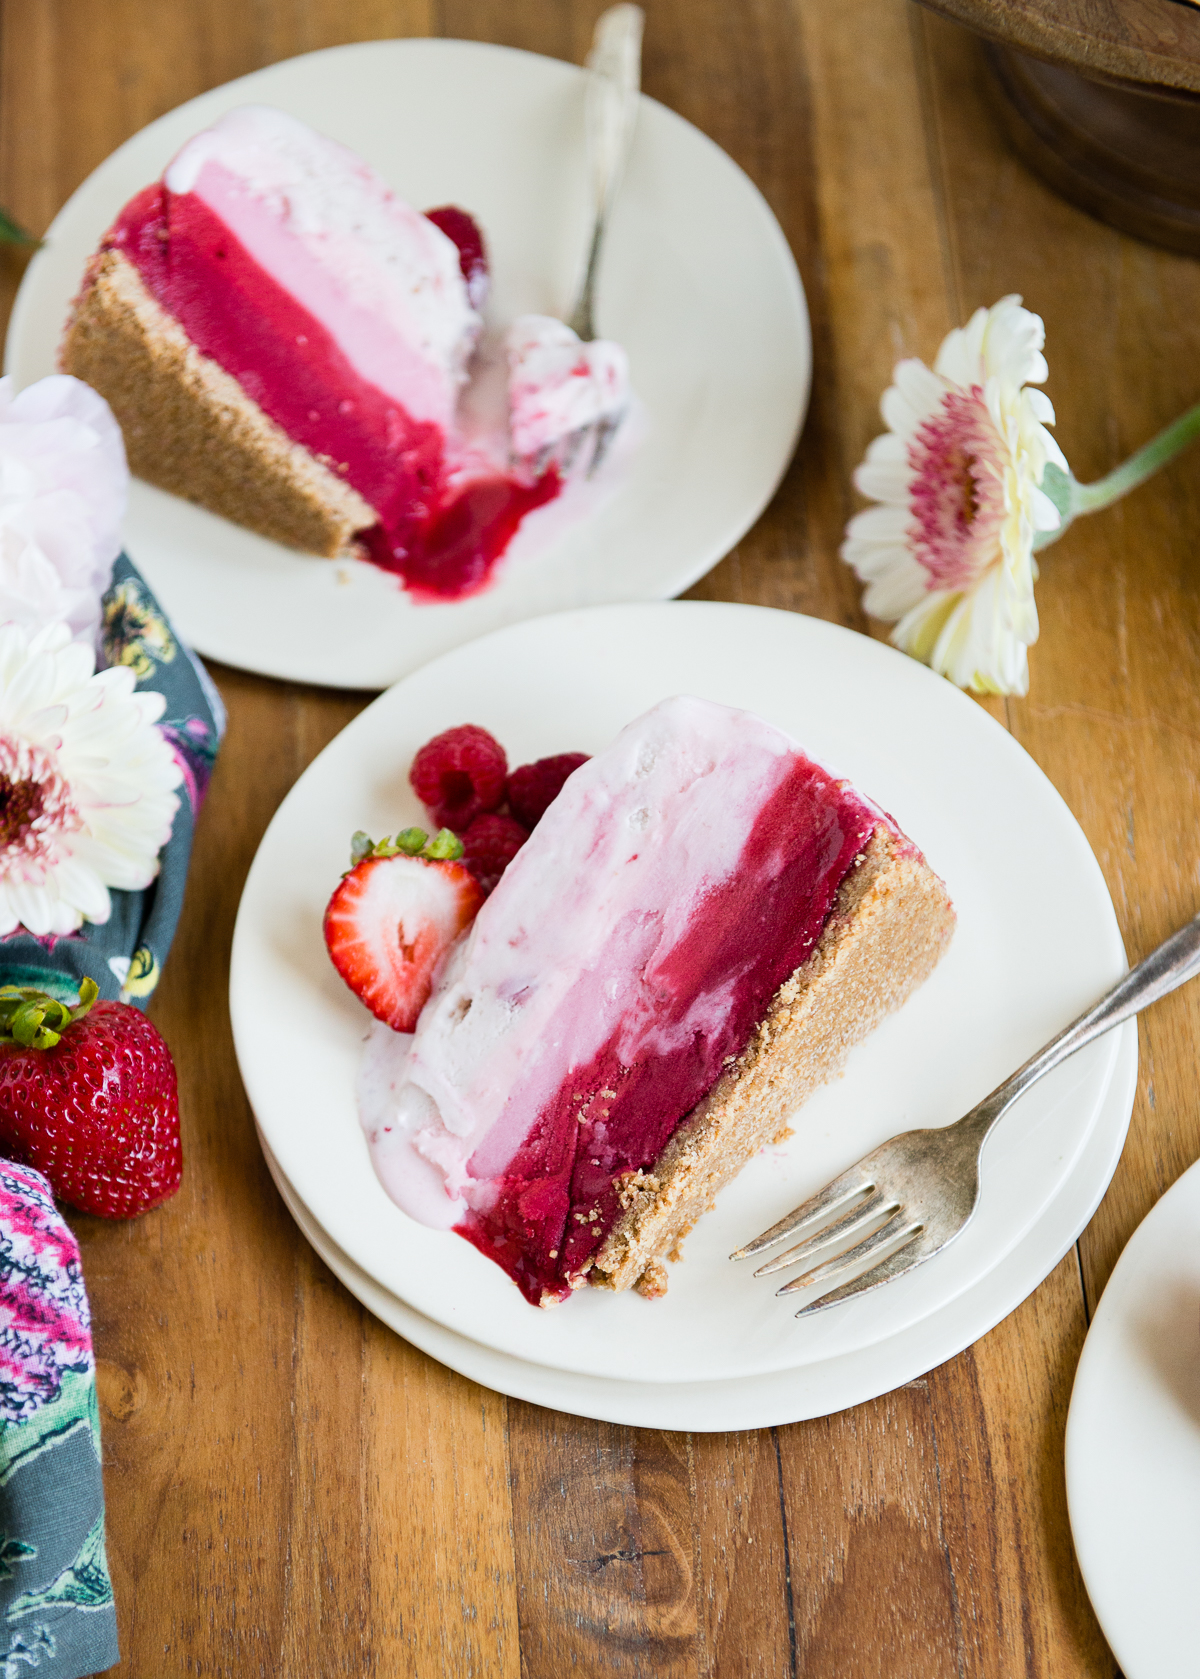
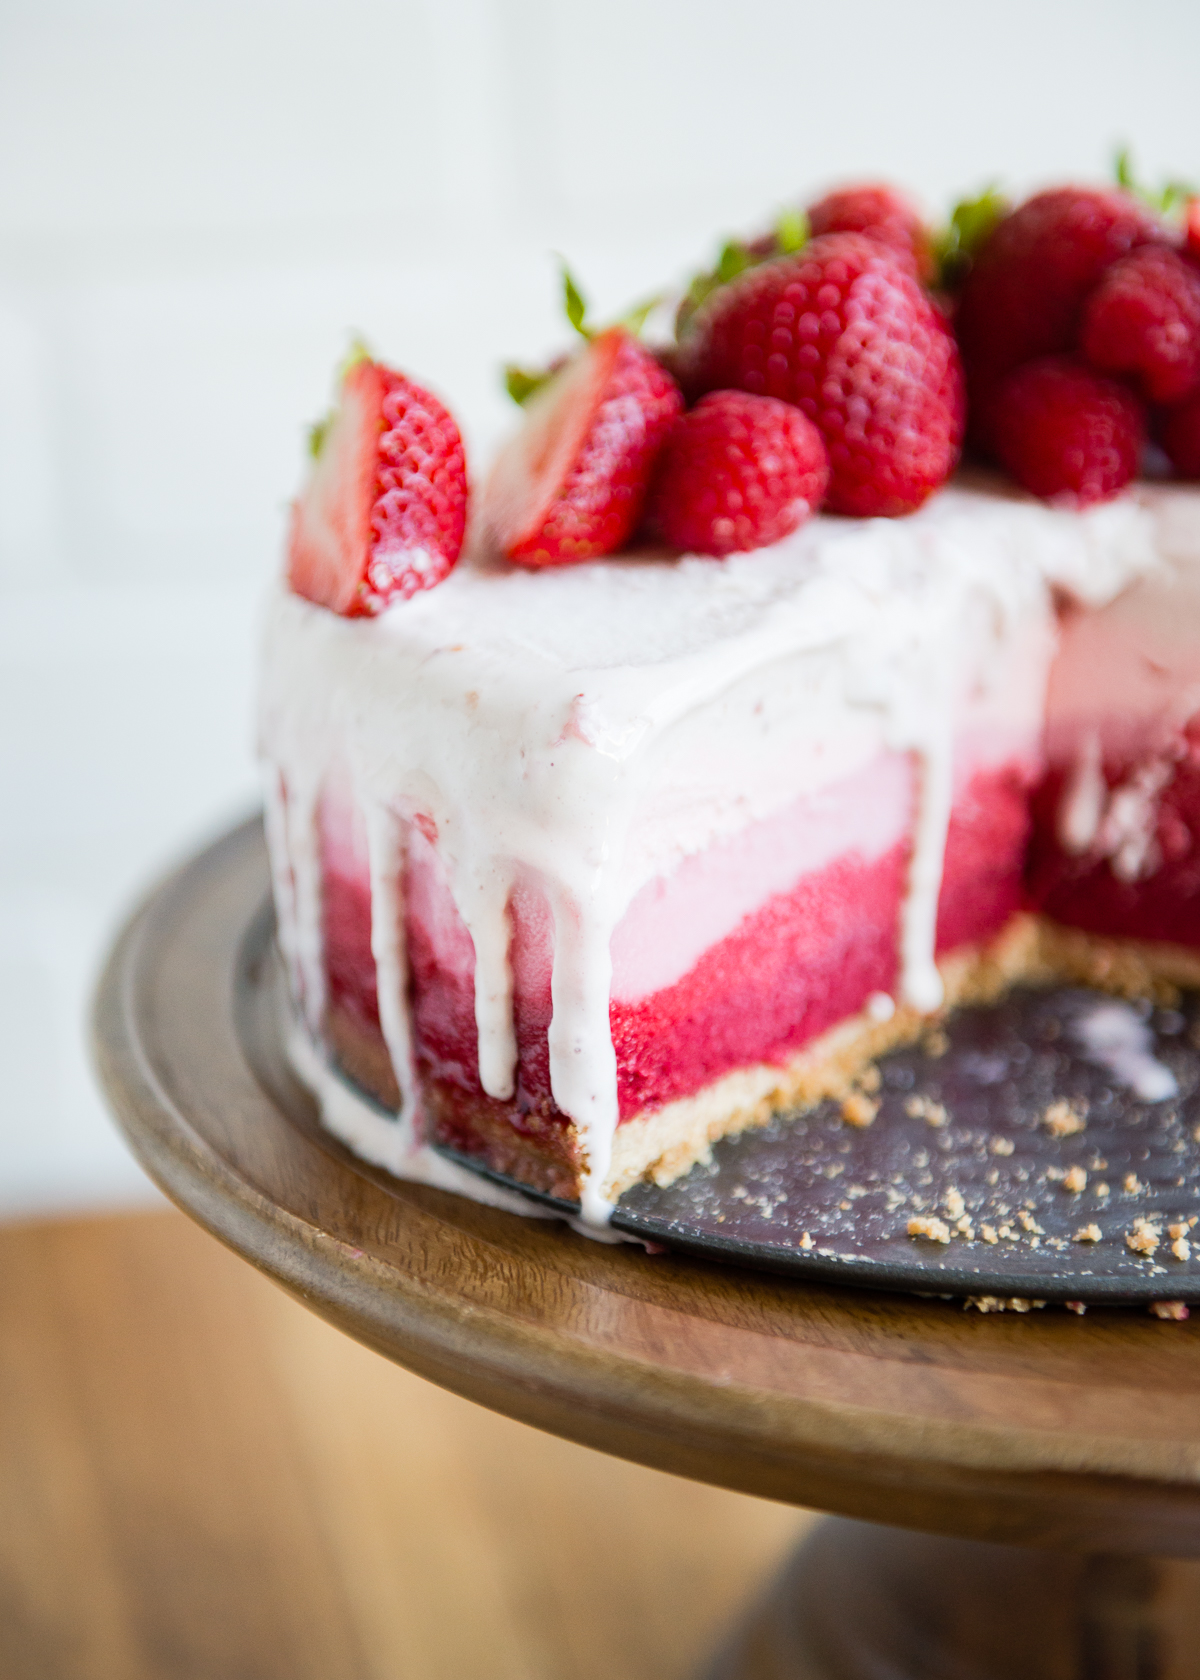
I scream, you scream, we all scream for ice cream! This gorgeous ombre creation that is calling to you from these stunning photos, is an ice cream pie. No pre-heating the oven. No hot kitchen. Just gorgeous, cool, creamy deliciousness. And perhaps one of the best parts of this ice cream pie is the crust. It’s made of sugar cones instead of the usual graham crackers or cookies. True innovation! : )
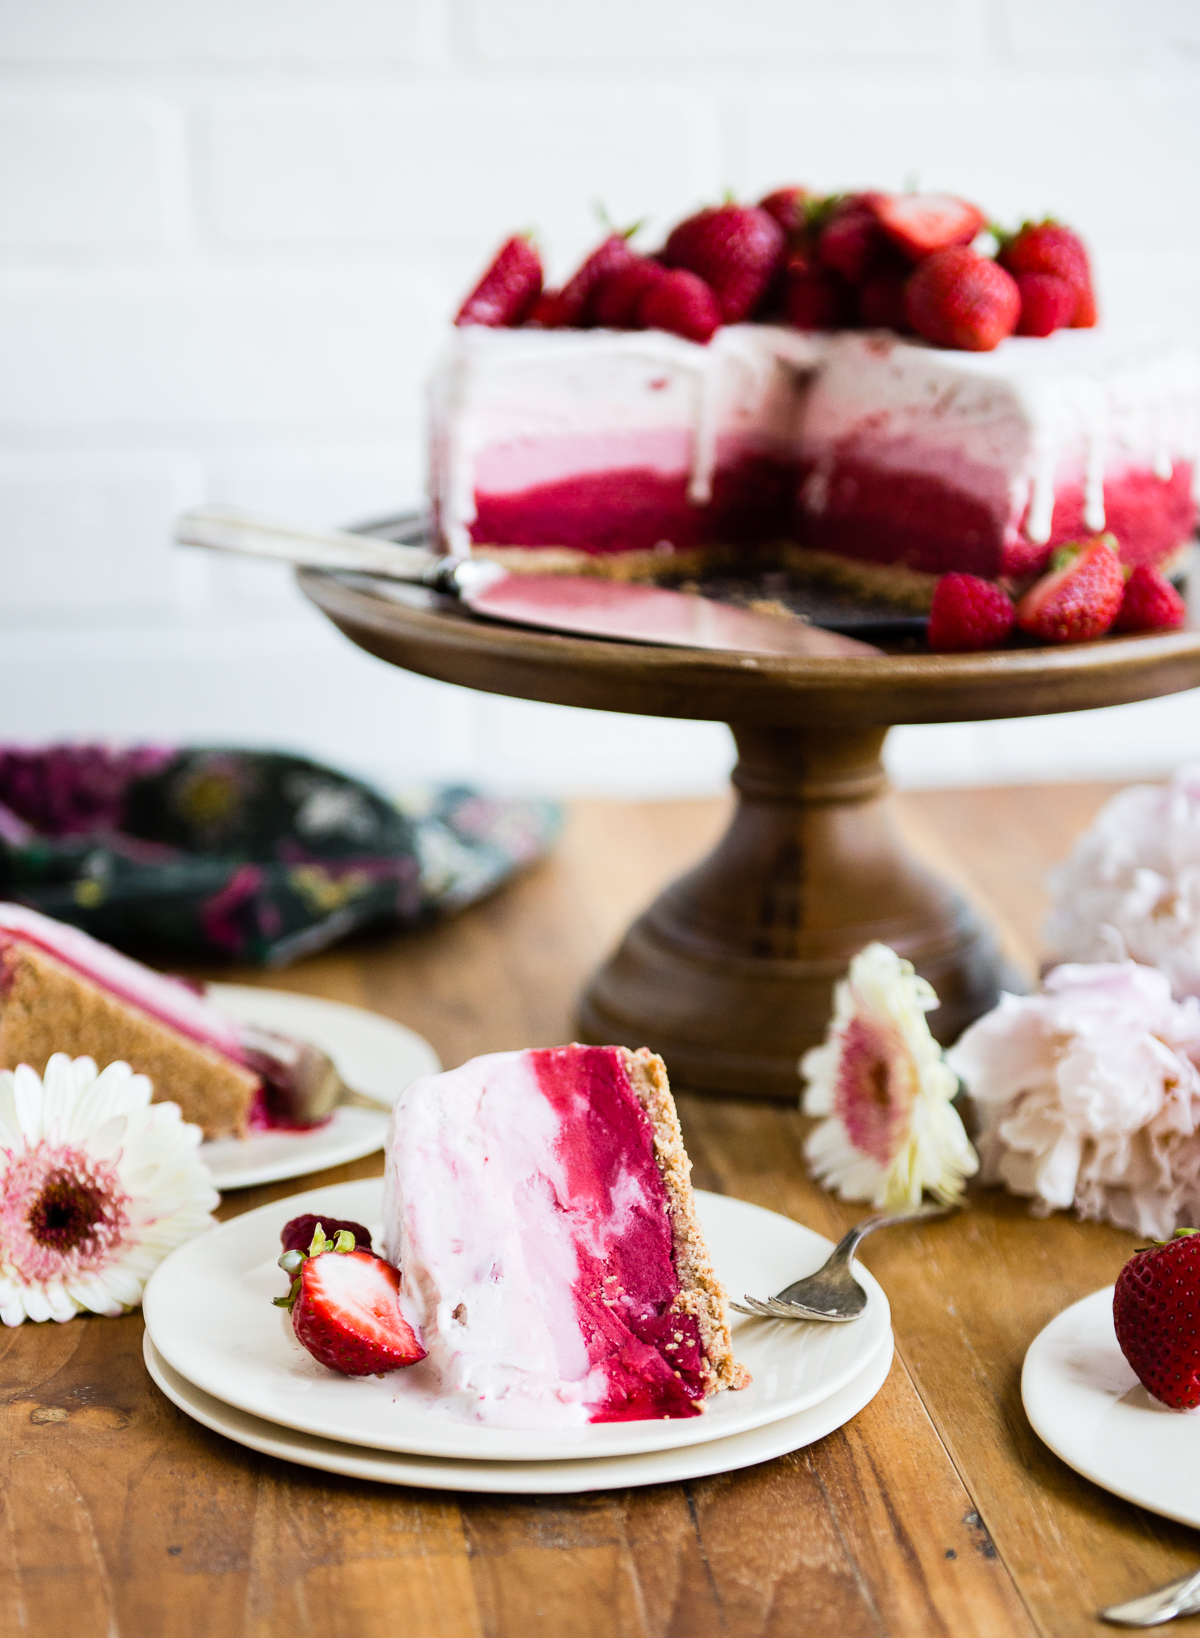
To make the layers, there are several routes you can take. The first would be to buy a gallon of vanilla ice cream, divide it into equal portions, and add color (and flavor, if desired) in varying shades of pink or another color (yellow would be pretty and summery too). Another option is to buy various shades and flavors of sorbet, sherbet, and ice cream.
The key is to make sure the sorbet, sherbet, and ice cream is the perfect temperature for spreading, but not too soft or melted. Freezing each layer for a few minutes in between really helps, however it’s kind of pretty to see the layers melt into each other in true ombre fashion.
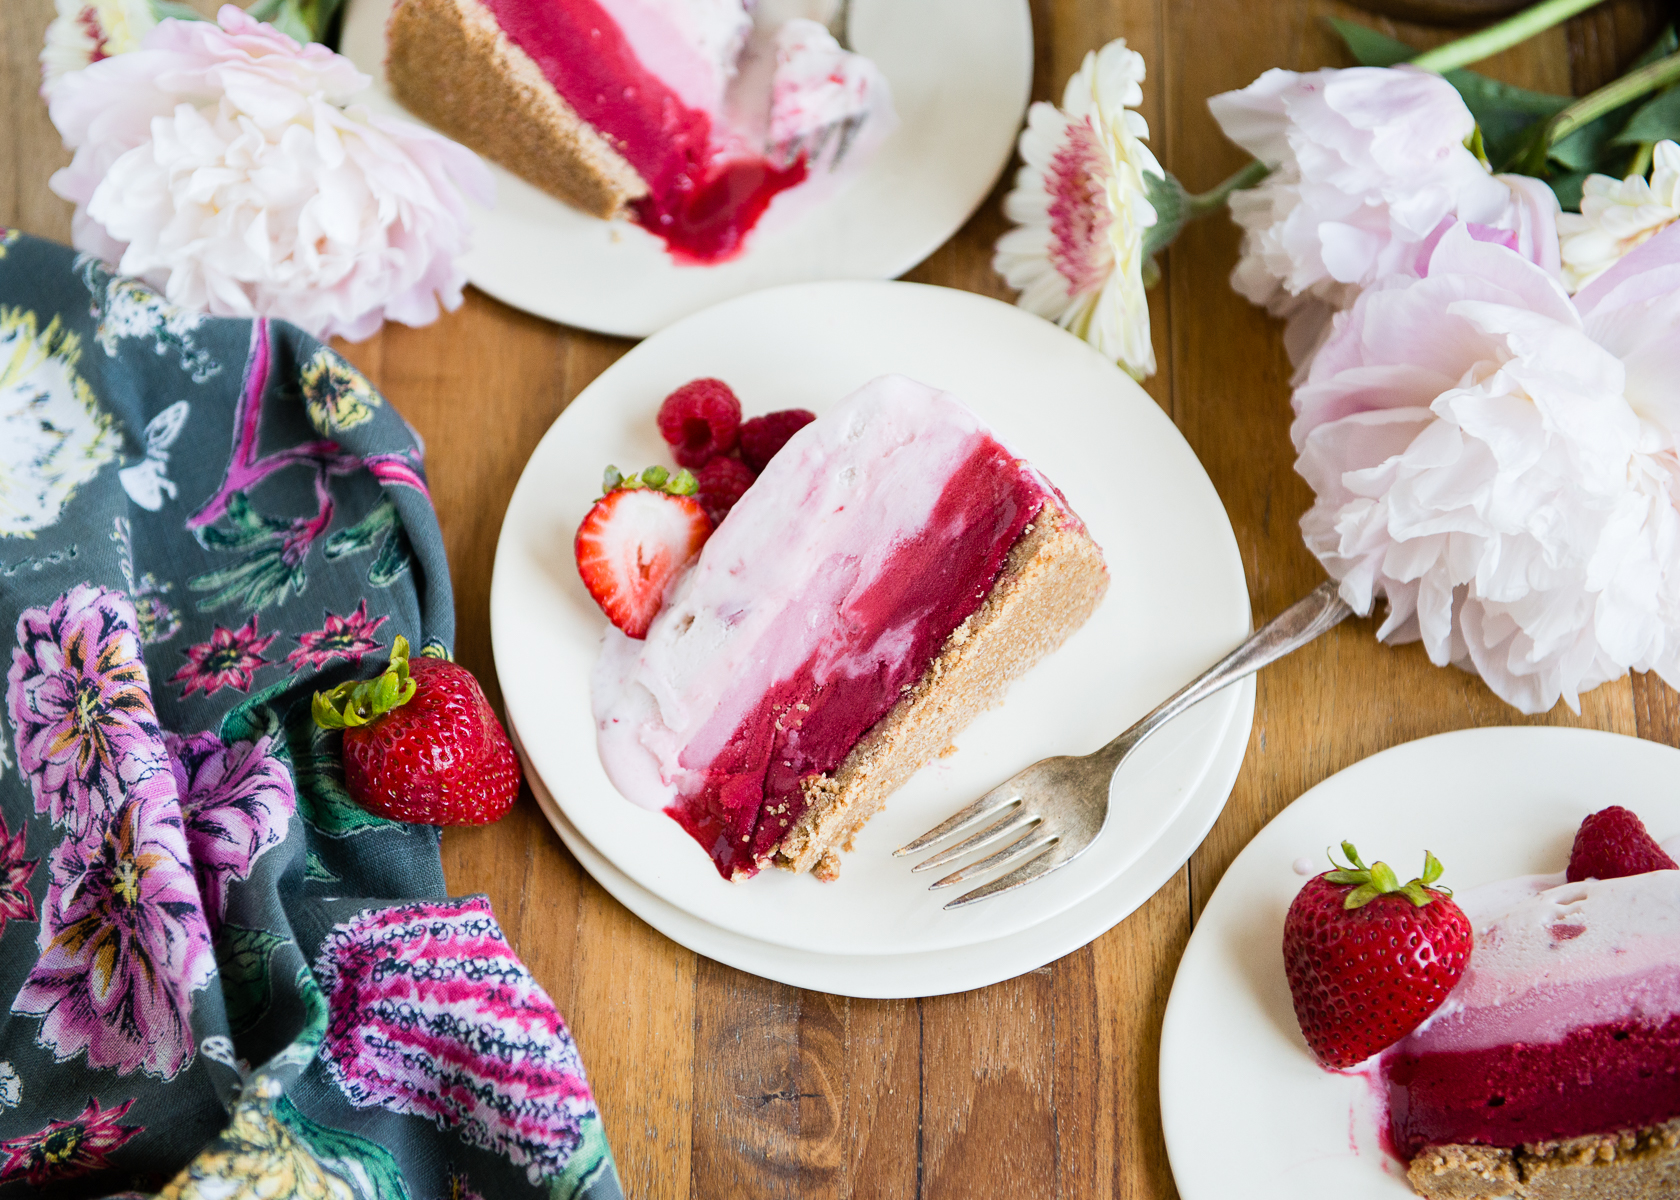
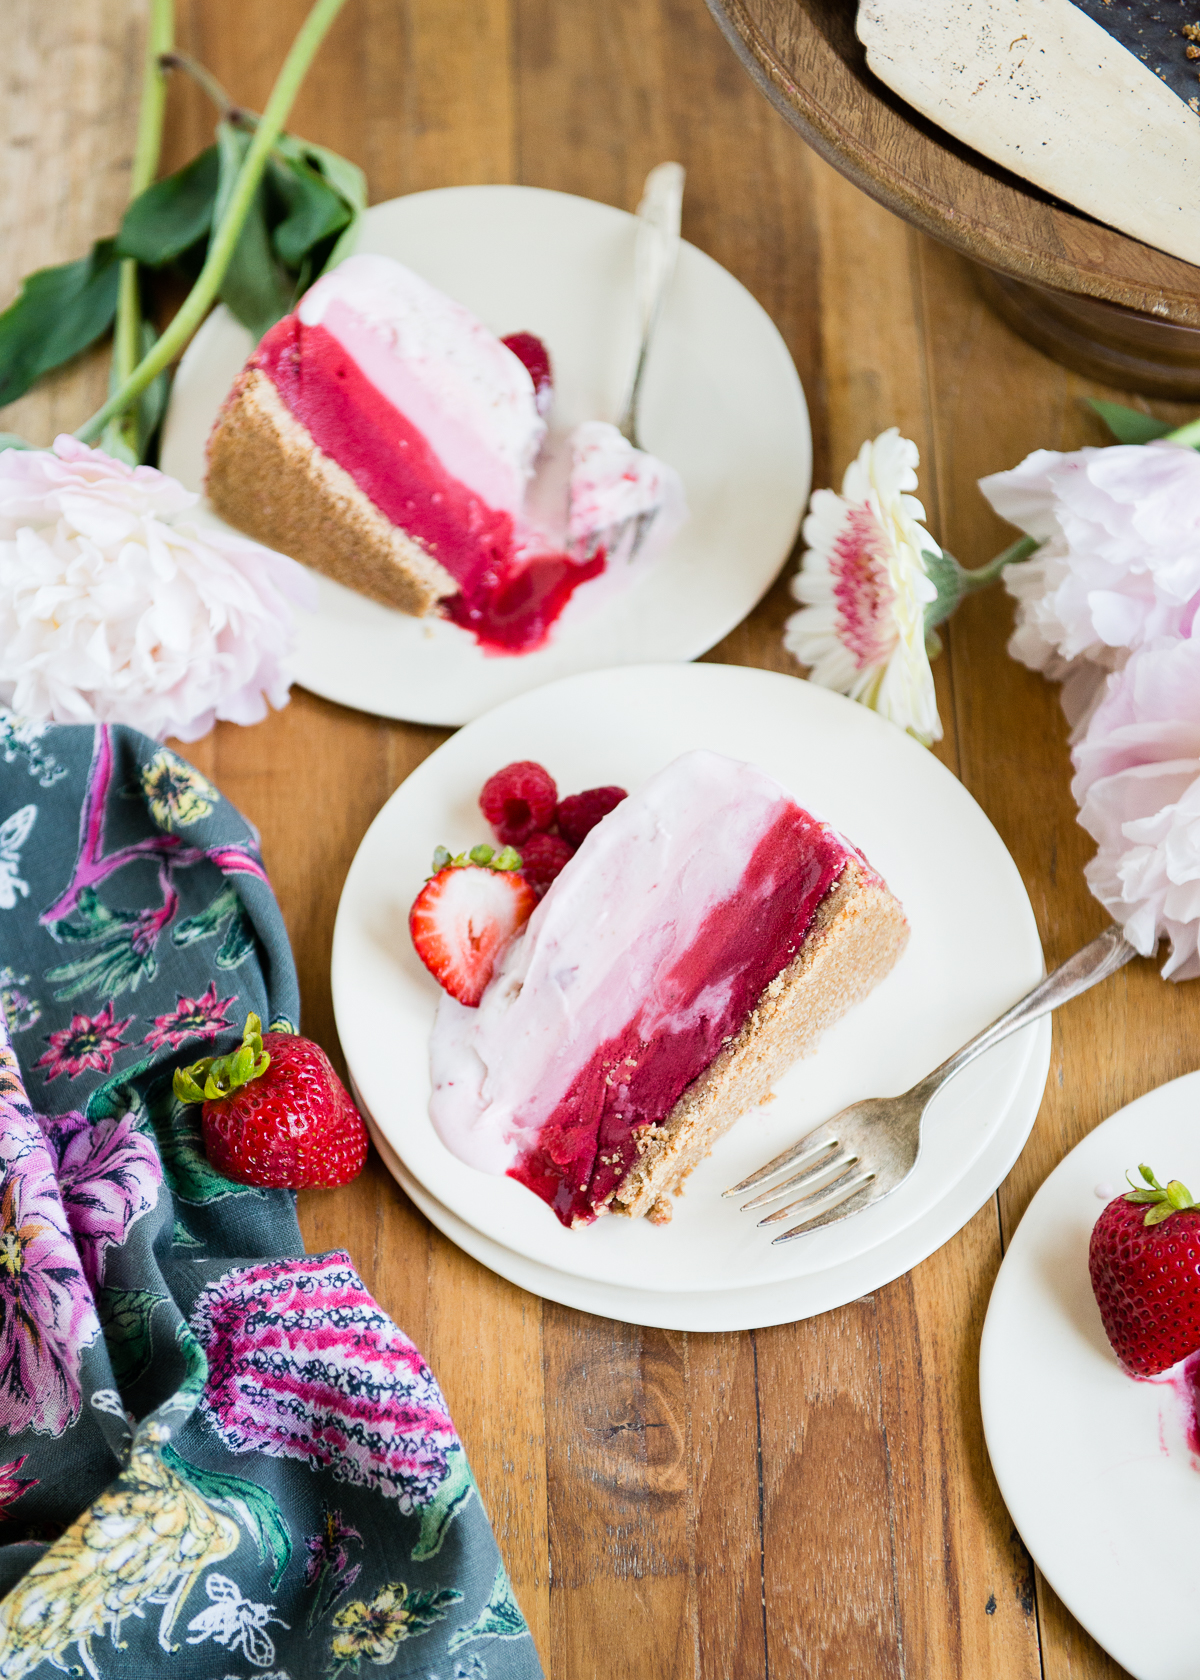
And that’s it! Super easy. This would be perfect for a summer holiday, a birthday party, baby shower, girls’ brunch, or any get-together. Is there ever a bad time for ice cream? No, no there is not. Find the full recipe below.
Ombre Ice Cream Pie with Sugar Cone Crust
Ingredients:
For sugar cone crust:
1½ cups sugar cone crumbs (from 8 ounces or 18 whole sugar cones)
8 Tablespoons melted butter
For layers:
One pint raspberry sorbet
One pint raspberry sherbet (or another red sorbet)
One pint bright pink sherbet (I used prickly pear)
One pint strawberry ice cream
One pint lighter pink strawberry, vanilla, or coconut ice cream
Instructions
1. For sugar cone crust: lightly butter the bottom of a 9- or 10-inch springform pan with removable bottom.
2. Break up the sugar cones and place in a food processor or smash well with a rolling pin. Combine crumbs with the melted butter. Press the crumb mixture evenly onto the bottom of the pan. Use the flat side of a ramekin or measuring cup to firmly press down. Freeze for 15-20 minutes, or until firm.
3. Allow the raspberry sorbet to soften slightly. Scoop into the prepared crust and smooth into an even layer. Freeze for 5-10 minutes to allow the top to firm up. Repeat the softening, scooping and smoothing, and freezing process with the remaining sherbet and ice cream flavors. When you get to the final layer, press plastic wrap or waxed paper against the surface to prevent hoar frost from forming and place in freezer for at least 4-5 hours, preferably overnight, to firm up.
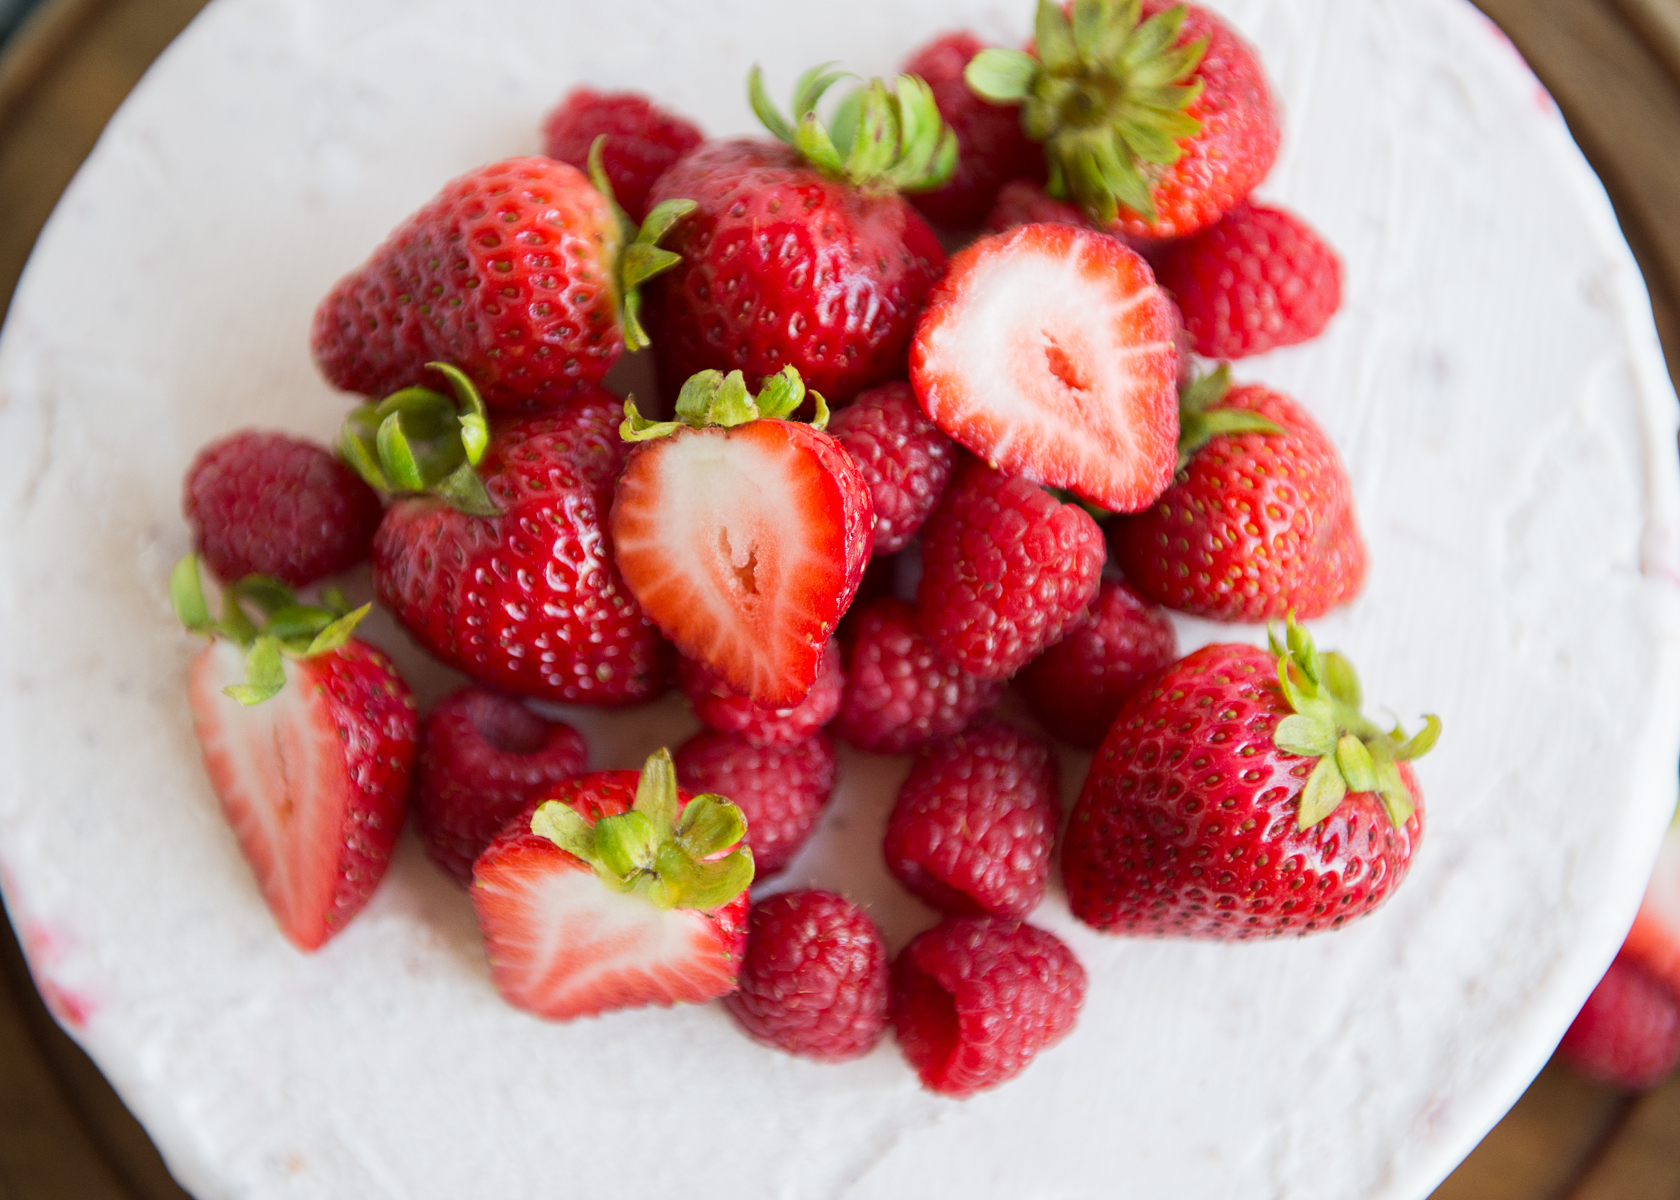
4. To serve: Fill a large bowl with very hot water. Quickly dip the spring form pan into the water and remove the outer ring. Transfer to a platter. Cut into wedges using a large, chef’s knife. Garnish with fresh berries.
Makes 10-12 servings
Credits: Photography and recipe by Lindsey Rose Johnson for Design Mom.


I am SOOOOOO making this for my next book club! Thanks for the great idea!
I don’t have that pan. Do you think I could modify the recipe and put it in a pie plate?
Hi Amy! I think that would work. You could do the same amount of crust and then use less of the ice cream for each layer. Here’s another idea: if you have a standard loaf pan, you can line it with plastic wrap, parchment or waxed paper and press half of the amount of the crust recipe into the bottom of the pan, and then layer the ice cream. Again, you’ll probably need less ice cream, but I think it would work great like that. I’ve made ice cream terrines that way before without a crust, but I bet it would be pretty easy to get out of the pan. Let me know if you end up making it and how you made it work. :)
So pretty! I could totally see this with mango/peach/coconut for a yellow ombre. I also don’t have the right pan but might have to spring for it!
Hey Laura! See my comment above to Amy about using a loaf pan. :)
Lindsey, This is a brilliant idea! I am on vacation now but will let you know how it turns out when I get home! Thx!
I have made ice cream cakes in every imaginable pan and bowl (bread, casserole, glass serving bowls!) and all work great! So pretty!
I think I love the cake stand better.
I mean, I’d eat this if the hostess put it in front of me, and I’d compliment lavishly on her masterpiece, but knowing how picky my kids and my husband are, this is too much of a risk to waste a large amount of ice cream.
Maybe for a party. For many other adults who are not my husband. A summer housewarming party, perhaps.
Oh my gosh this looks incredible! It’s crazy hot where I live and something like this would be so refreshing!
Can you tell me the brand of that prickly pear sorbet? I live in the AZ desert where prickly pear is grown, and I’ve never seen it!
Pingback: Weekend Reading | Bloggsom
I wouldn’t mind the cold Aussie weather right now and would gladly dig into this masterpiece! It’s so pretty, I bet it tastes divine too! Thanks to you and Lindsey for sharing this recipe. :)
I made this dessert for a large gathering last week and it was a hit! Definitely a filling dessert, so don’t be afraid to slice thin servings. Since I was not able to find Prickly Pear Sorbet (or another light pink sorbet), I just increased the strawberry and raspberry layers. Totally worked. I loved that it was no bake because last week was a scorcher in Madison, Wisconsin!
The cake looks so gorgeous! This is the first time I saw a recipe with crust made from sugar cone, love it!! Thank you for sharing!! I’ll definitely try it!