I keep meaning to tell you about the awesome mural we painted on Ralph’s bedroom wall. I’m so pleased with how it turned out.
The idea actually started as a wall-size poster of a movie still. But when I priced out the poster, it was coming in around $500. More than I wanted to spend. So I started thinking about other possibilities. At some point, I recalled helping my mother decorate bulletin boards in my dad’s classroom when I was a child. We would project images with an overhead projector and then trace them. I thought I could try the same technique with wall paint. So I recruited my mom to do this project with me when she came to visit a few weeks ago.
Why Napoleon Dynamite? Well. Ralph is deeply into all-things-film. He likes making movies, writing scripts, editing footage, directing, watching movies, studying movies, etc. But he’s 12. And many of the movie images out there are highly sexualized or hyper-violent — not something we want on the wall of Ralph’s room. We wanted something fairly asexual, but still iconic and kid-approved. Our first thought was the professor from Back to the Future, but then Ralph found this image of Napoleon Dynamite and we knew it was perfect.
The best thing is, there is absolutely no art skill involved in this project. I mean it. You could take virtually any photo (What? You don’t want a giant Jon Heder in your house? Weird.) and paint it on your wall with this technique. It’s almost like paint by number. For reals. Want to give it a try? This is how it went down:
1) We found an image we liked:

2) We used Photoshop to reduce the image to flat shapes. Basic steps in Photoshop: make the image grayscale, increase the contrast, then make the image bitmap, with a 50% threshhold:

3) Use a projector to shine the image onto the wall. Trace the image with a pencil:


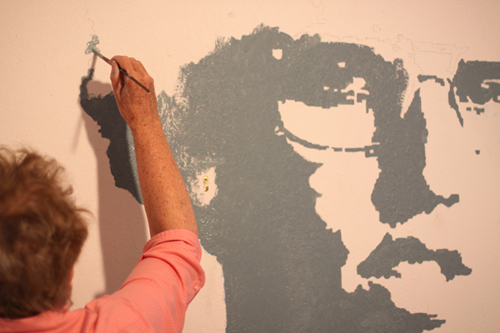
4) Fill in the shapes you traced with wall paint. We used a variety of paint brush sizes. Cheap foam ones to fill in large fields and small, better quality brushes for the details:


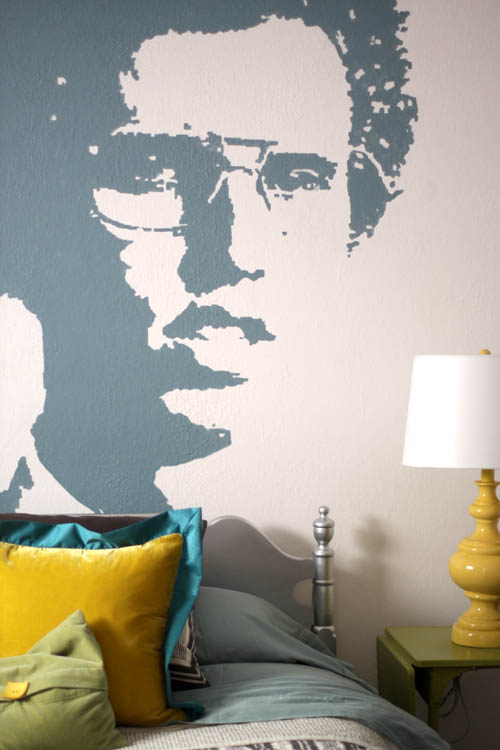
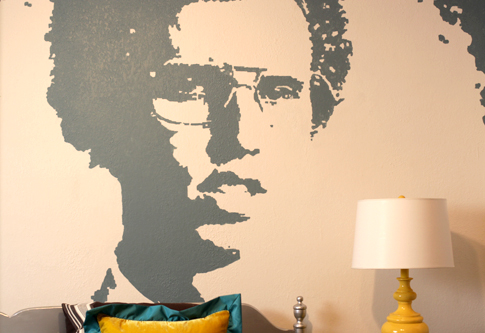
And that’s it. Instead of $500, the cost was under $20. Below are a few more pics of the finished room (and there are even more pics here):


Notes:
-The bed we painted in metallic silver (it used to look like this). The paint was super-fume-y. So my mother wouldn’t let my very pregnant self anywhere near it.
-Bedding is from Target.
-We covered the closet doors with chalkboard paint.
-The little metal cube to the left of the bed opens up. It’s a little cubby. Ralph keeps his wallet and watch and ipod in there.
-The nightstand is a metal table with wheels. It has expandable sides. We’ve had it for ages. We freshened it up with a coat of green paint. Ralph’s iPod speaker is on the table.
-The lamp is from HomeGoods.
-Over the window we used Jenny’s technique to build an inexpensive pelmet box.
What do you think? Did we hit the right balance between cool and kid friendly? Would your tween approve? (Ralph gives it two thumbs up.) Would you ever try something like this? What image would you want on your wall?
