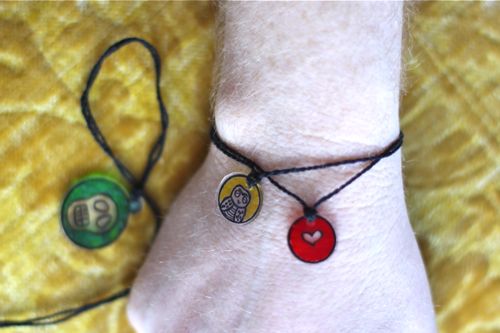
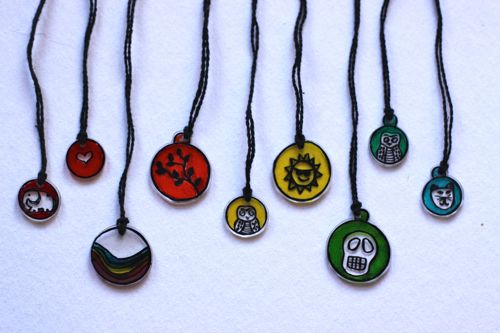
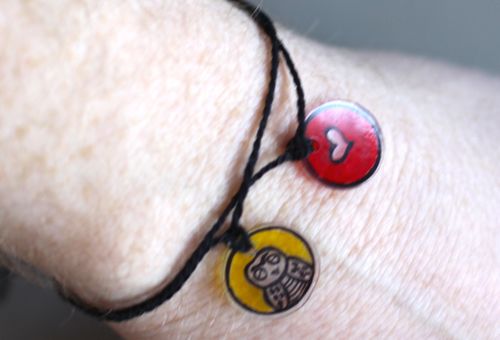
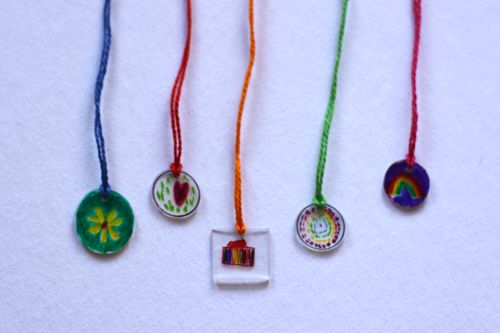
Speaking of budget-friendly gift ideas, here is a great one! Five-year-old Betty made this shrink plastic jewelry for her sibling gifts and they turned out wonderfully. Plus, we had the best time making them, hanging out in the kitchen one-on-one. Betty kept saying, “I LOVE doing projects with you, Mom.” Made me so happy!
This was the first time I’ve ever tried shrink plastic and it is awesome. Seriously! So fun, and such a satisfying project for kids. It really feels magical. It’s basically a sheet of thin, flexible plastic, and when you bake it, it transforms. Bonus: making all of these cost about $1. Bargain!
Step one:
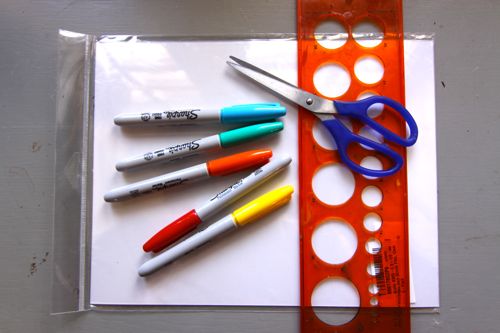
Gather supplies. The main things you’ll need are Sharpies, scissors and shrink plastic. We bought this six-sheet pack from Amazon for about $6.00. And we used one sheet to make 20 or so medallions. You’ll also need a hole punch, circle templates and embroidery floss.
Step two:
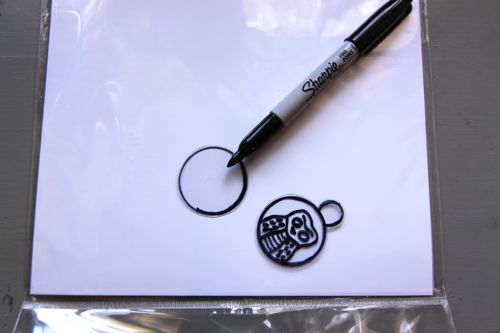
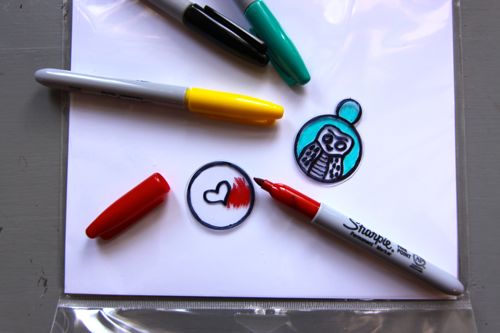
Trace circles onto a sheet of shrink plastic. We tried two different styles and several sizes.
Step three:
Cut out the circles.
Step four:
Draw whatever you like on the medallion. We tried all sorts of things. Owls, elephants, cats, trees, skulls, rainbows, etc. You can also thicken up the border circle by running the marker over it a second time.
Step five:
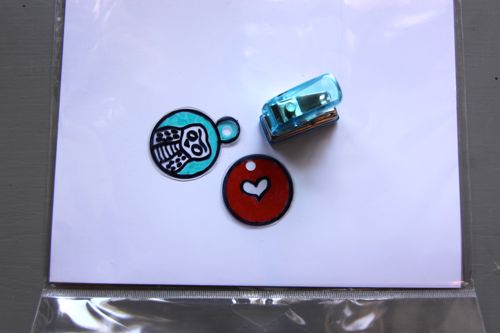
Add color. This was Betty’s favorite step. She would draw something in black (or ask me to draw it) and then color it in like a coloring book page.
Step six:
Punch a hole where you want your medallion to hang. Note: you MUST punch the hole before you bake the plastic. It will be too thick to punch once it shrinks.
Step seven:
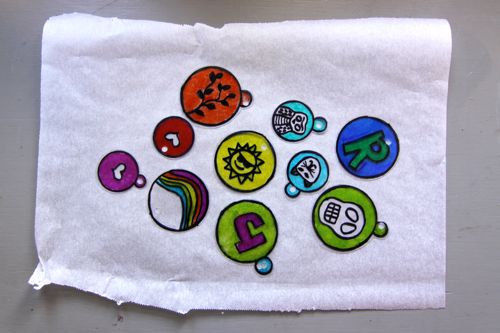
Place your medallions on a piece of baking parchment or sheet or kraft paper. Bake them according to the directions on the shrink plastic package. Mine instructed to bake at 300 degrees for 2-3 minutes. But in my oven, it only took about 10-15 seconds!
The medallions will bend and curl and go crazy in the oven, and then they’ll mostly flatten out. When they’re lying still, remove the paper from the oven and have a spatula or flat knife handy to flatten any medallions that are still a little bowed. The plastic will be soft enough to flatten for a very short time, so work quickly.
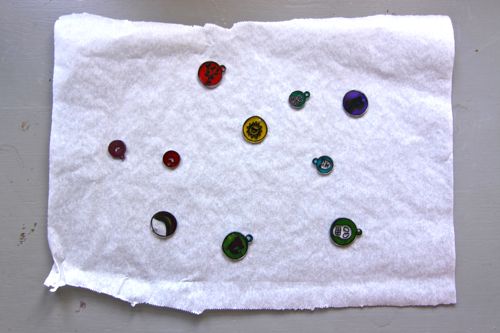
Here’s the same piece of parchment with the shrunken medallions:
Step eight:
Your medallions are finished! You can now use them any way you like. We strung them on embroidery floss to make bracelets and necklaces. You could also string them like beads or make them into charm bracelets or even a keychain.
When we were done making jewelry for her brothers and sisters, Betty made a few more pieces for herself. They are my favorite! So sweet and bright:
