Here’s a fast and easy project to try this week. It’s a project that will let your kids shine, and once you master the simple technique, you’ll want to use it in a million ways (Thanksgiving napkins! A Christmas tablecloth! A custom laundry bag!).
The technique is called glue-resist. You may be familiar with it because once, long ago, I shared a glue-resist project in my book. But this time we’ve made a big improvement. The basic idea is that you draw or write something with glue on a cotton fabric. Then you dye the fabric. Then you wash the fabric. And when you wash it, the glue rinses away, leaving your un-dyed design. The problem is, that when you put in the glued-fabric in a hot dye bath, it can make the glue dissolve. Tricky.
Then I had a Duh! moment. Why don’t I use cold dye? And why haven’t I thought of that before? So I tried it and it’s awesome.
Wanna try? Get your glue and let’s get started!
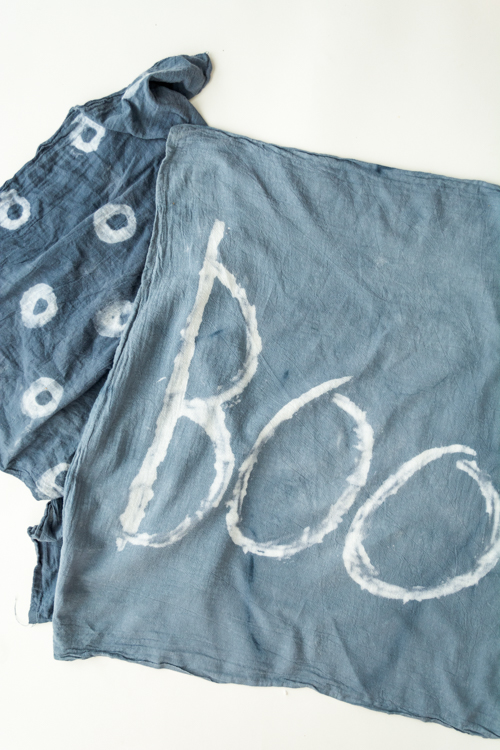
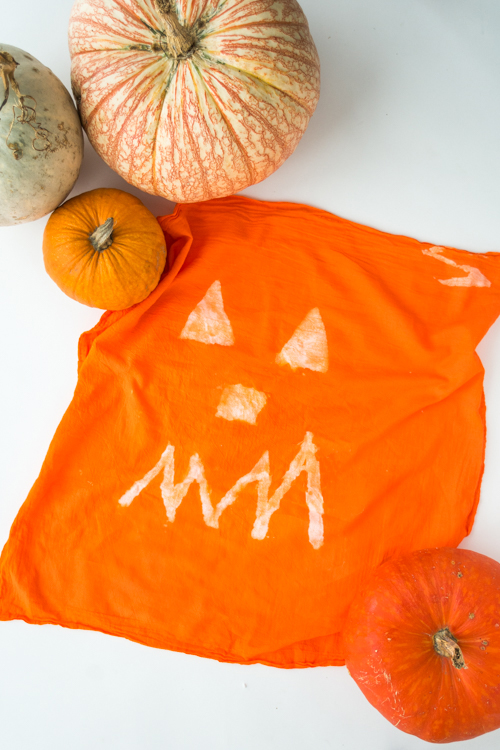
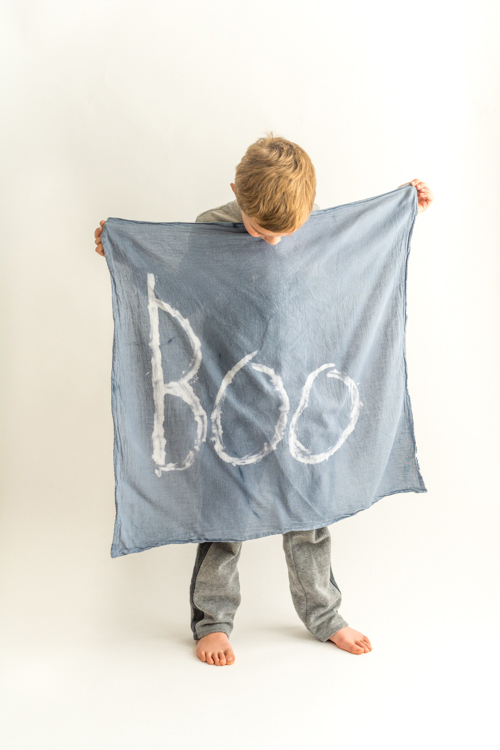
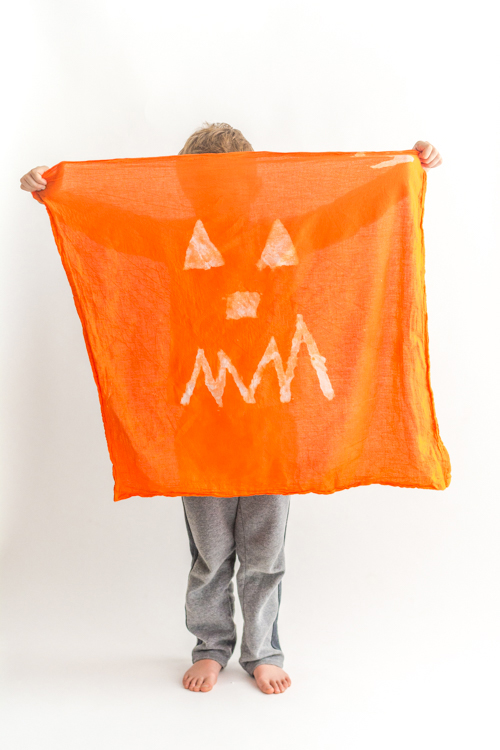
Using regular liquid glue, cotton flour sack towels and cold-water dye, you can make one-of-a-kind spooky towels that you can actually use. While the heavy lifting (the dyeing) is more adult-level stuff, little hands can be the designers. The imperfection is perfect.
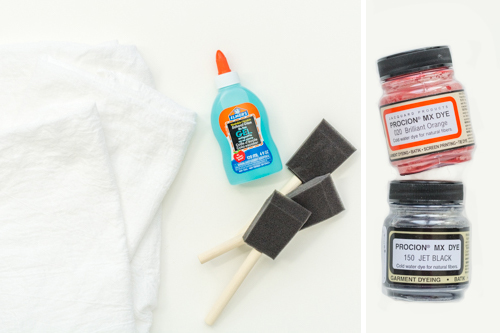
Supplies:
– white flour sack towels
– Elmer’s glue (blue works best so you can see what you are drawing)
– foam brushes
– disposable cup for glue
– cold fabric dye* in orange and black
– water
– salt
– soda ash
*We used cold-water dye because we found the hot-water dyes dissolved some of the glue resist during the process. But if you can’t get cold water dye, don’t give up — we’ve had decent success with hot-water dye too. Sometimes, we just have to clean up the design a bit with bleach and q-tips if needed.
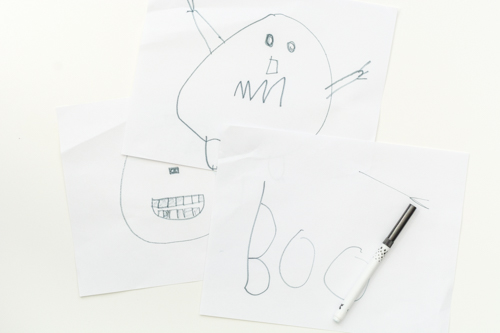
Get your littles to draw! Pumpkin faces, other spooky creatures, words.
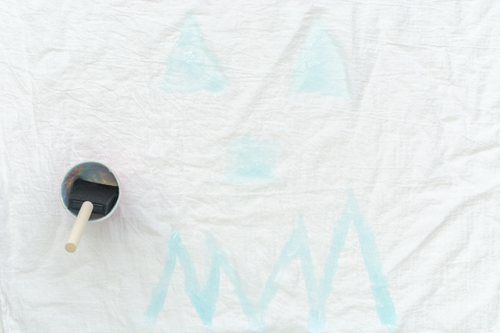
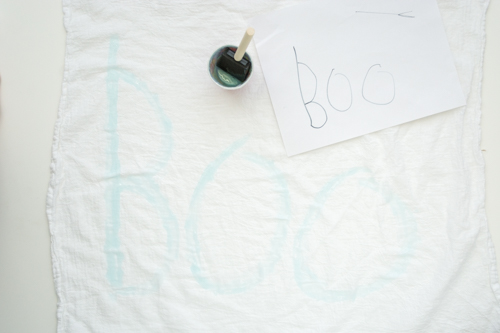
Use the glue and foam brush to freehand replicas of the doodles. Allow the glue to completely dry which, depending of the thickness of the glue, could take upwards of 24-36 hours.
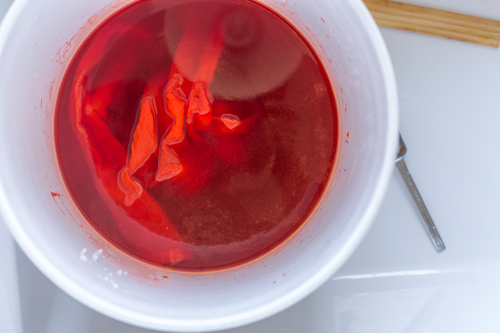
Next it’s a cold-water bath! Dye the towels according to the manufacturer’s instructions per the dye, using salt and soda ash if/when needed.
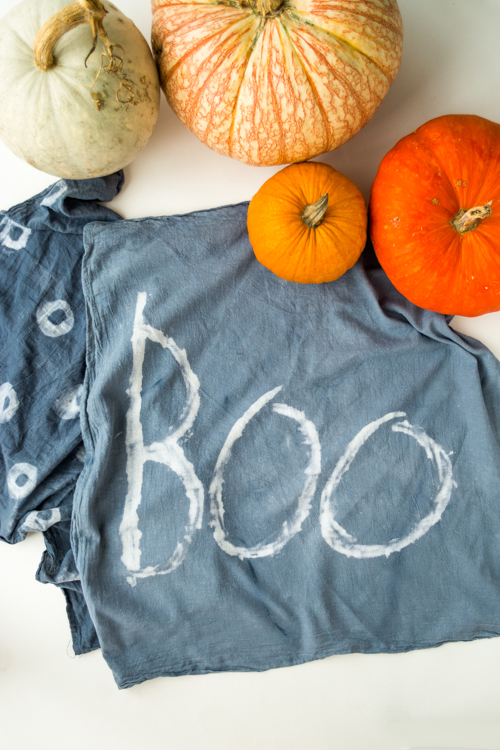
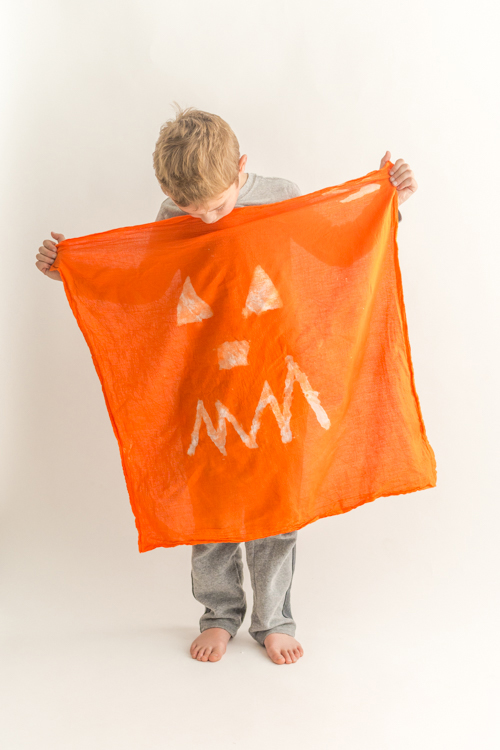
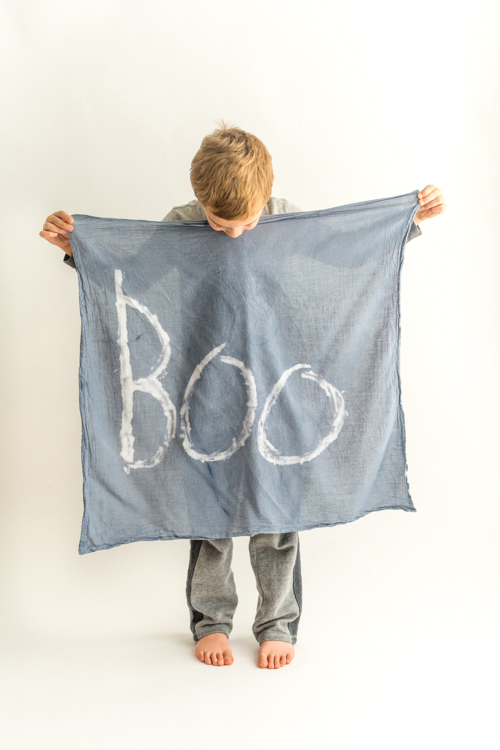
Once the dyeing is complete, send the towels through a wash cycle to remove the glue and dry. Then done!
So cute and easy, right? I recommend buying the dishtowels in a big pack because your kids will want to make a whole bunch of these! You could even fold & stack a few, then tie them up with a bow as a gift. Have you ever tried cold-water dye before? How about glue resist? Have any tips?
Created by Amy Christie for Design Mom.
This is such a fun and easy project! I need to do this with my kids this week!
Paige
http://thehappyflammily.com
I have done glue resist, but never with fabric – great idea! Love these.
Wouldn’t it work the other direction, too? Start with colored fabric and then use chlorine bleach?