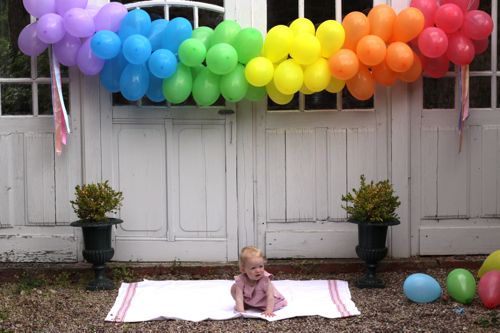
As promised, here are instructions for the Balloon Banner we made for June’s 1st birthday celebration. I hope you find the perfect excuse to make one too!
HOW TO MAKE YOUR VERY OWN BALLOON BANNER
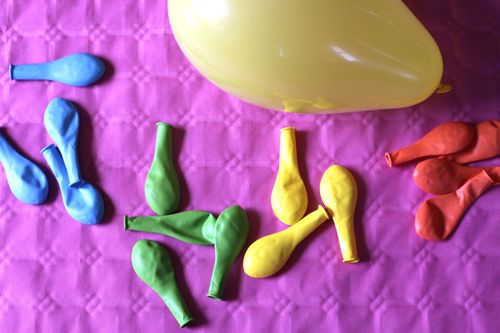
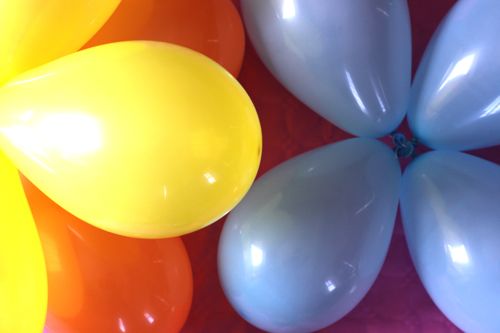
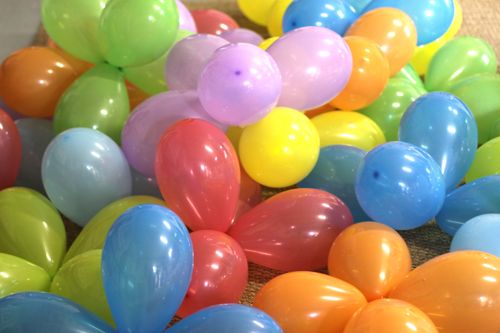
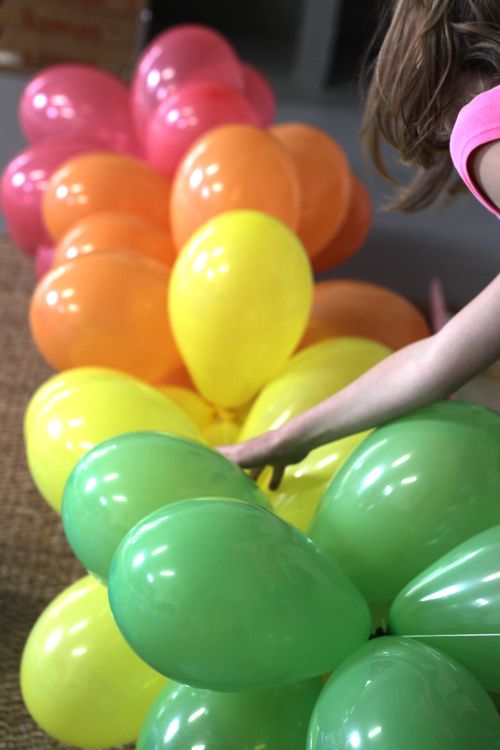
1) Start by grouping balloons in to groups of 4. We used rainbow colors, but using all the same color, or lots of different shades of blue would be neat too.
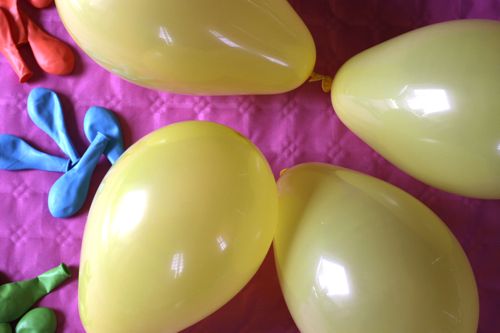
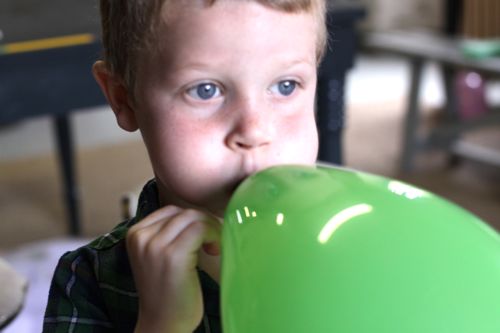
2) Blow up each set of 4 balloons and tie the ends. (I’m awful at tying balloons! But Maude is really good, so she was a big help.) No need for helium, your own lungs should do the trick. Do your best to get the balloons fairly equal in size.
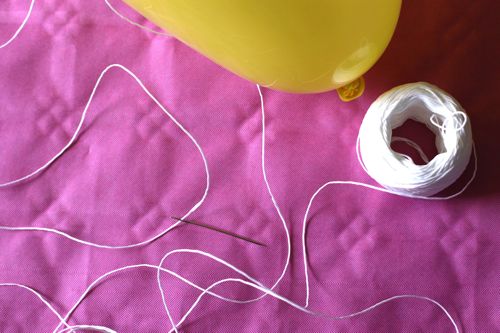
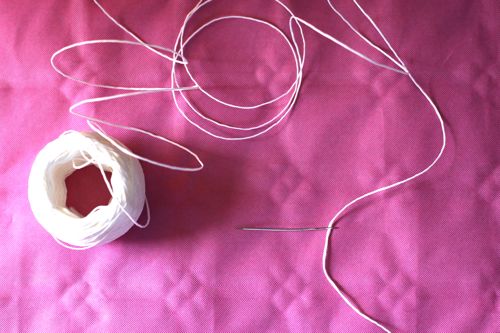
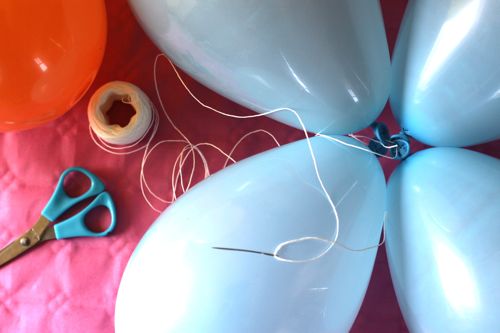
3) Thread some good twine (I used a waxed kitchen twine) on a big needle — upholstery size is perfect. Technically, a small needle would work too, you just need the eye to be big enough to pass the twine through.
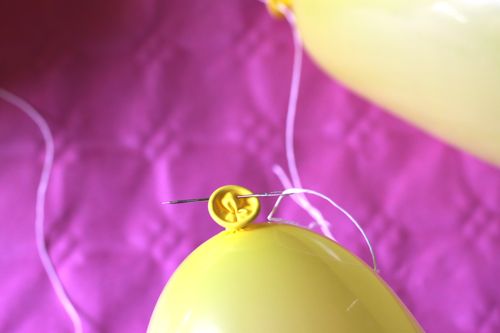
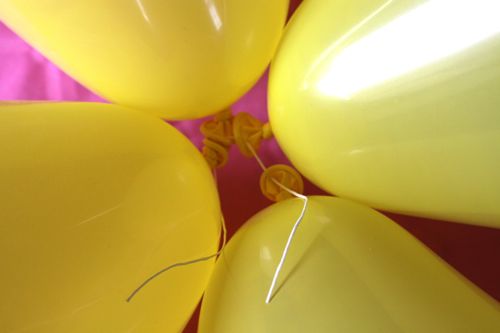
4) Pass the needle through the tail of all 4 balloons in your set. Be careful — needles are known for popping balloons. : )
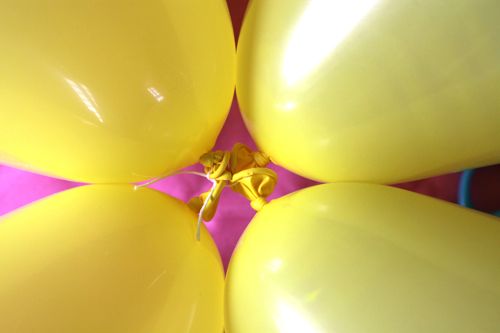
5) Slide the balloons to the end of the string and trim off threaded needle and remaining length (you’ll use them to thread the next set of balloons). Leave a 2 or 3 inch tail on either side of the 4 threaded balloons.
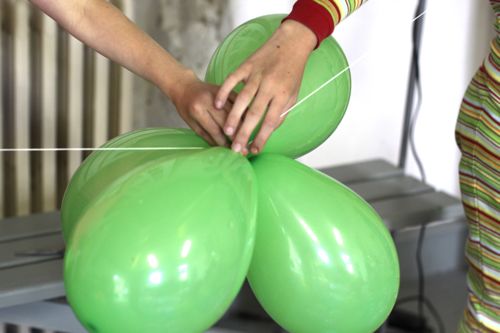
6) Cinch the four balloons together and use a square knot (right over left, left over right) to keep them nice and tight.
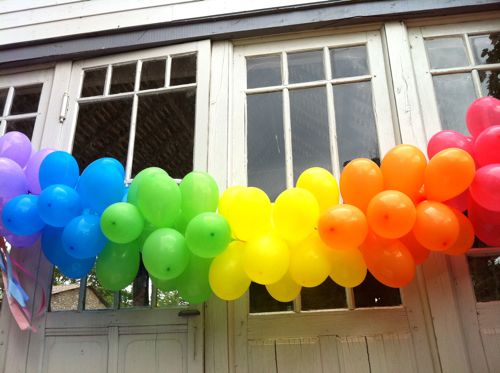
7) Do the same thing for all your sets of 4. For our banner, we made 18 sets of 4. Three sets of 6 colors.
8) When you have all your sets made, thread the needle again, but don’t trim the thread from the spool.
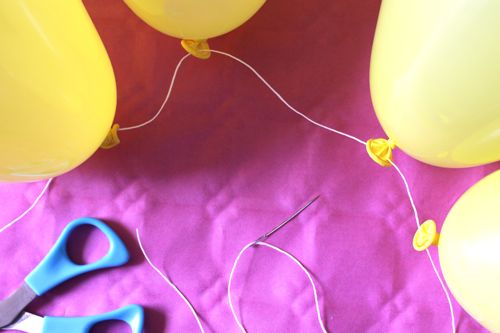
9) Pass the needle through the center of a balloon set. Use the point to go through at least of couple of the balloon ends so that the set is secure on the twine.
10) Use the needle to add another balloon set, push each set along the twine at intervals of 5 or 6 inches. If you’re going for the same rainbow look we used, you’ll thread all the red sets first, then all the orange sets, then all the yellow sets, etc.
11) Keep adding sets with the needle and sliding them along the twine till you’ve completed your banner. Leave a long tail of twine on either side of the balloons so that you can tie the banner to a wall or arch or window. Then cut the twine from the spool.
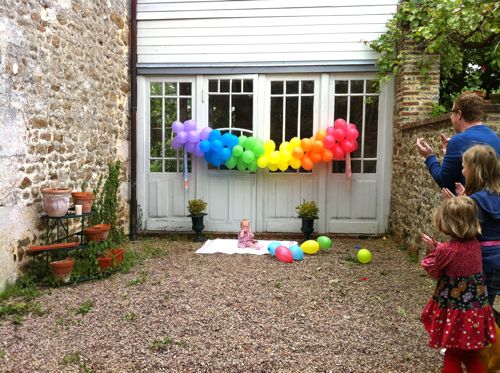
The balloon banner is so light that it’s easy to hang. We used push pins in the wall and then wrapped the twine around the push pins.
That’s it! Your DIY balloon banner is done! Now you can find the perfect place to hang your banner. Yay!
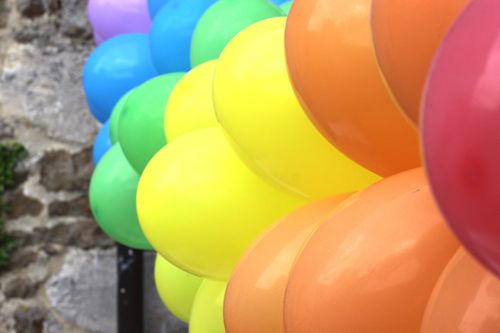
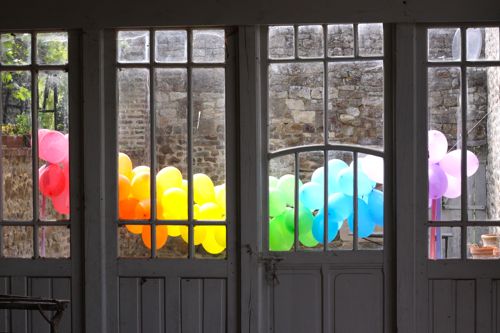
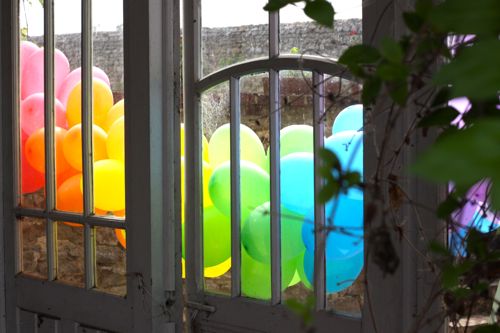
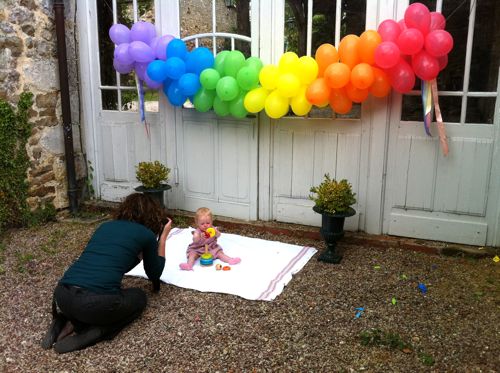
P.S. Here are some behind the scenes photos from the day we made June’s banner:
My inspiration for this balloon banner project was something I saw in Amsterdam. We arrived in the city the day after Queen’s Day and lots of festive decorations were still up. The orange crepe paper fringe is so cute! It would make a fun replacement for the ribbons we used on our banner.




Enjoyed your balloon presentation. Can’t wait to try it. Will use the balloons in our VBS Fellowship hall@ Plains Methodist Church, Plains Georgia.
Thanks,
Thanks so much for the tutorial! My husband and I made this for my son’s birthday. We made it the night before, and it was still holding up the day after the party. It looks so nice I don’t want to take it down!
Has anyone said whether this can be done with helium in the balloons? I love this idea and am thinking of making more of an arch…do you think helium would aid in that?
I love this. I want to make one for Christmas
thanks for sharing…
My youngest son’s Birthday is next week I will have to make this for me.
Thank you for sharing.
where do you find waxed kitchen twine?? Looks great!!
Simple and super its very beautiful.
thanks for this idea… was really useful to me
Wonderful tutorial! I used this to make a rainbow balloon banner for my daughters Daisy troop last May when they had their bridge ceremony. Recently, one of my coworkers is planning a surprise for another coworker who is returning from work after beating breast cancer. I think we’ll make some of these banners (in pink of course) to welcome her back! Thanks for the tutorial! :-)
I love it! Question, how many balloons did you use in total and what size?
I am so making thus for my daughters rainbow dash party :)
Wow, I stumbled across this while planning my sons 2nd birthday. Due to budget, I’m planning to make the decor myself and this is definitely going to be on my decor items :)
Thanxs for putting this ideas. It helped me to decorate for my sons birthday
Hello! I’m at work surfing around your blog from my new
iphone! Just wanted to say I love reading through
your blog and look forward to all your posts! Keep up the excellent work!
Hi there! I’m a new blogger and wanted to let you know that I used your tutorial a few years back for my daughters birthday! I just blogged about the party and put a link back to this tutorial! Thanks for sharing! Absolutely love this idea!
This is brilliant, thank you for breaking this down. I plan on using it for the twins first birthday party this coming June.
My son is going to be 3 in a little over a week, and I saw this…. he LOVES balloons. I can only imagine what he will think when he sees something like this! I might do a smaller version of this – thank you for the inspiration!