
By Lindsey Johnson.
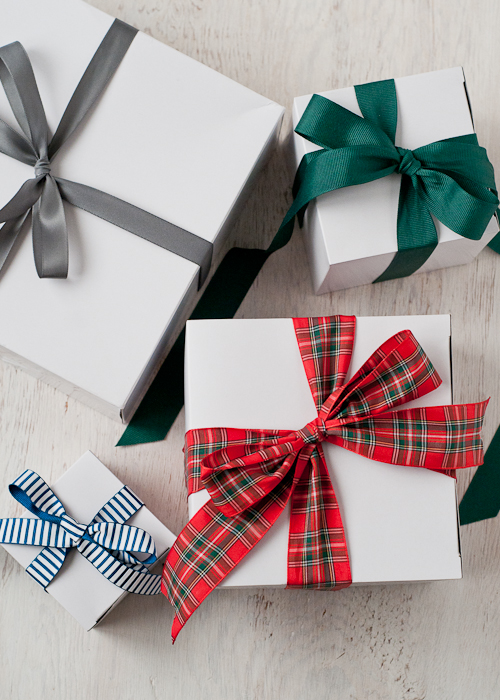
I confess I hoard ribbon. I have a big basket chock full of all kinds of pretty ribbon I’ve been collecting over the years. To me, a pretty bow on the top of a gift is almost as important as what’s inside! But a bow is a bow is a bow, right? And it’s no different than tying a shoe, yes? Well. Yes and no.


HOW TO TIE A BOW:
I’m going to show you three bow-tying techniques — each one achieving a slightly different look for different purposes. I’m also going to show you the trick to getting your ribbon to lay flat on the bottom of your gift box. Professional gift wrappers use this very same method. (Fancy!)
Let’s start with learning how to get the ribbon flat on the bottom of your package.
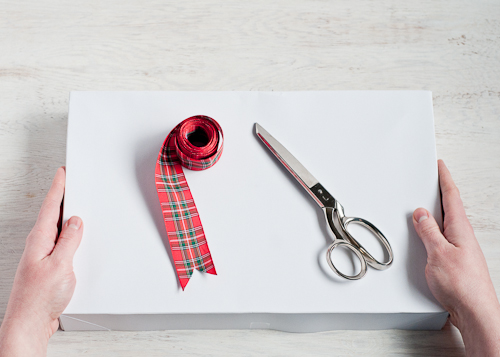
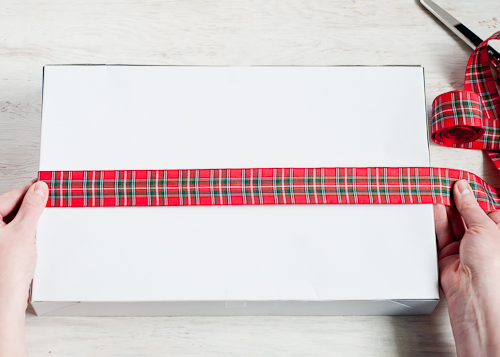
Choose a pretty ribbon. For smaller boxes, I like to use narrower ribbon, but it can be fun to change it up and use wide ribbon on smaller boxes too. For this part of the tutorial I chose an unwired, woven ribbon in classic plaid. Satin and grosgrain are my other favorites and make the loveliest bows.
Lay the box flat on the table. Bring one end of the ribbon across the top of the box leaving enough ribbon on the end for the bow, between 4-8″ depending on the width of your ribbon and how big you want the final bow to be.
Now bring the ribbon across the top, around the side, across the bottom and back up the other side.
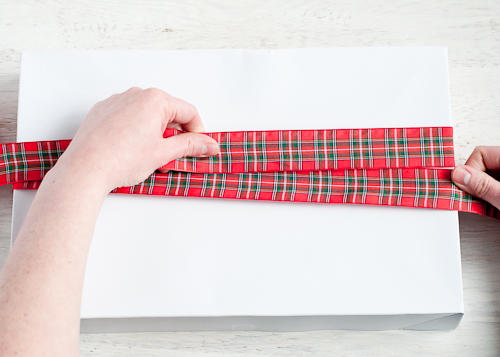
Bring that side up to meet the top ribbon in the middle of the box.
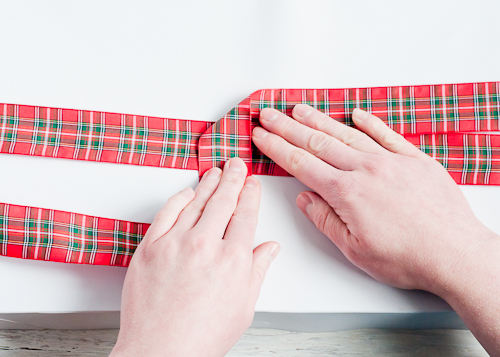
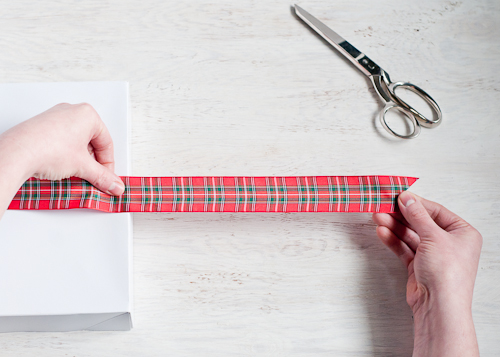
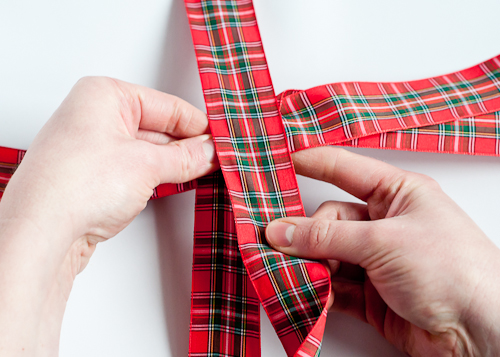
Fold the top ribbon over as shown. Secret #1: If you are using a ribbon with a pattern only on one side, give the ribbon a double twist here so the pattern faces up as you wrap it around the other side.
Hold the ribbon fold in place with your thumb as you gently lift the box up and bring the ribbon all the way back around to the top center of the box.

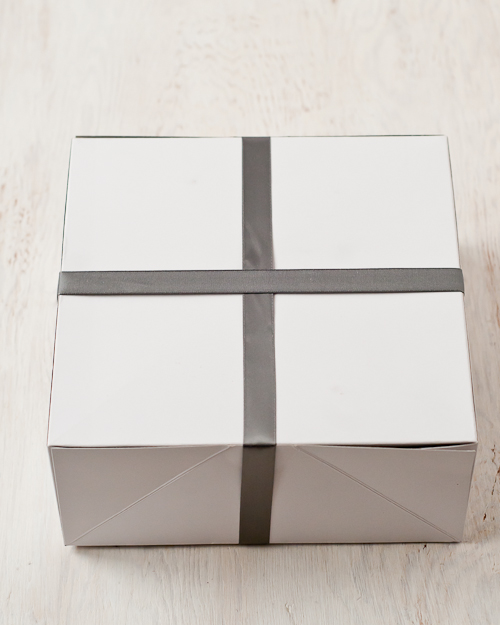
This is what it will look like on the bottom. Nice and flat! Just like you want it.
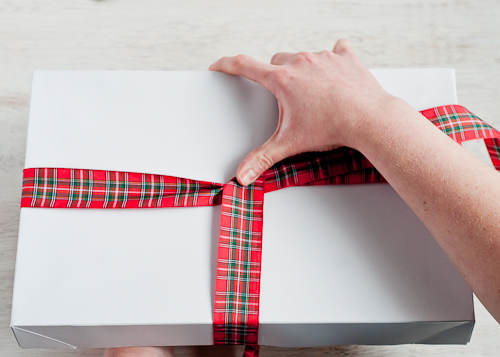
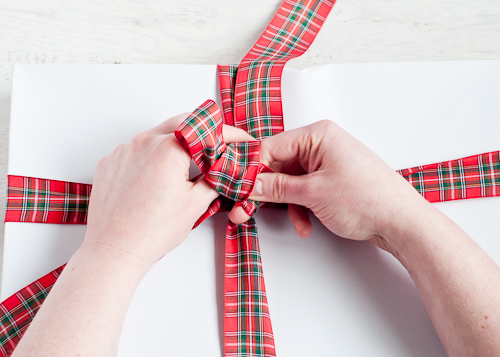
Cross the end you just brought up from the bottom over the center.
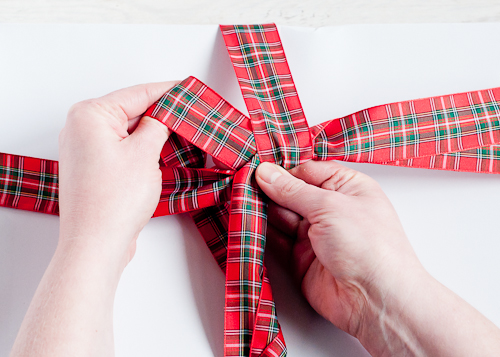
Bring it around underneath.
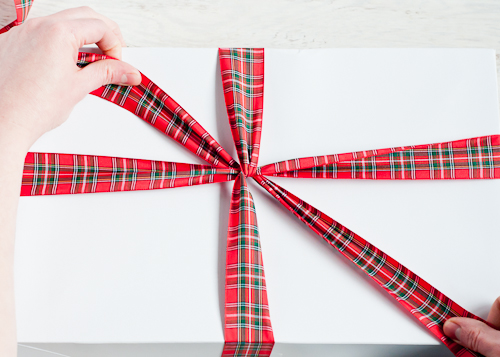
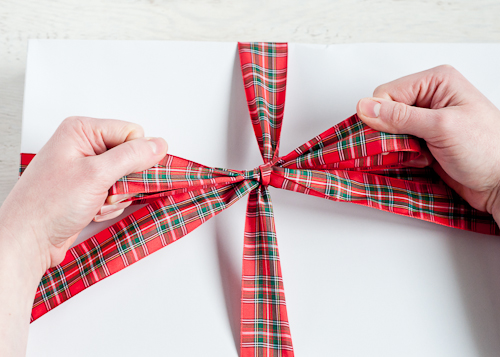
Pull both ends in opposite directions to tighten. Now we’re ready for the bows!
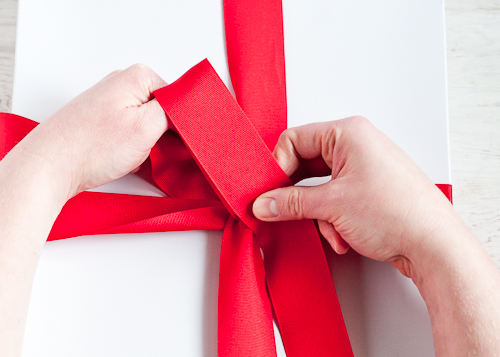
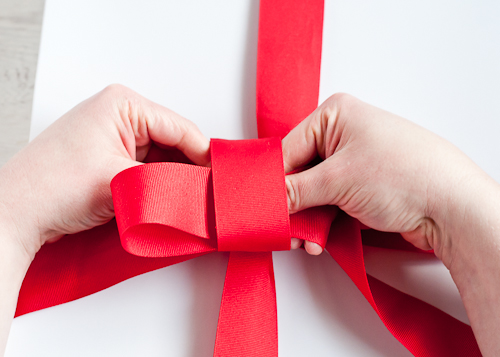
HOW TO TIE A STANDARD BOW
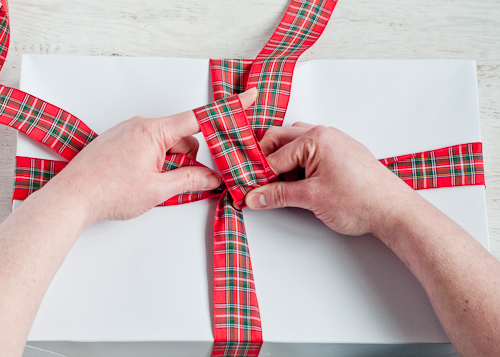
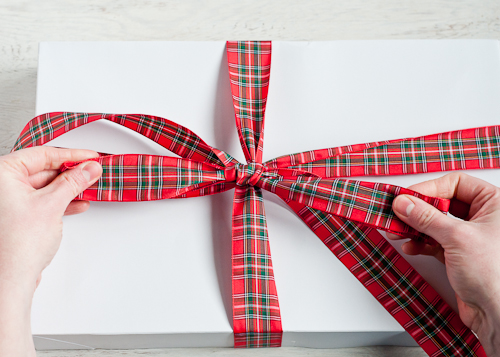
Starting with the right side, make a loop with the ribbon. Secret #2: I prefer to bring the ribbon up to make my loop rather than down. I think it makes a prettier bow.

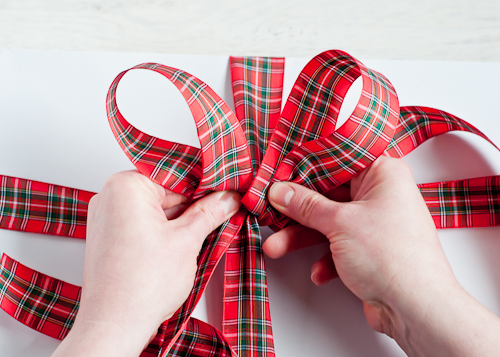
Bring the other side around the loop you made, just as you would when tying your shoes, and up through to form the other loop.
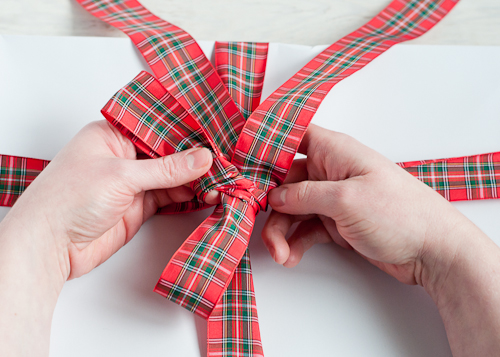
Pull on the loops to tighten. Done.
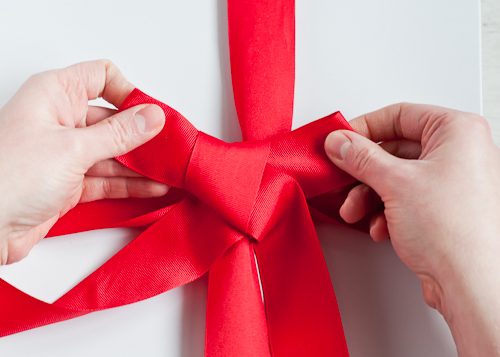
BUNNY EAR BOW
I’ve found that flimsier ribbon works better with either the bunny ear or standard bows. If I’m using a wider grosgrain ribbon, I prefer the flat bow below.
Start by making two loops of equal length on each side.

Cross the left side over the right.
Bring it through.
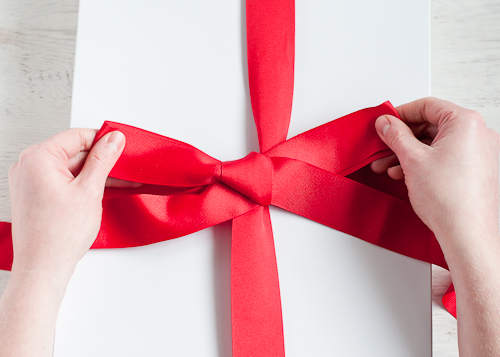
Pull the loops tight, adjust length, and snip ends.
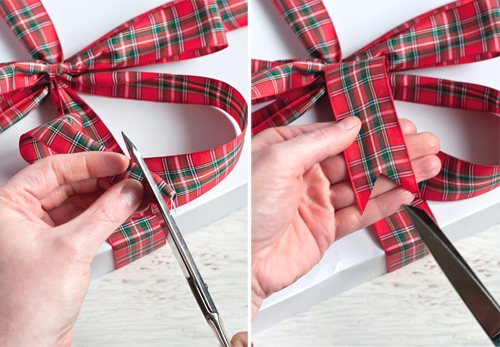
Secret #3: To snip the ends in a classic V, simply fold the ribbon in half and cut it at an angle from the edge towards the fold.
HOW TO TIE A FLAT BOW
A flat bow is not much different than the first bow I demonstrated. Secret #4: A flat bow looks good on a gift, but it’s especially perfect to use on greeting cards or crafts where a flat-lying bow is needed. This is also the bow I use to make hair barrettes for my daughters.
Follow the ribbon-around-the-box directions as above, pulling the ends tight in opposite directions.
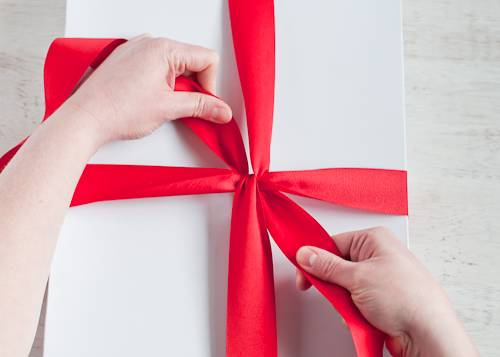
Form a loop, this time with the ribbon coming down instead of up.
Bring the loop over to the side, like a bowtie and bring the other end around from behind and over the front of the loop, and through.
Pull the loops tight and adjust length as needed by gently tugging on the ends.
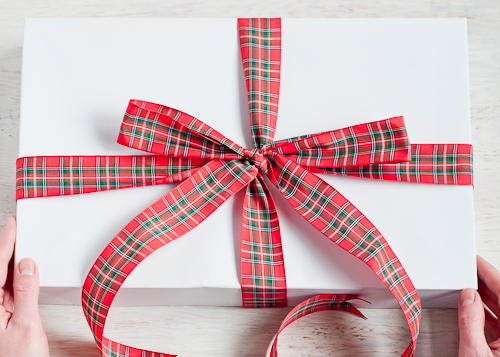
Trim the ends and you’ve got one gorgeous bow!
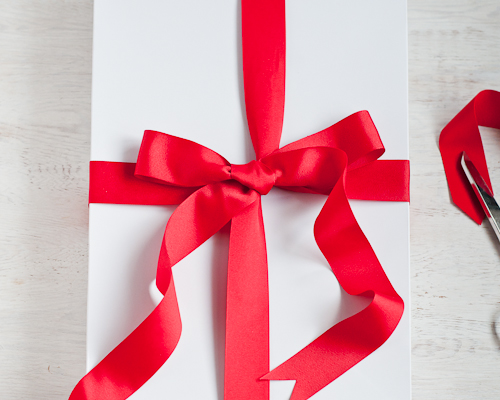
Here’s to a season of beautifully be-ribboned gifts!
P.S. — Find all the secrets to living well here.