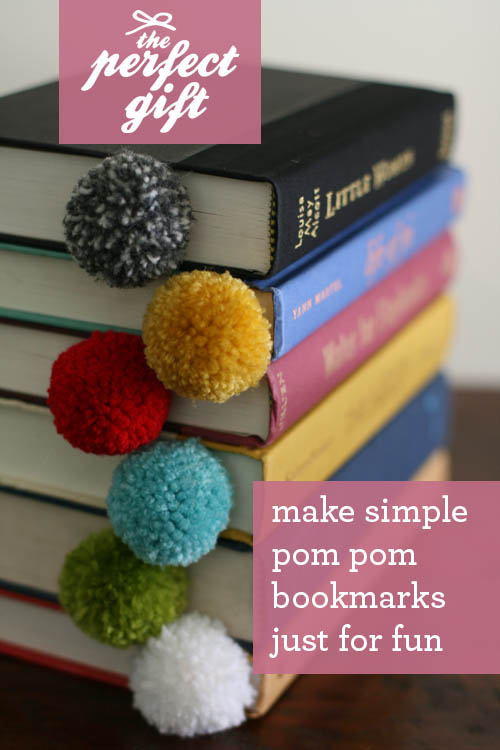
Has the weather turned cold where you live? In my neighborhood, temperatures have dropped and my instincts are to spend the day cozied up with a favorite book and favorite mug full of hot cocoa. Are you the same? I’m sure you have many fellow book worms in your neighborhood, so I thought it would be fun to create a charming little yarn ball pom pom bookmark that would make a great anytime gift for anyone that needs a little fall comfort.
It was actually my daughter’s clever idea to make a yarn ball pom pom bookmark. This is the perfect anytime gift because it’s affordable, easy to make, and turns out a fluffy pom pom of cuteness. It’s sure to improve the look of any book!

Supplies needed for your pom pom bookmark:
– yarn
– scissors
That’s it! You do want your scissors to be sharp, or the last step will be difficult. And you do not need any special tools for this pom pom ball – just your fingers!
*Before you start, cut an 8-10 inch piece of yarn and a 15 inch piece of yarn and set it aside. You will need these lengths in later steps.
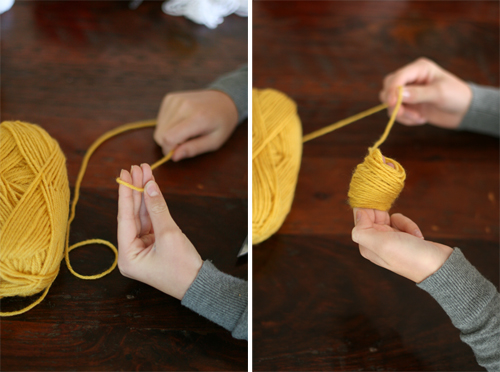
To start, hold the end of the yarn in your hand, and begin wrapping the yarn around your fingers – snug but not too tight. We recommend wrapping the yarn 90 times.
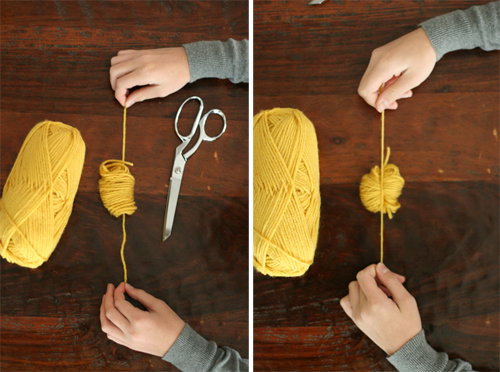
Cut the yarn after 90 wraps, and carefully slide it off your fingers. Lay it down over the 8-10 inch piece of yarn. Tightly tie a knot around the middle of the 90 loops.
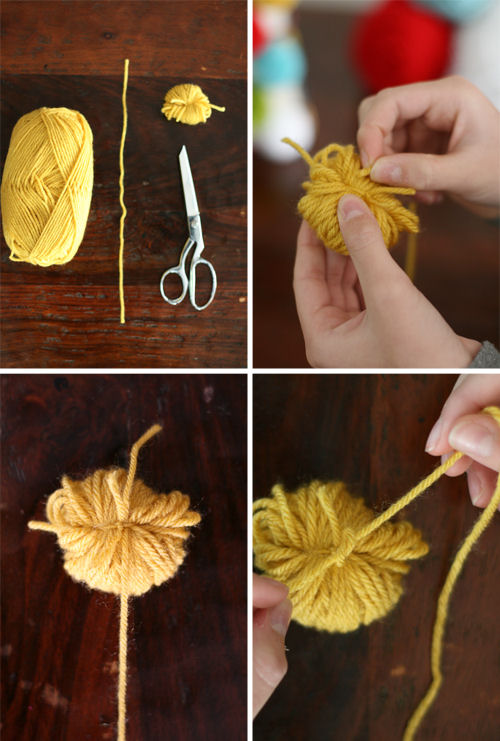
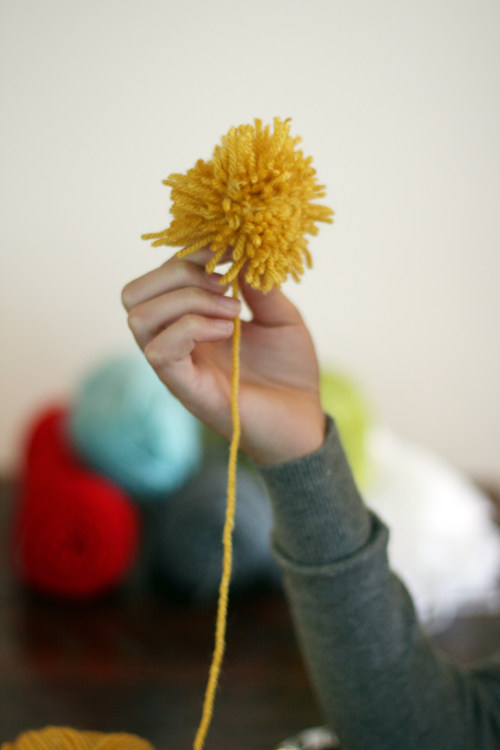
To add the yarn ball bookmark ‘tail’, use the 15-inch piece of yarn, tie it around the same string you used to tie the 90 loops together, as seen in the pictures above.
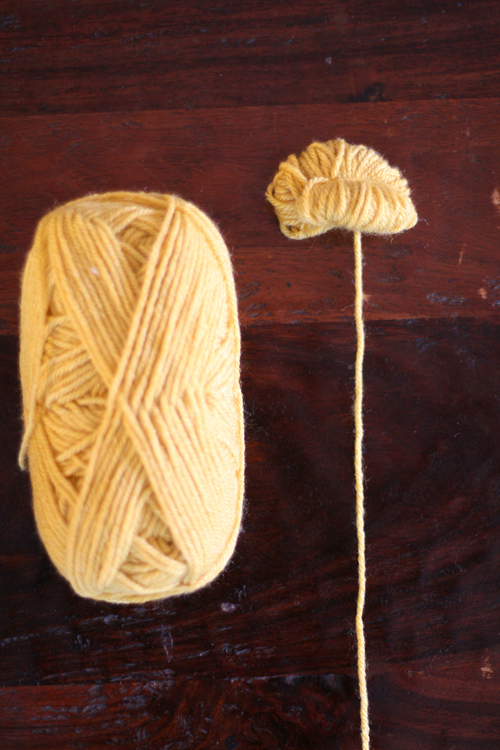
At this point, your yarn ball bookmark should look like the picture above.
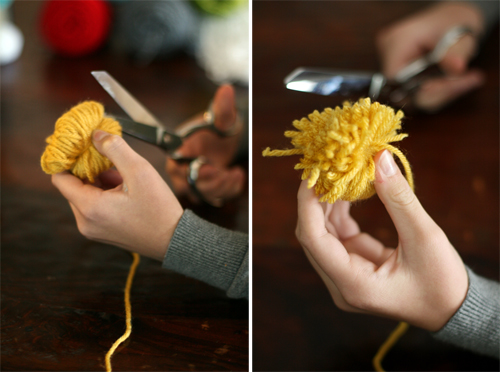
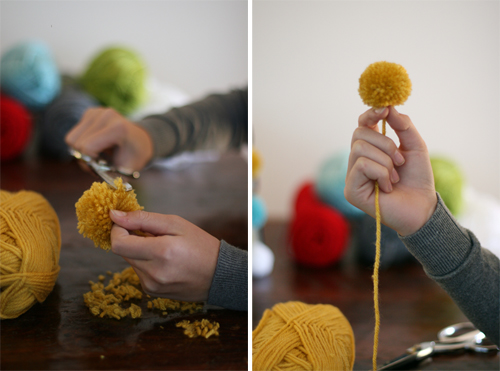
Next, holding the ball on it’s side, slide your scissors through the yarn loops and start cutting. Instant fluffy yarn!
This is what your pom pom will look like — it will start to resemble a ball, but is in dire need of a haircut!
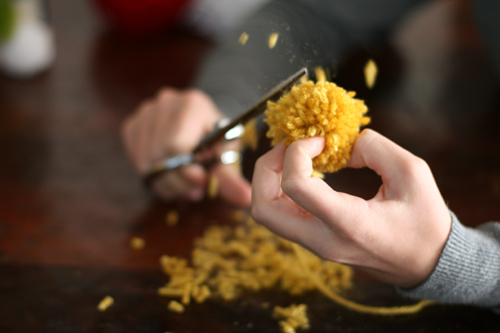
Start snipping! {WARNING: be careful NOT to cut off the bookmark tail! Hold it out of the way while you snip.} With this step, you need to cut the yarn pom pom into the shape of a ball. Continue to turn and snip the yarn, looking at the ball from different angles while doing so. Keep rounding it off until you are pleased with the shape. This step does take practice, and you will improve with each ball you make.
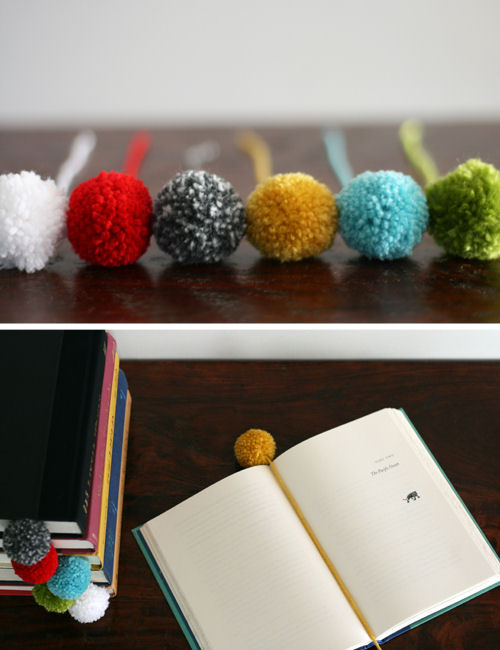
Voila! Your pom pom ball will appear! And your yarn ball bookmark is officially done!
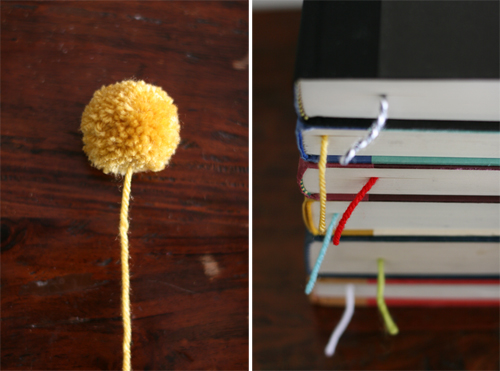
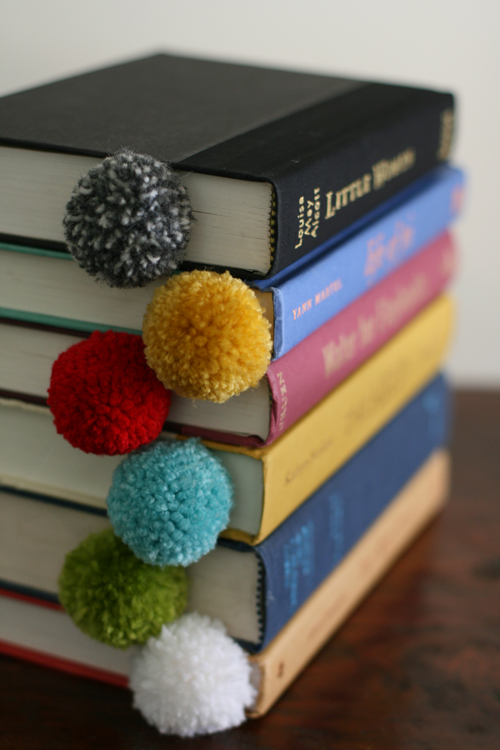
These pom pom bookmarks are sure to put a smile on any bookworm’s face, and the best part of this project is that kids can make them all by themselves!
THIS POM POM BOOKMARK WOULD ALSO BE GREAT FOR:
– A gift for a teacher — just add a favorite book!
– A little gift for guests at your next book club gathering.
– A craft activity at a book-themed birthday party.
P.S. — We love making gifts! You can find all the posts in this series here.
Credits: Created by Jane from See Jane Blog for Design Mom.