By Darcy Miller. Find her on Instagram and Twitter.
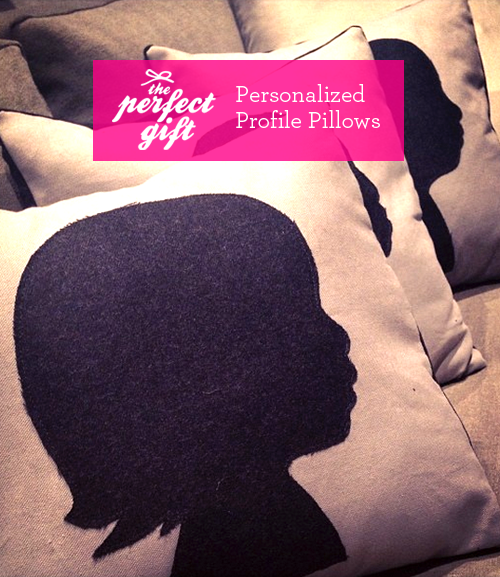
Note from Design Mom: This project is by Darcy Miller — you may know her as the long time Editor of Martha Stewart Weddings, and one of the most talented people on the planet. I met Darcy a couple of years ago and have loved exchanging emails with her and following her adventures on Instagram. When she reached out with photos of these charming pillows, I knew right away I wanted to share them here! Without further ado, here’s Darcy:
With Thanksgiving coming very late and Channukah coming very early, I was a little last minute on this year’s holiday gifts. But you’d never know it from what we gave my husband — it’s a personalized, handmade present that just happens to be easy enough to make quickly.
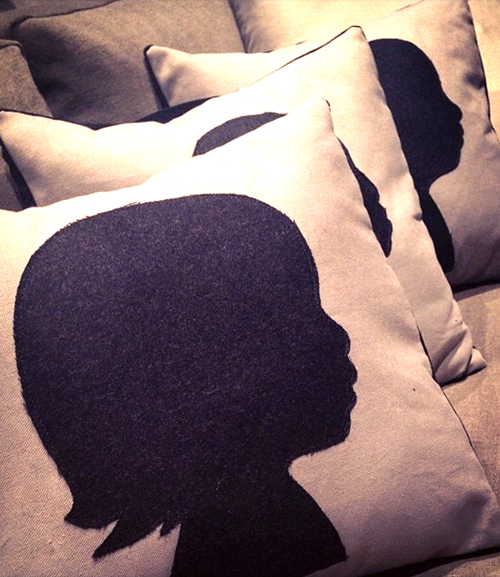
When it comes to gifts for my husband, my daughters and I are always big on making things. My middle daughter Ella, who is eight, loves to sew and takes lessons at a wonderful little sewing shop named Pins & Needles. Over Thanksgiving weekend we decided to make Daddy throw pillows for his office, inspired by pillows that Rachel (the owner of Pins & Needles) whipped up for her nieces. First, we went to B & J fabrics and picked put materials that would go with his couch — a rich black velvet and gray flannel and linen. Then we spent a few hours sewing together at Pins & Needles (truth be told, Ella did most of the work — and even squeezed in making jeggings for her sisters!).
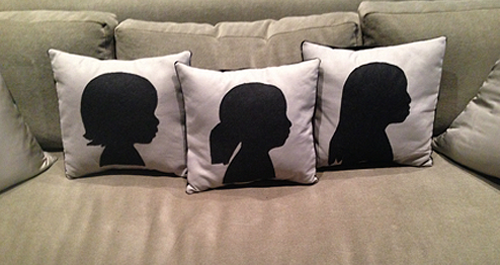
The pillows were a huge success, and seriously easy to do. Now we want to make more for our grandmother’s couch — one for each grandkid — but that’s 8 more pillows(!), so we might be waiting for Christmas break when Ella has more free time to sew. Along with being the perfect thing to give to grandparents, these profile pillows would be a great gift for a engaged couple or for newlyweds; how cute would it be to have the 2 silhouettes facing each other on the pillows?
Materials/Tools:
– Camera (you can use your phone to get a simple shot)
– Photo-copier/Printer
– Pins
– Paper and Fabric Scissors
– Fabric Adhesive (Heat N Bond Ultra Hold)
– 1/2 yard of two different fabrics (one for the front and one for the back) – if you want a larger pillow you should plan for more fabric
– 1/3 – 1/2 yard of fabric for your silhouette
– Coordinating Thread
– Pillow Insert or Stuffing
– Sewing Machine
– Black marker or Sharpie
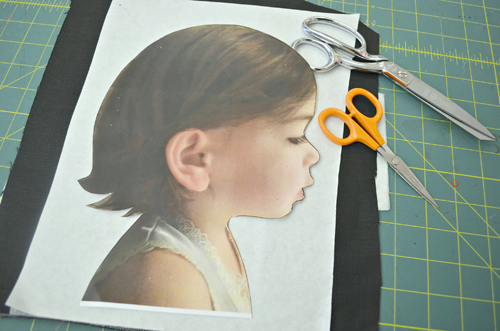
Step 1: Photograph your child’s profile against a white or neutral wall — make sure you shoot their profile.
Step 2: Cut out the front of your pillow in the dimensions of the insert and or size you would like it — make sure to add 1″ around all four sides for your seam allowance. We opted for an envelope back since it is the quickest and easiest way to finish a pillow. Cut out two pieces of your back fabric the width of your pillow adding 1″ and then for the length add 5″ – 6″ for the overlap. Put these aside for a moment.
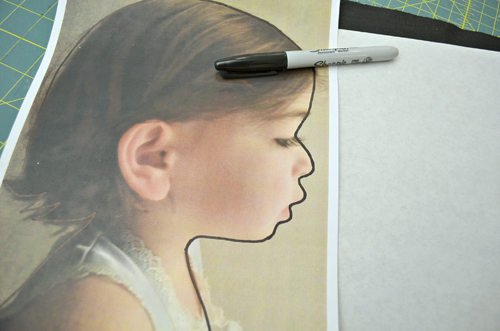
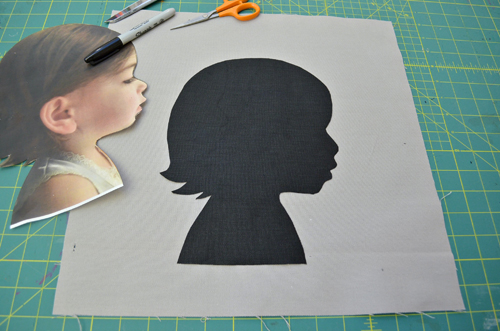
Step 3: Print out the photo on a home copier or your local copy place on an 8 1/2X 11 sheet of paper (the photo should be as big as you would like it for the size of your pillow). Trace around the profile using a black marker or sharpie — be careful around the facial features as this will help you keep them really defined when you cut it out in the fabric. Cut out the shapes you have marked. Note: using a smaller scissor when you are cutting out around the facial features can be helpful.
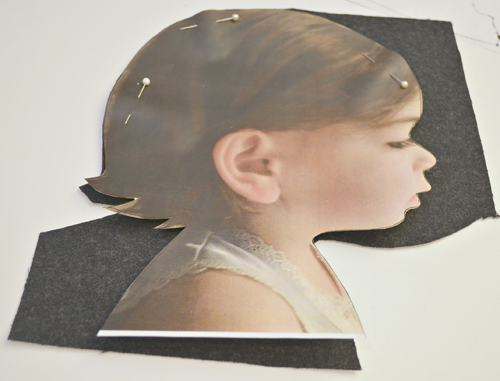
Step 4: Iron on the fusible fabric adhesive (follow the directions for using the fabric adhesive) to the fabric you have chosen for your silhouette and pin the photo onto the fabric. Cut out — again, being careful around the facial features.
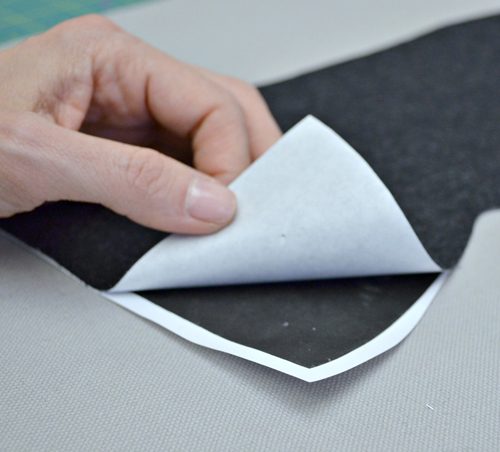
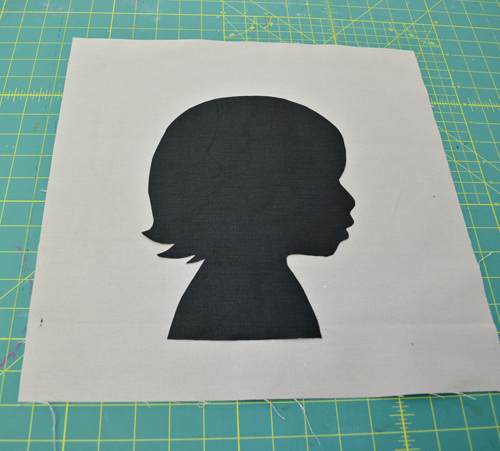
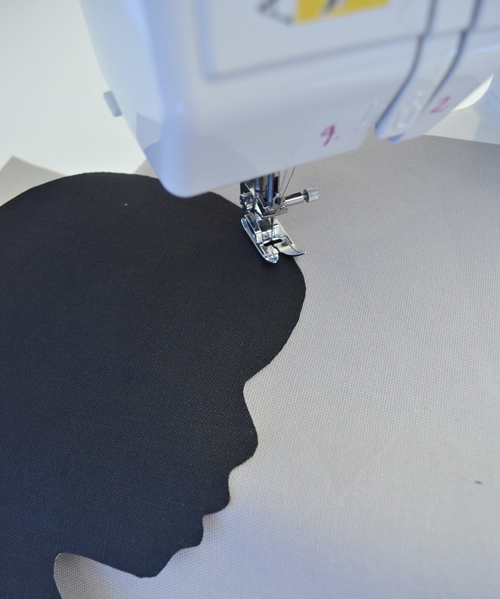
Step 5: Peel off the fusible fabric adhesive and place in the center of your pillow front fabric. Iron in place – pin in a few spots to ensure it stays in place. Using a straight stitch and matching thread top-stitch around the profile – go slowly here especially around the facial features.

Step 6: Now you are ready to put your pillow together — with your two back pieces — fold over about 1/2″along the short side of one of your back pieces, pin and sew in place (this will give the “envelope” back a nice finish). Follow the same steps for the other piece. These two pieces will overlap on top of each other – that is why you made them a bit bigger along two of the sides.
Step 7: Now with rights sides together, pin your two back pieces to your pillow front and sew along all four sides using a 1/2″ seam allowance. Cut your corners and turn right side out — making sure to push out the corners. Stuff your pillow insert or stuffing so the pillow is as fluffy as you would like.
You’re finished!!
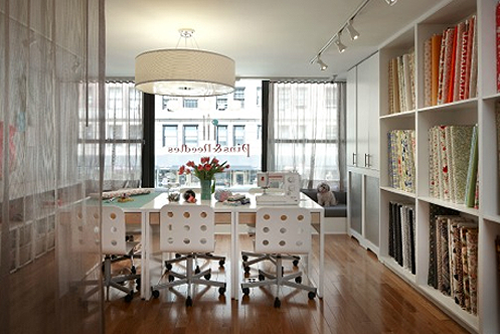
If you’re ever in NYC, be sure to visit Pins & Needles — they make this simple project even easier. And if you love the look of silhouettes (the original, pre-Facebook “profile picture,”) here are 5 more silhouette project ideas from Martha Stewart Weddings: 1, 2, 3, 4, 5.
Happy Holidays!
——-
THIS WOULD ALSO BE GREAT FOR:
– A wedding gift.
– Adding to a child’s bed.
– A birthday gift for a niece or nephew.
P.S. — Like to make gifts? Check out our Perfect Gift series.
These are great! My nine-year old loves to sew and was just looking for a project to top the quilt he made last year. This will be perfect. Thanks!
Love these! I might just put these on some little tote bags for my nephews. Great post. Thanks!
What a fun personalized gift idea! Will probably wait until my daughter is a bit older to try it, but very cool.
Pingback: Personalized Profile Pillows | Kid Crave
Wow! I love your creative, innovative, an inexpensive idea! Keep blogging!
thanks for sharing this great idea. I love quick projects and will definitely make a few of these pillow. I’m even thinking of doing profiles of my animals (horse, mini donkey, dog & cats!)
What a great idea! What kinds of fabrics were used for the project? Was it flannel for the silhouette? How about the front and back? Thanks.
Was wondering .. Do u make them and sell them also?
Pingback: 43 DIY Personized Gift Ideas - Guru Koala
Pingback: Decor Blog