By Amy Christie.
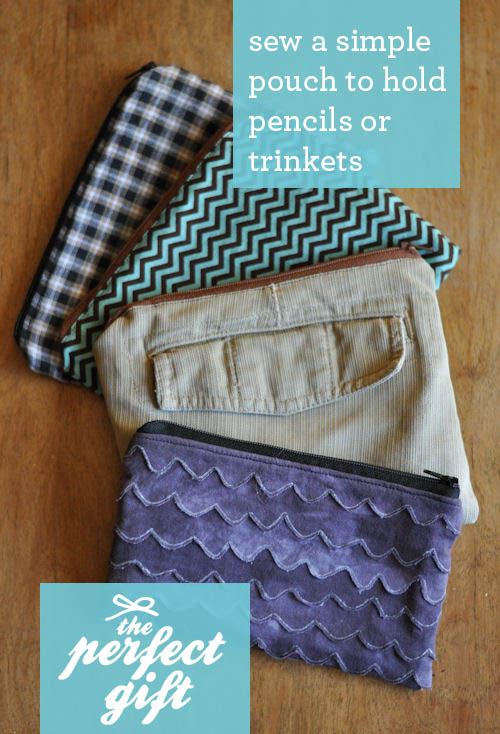
Gabrielle has mentioned that in France, her kids are required to carry pencil bags at school. So I thought it would be fun to create a DIY for a simple and easy zipper pouch in fun fabrics that could work for boys or girls. It would make a fun fall gift for your child.
But then I made some, and I’ve been using them for all sorts of tasks! Who doesn’t love a little pouch to zip up things in?
I’m going to tell you right now: Sewing is not my forté. Add zippers to the mix and I start sweating. But this little easy zipper pouch only requires five lines of stitching. Five! That’s it! And two of them are for looks so if you nix those, you are down to three. If I can do it, so can you.

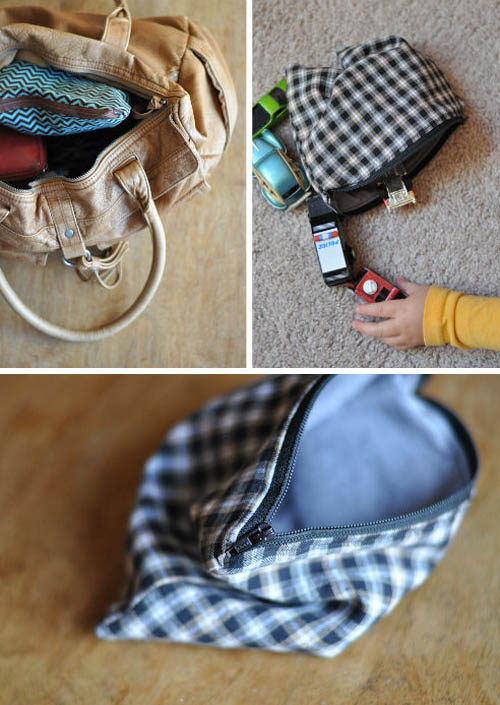
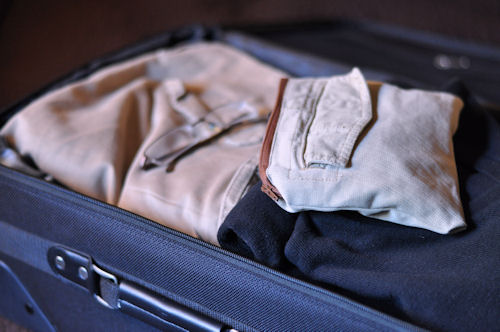
Try this easy zipper pouch tutorial, and I’m betting you’ll be adding pouches to purses, suitcases, and yes, backpacks too!
Lets get started.
Simple & Easy Zipper Pouch Tutorial:
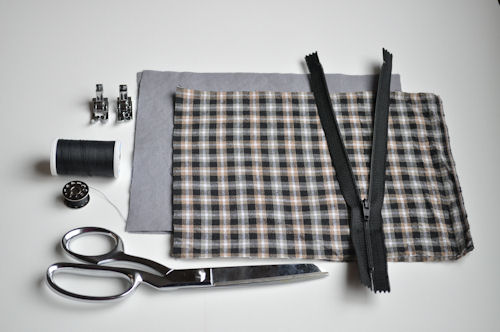
Supplies Needed for your Zipper Pouch:
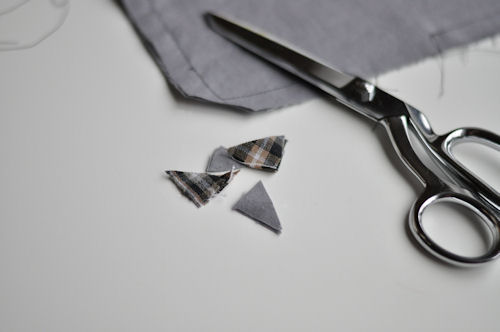
-inner and outer fabric, cut to size and pressed with an iron
-zipper
-thread
-scissors
-needle
-zipper foot — not necessary but beneficial
-iron
The dimensions of this easy zipper pouch are 9 inches by 7 inches and the zipper is 9 inches.
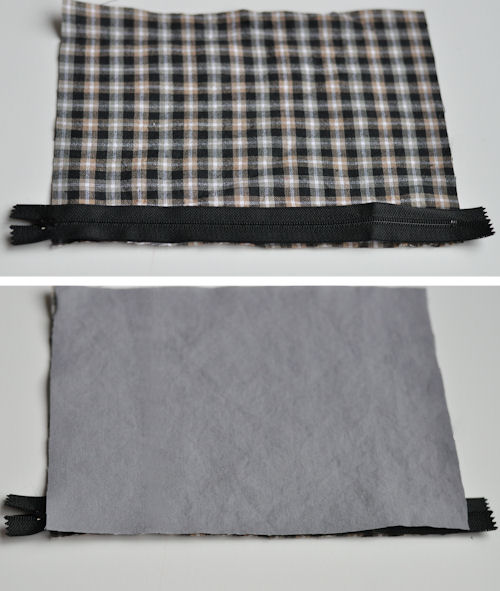
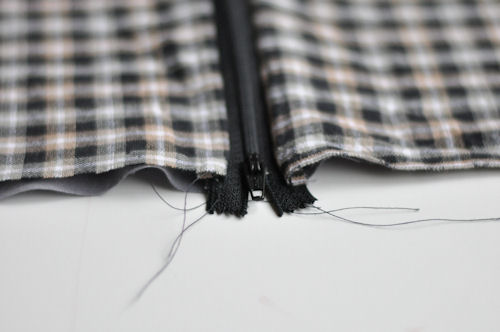
1. Stack the fabric. First, lay down the outer fabric, right side up. Add the zipper, right side down. Top it with the inner fabric, right side down.
If you have a zipper foot, add it to your machine and sew the stack together.
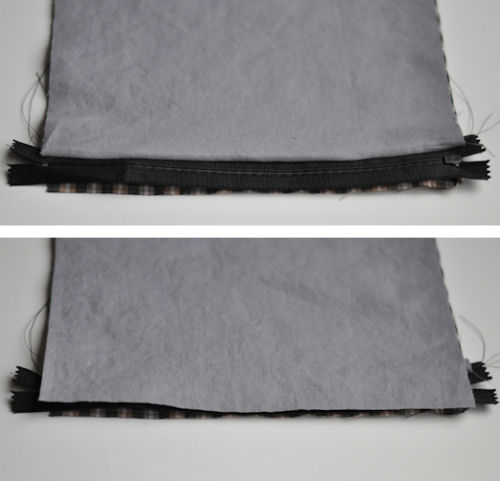
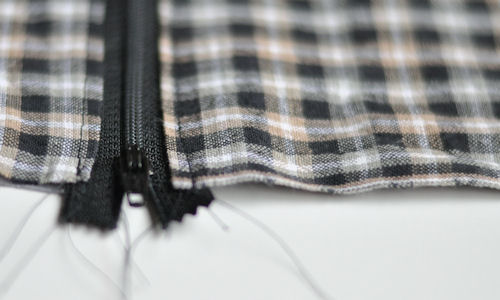
2. Repeat the stack on the other side — the outer fabric, right side up, the zipper, right side down and the inner fabric, right side down.
Sew the stack together.
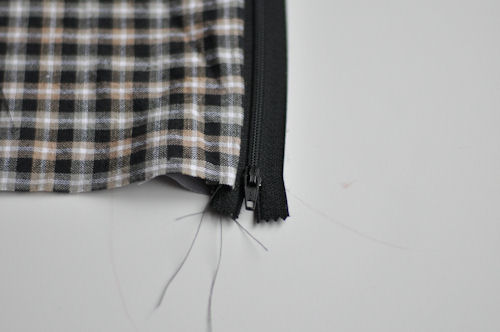
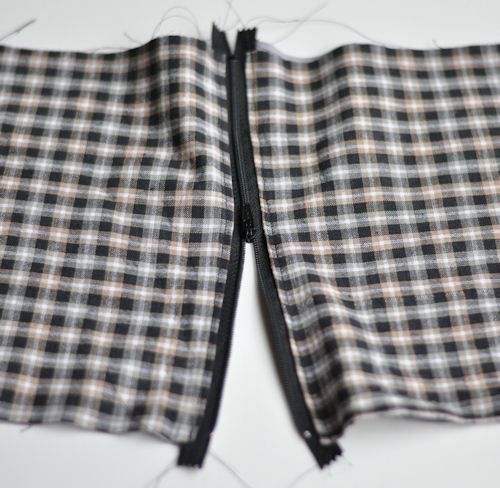
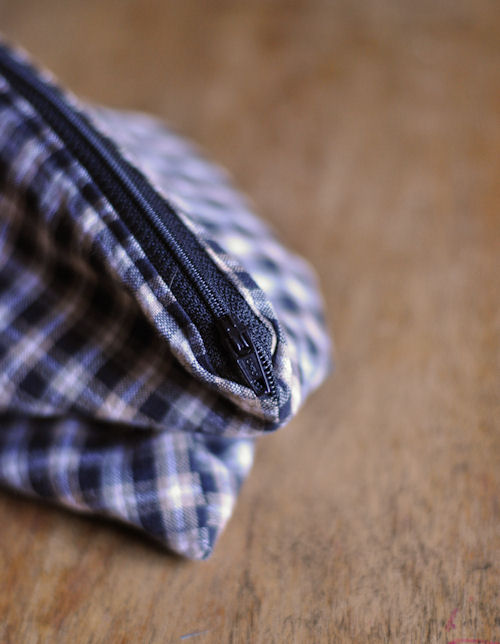
3. This detail is optional. Press the fabric around the zipper, get it to lay flat. With the regular sewing foot back on, topstitch on either side of the zipper, very close to the fold. It holds the fabric back from the zipper and gives it a finished look.
4. For the final leg of stiching, begin by unzipping the zipper half way.

Pull the outer fabric pieces together and pin. Do the same with the inner fabric pieces.
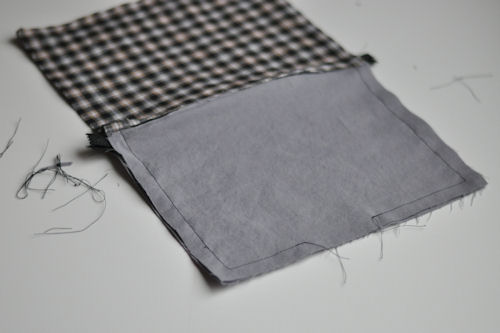
Using a 1/2 inch inseam, begin at the bottom of the inner fabric and sew all the way around the pouch, stopping to leave at least a three inch opening. Trim the threads.
Trim the corners and turn right side out.
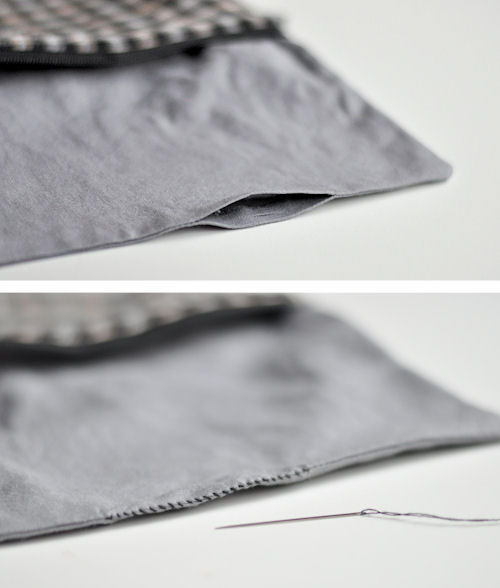
5. Use a thread and needle and hand-stitch the opening closed at the bottom of the pouch.
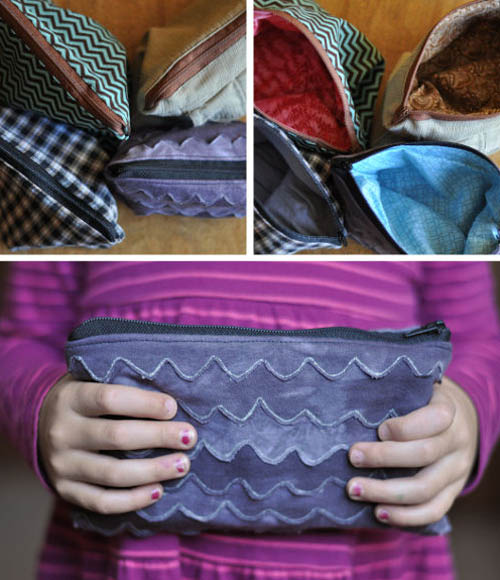
Then you, my friend, have sewn a zippered pouch.
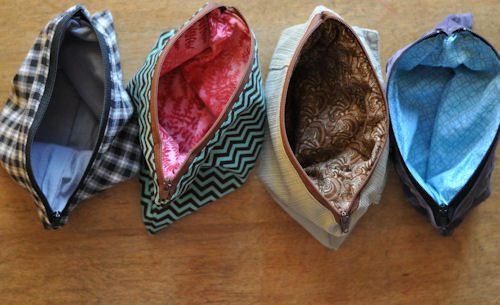
THIS EASY ZIPPER POUCH WOULD ALSO BE GREAT FOR:
– A cosmetics pouch for your teenage daughter.
– A pouch with simple medicines (ibuprofen, pepto, bandaids) for a friend taking a big trip.
– A toy pouch filled with surprises for a car ride.
P.S. — We love making gifts! You can find all the posts in this series here.