Secret #1: Start with a properly laundered shirt. Check the care label and follow the recommendations. Watch the temperature, because washing shirts in water that is too hot can cause the interfacing in the collar and cuffs to shrink, causing puckering and impossible wrinkling. And pay particular attention to any dirt on the cuffs or collar, or in the underarms, because ironing stains will set them permanently.
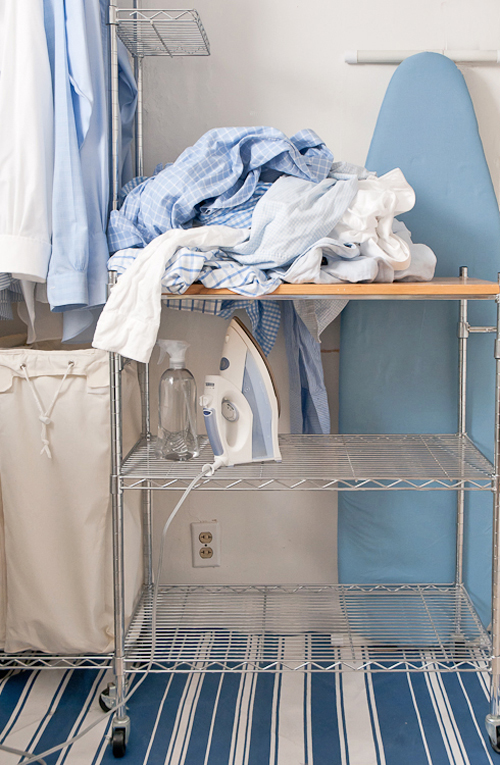
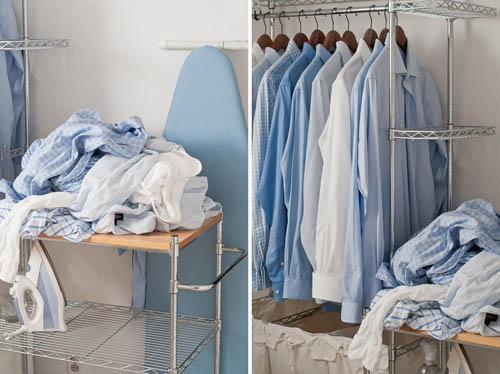
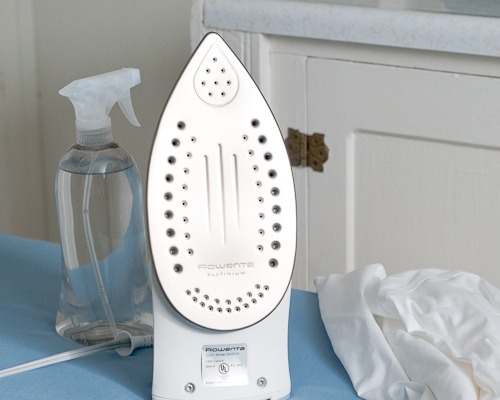
Secret #2: Heavy duty irons, though more expensive, will make a big difference in how quickly and easily you can iron. Definitely worth the investment. Save your pennies and get the best one you can afford.
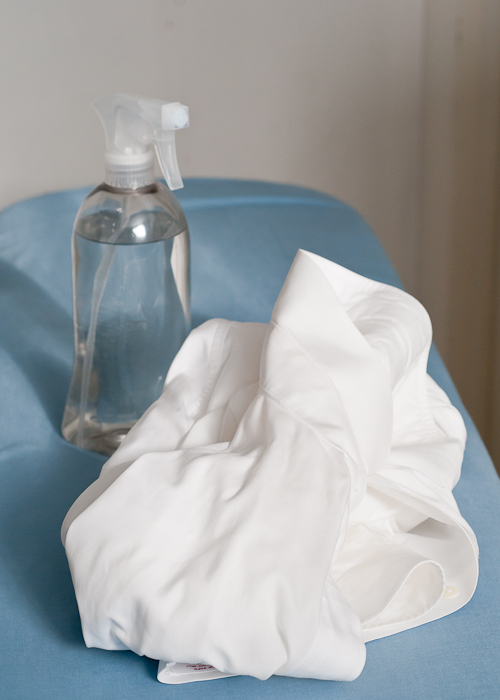
Secret #3: Start with a damp (not dripping wet) shirt. Choose one that has hung to dry for a bit, or one that has been sprayed all over and left to sit in a ball for 10-15 minutes.
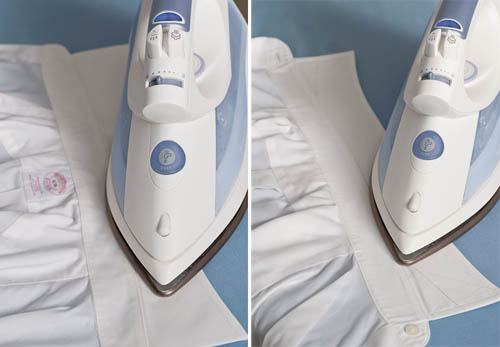
Press the top of the collar first, paying attention to the corners. Pull the fabric taut if needed (or in case the interfacing did shrink). Turn the shirt over and press the underside of the collar and the strip of fabric underneath the collar.
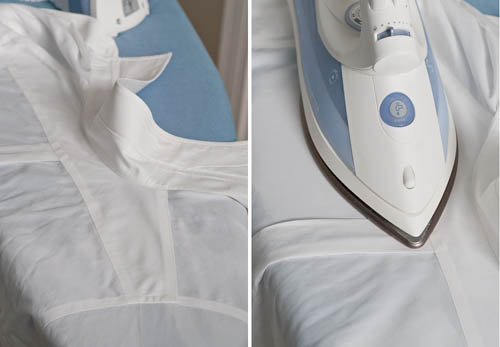
Next press the upper back of the shirt, called the yoke. Most shirts have one central pleat under the yoke, but sometimes you’ll find a split yoke with two small pleats on each side.
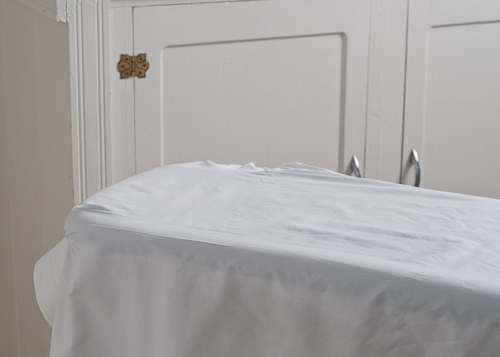
After the yoke and pleat, finish the back of the shirt. Spread out the back of the shirt from the yoke to the tail, flat on the board and iron in sections.
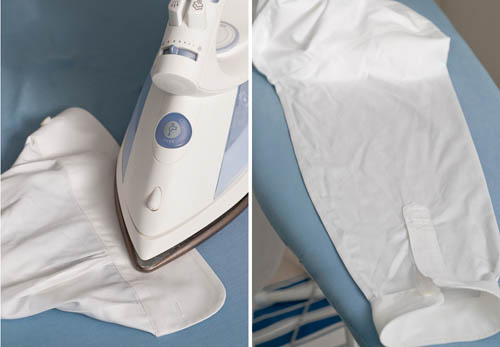
Now it’s time for the cuffs and sleeves. I iron the outward facing side first, followed by the underside. I also like to iron the little details and pleats on the sleeve while I’m doing the cuff. Next, spread the sleeve out flat on the ironing board and make sure to line up the seam properly.
Secret #4: If there is still a crease on the sleeve from the previous ironing, use that as a guide. A double crease is terrible! Start at the top of the sleeve and work down to the cuff. Pay close attention to any pleats, spraying any stubborn wrinkles with a little more water.
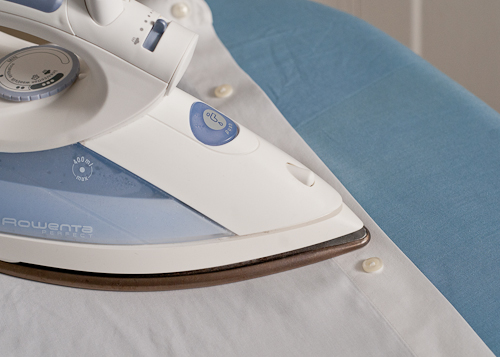
Now it’s time for the front of the shirt. Start with the side of the shirt with the buttons on it. If you have a cushy ironing board cover, you can turn the shirt over and press the backside over the buttons. Otherwise, use the tip of the iron to press in between the buttons.
Some caution should be exercised with the buttons. Good quality shirts have good quality buttons that can stand up to the heat, but occasionally a button might break with the heat.
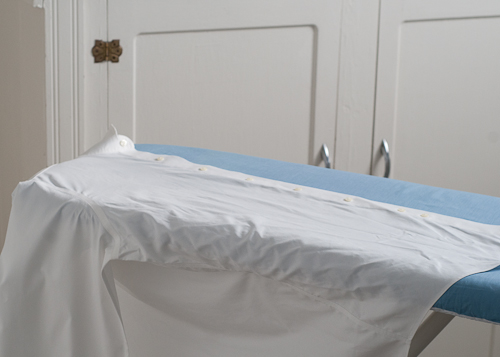
Next I like to go around the arm hole with the tip of the iron, then move along to the rest of the front panels.
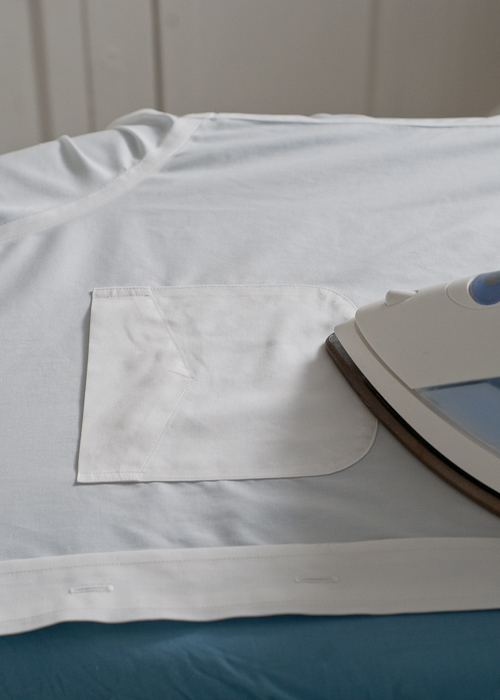
Secret #5: Remember that the goal is to iron in a pattern so that you don’t undo what you’ve just done. Let the ironed part of the shirt gently drape over the opposite side of the ironing board.
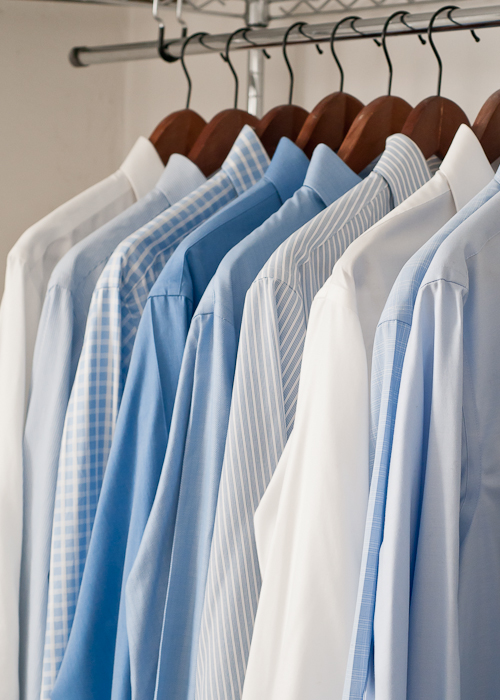
Secret #6: Once the shirt has been ironed completely, it needs to hang to “cure,” as it’s called in the business. (Wow. So professional.) The shirt may still be a little damp, and that’s okay. Let it hang until it’s completely dry, being sure to button the top collar button to help the collar keep its shape.
Once you get the method down, ironing will go by quickly and the shirts will look amazing. Walking out of the house in freshly ironed shirt will do wonders for how you look and feel.
Three cheers for a properly ironed shirt! Three cheers for living well!
Created by of Café Johnsonia for Design Mom
