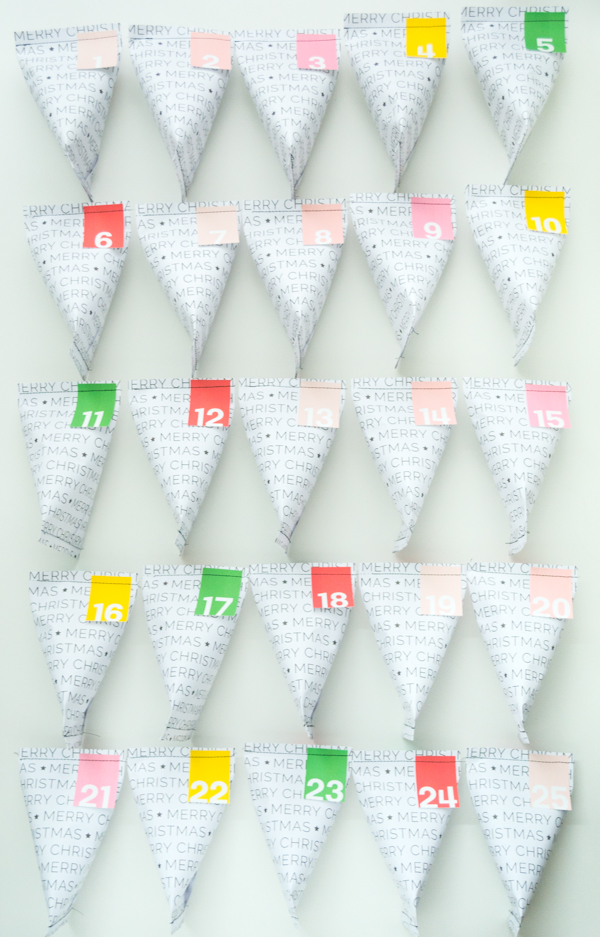
December starts tomorrow! Will you be counting down this year? If you’d like to whip up something quick, this easy DIY advent calendar is as simple as can be — just print the free pattern, then trim, roll and staple.
And there are all sorts of fun things you can put inside! Small ornaments or candies are a natural fit, but maybe more fun is putting a slip of paper in each one with a suggested holiday activity for the day. Like, go on an evening drive to look at Christmas lights, or sing Christmas Carols, or take a trip to see Santa, or go ice-skating. It’s such a good way to make sure you’re fitting in all those activities that make the holiday season feel magical.

As you probably already know, advent count downs can be time consuming and tedious to make. Happily, this is not one of those kinds. Just print, cut, roll and staple closed (or sew closed if you’re up for it!). Easy peasy.


The last task? Fill with your choice of goodies. Let the countdown begin! Here’s how to make them:
Supplies:
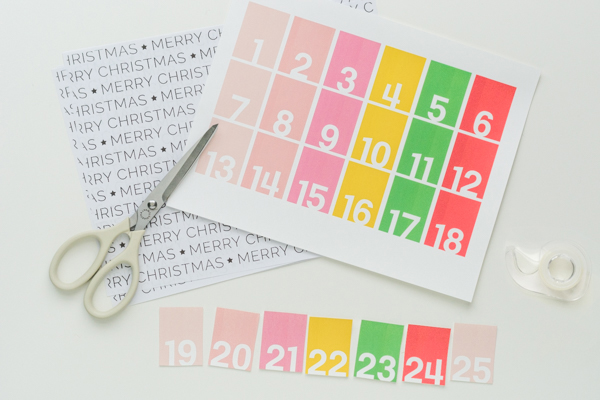
– printable wraps and number tags
– scissors
– tape
– sewing machine OR stapler
– tissue or crinkle paper
– items to put inside
Print the free .pdf above. You’ll need 25 prints of the MERRY CHRISTMAS papers and one print of the number tags. Cut out the number tags. The full pages for the packages can be made to whatever size you prefer (size may depend on what you want to put inside) — thin and trim, or wide and short.
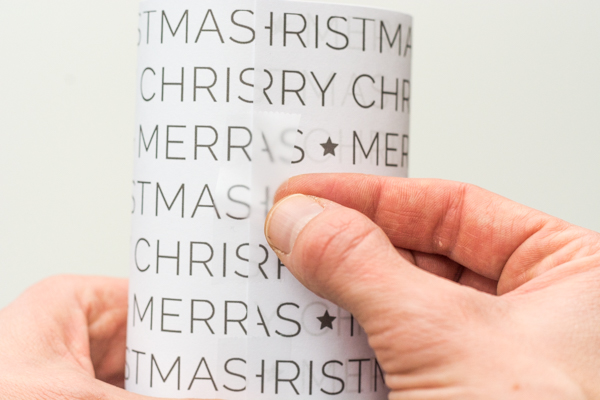
Once you’ve determined a size, over lap the ends and secure with a piece of tape.

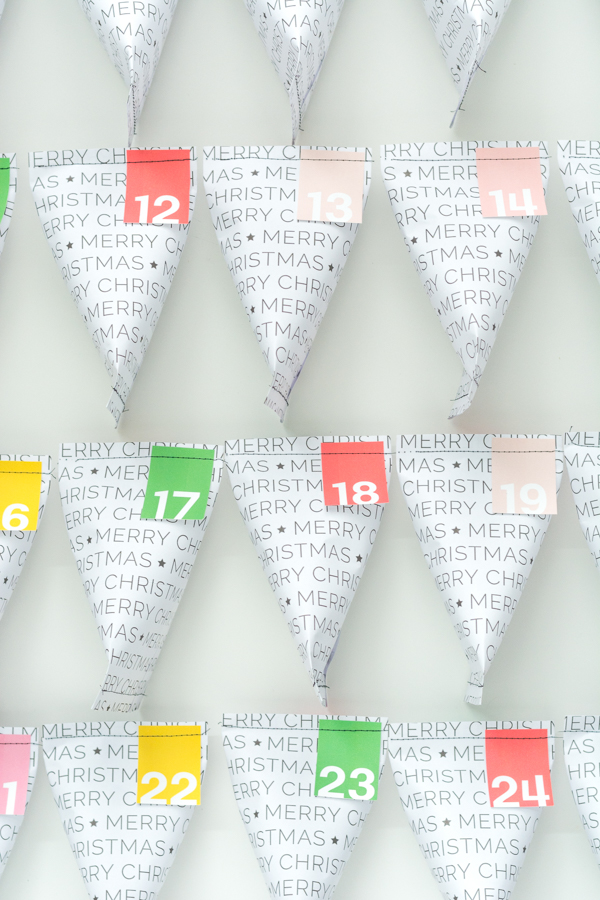
Gently flatten and lightly crease the top of the tube. The “top” is the end with the words right side up. From there, place the number tag in the upper right side, and either staple across the top or sew a line of stitching to close the top and hold the tag in place.

If you’ve chosen to sew the packages closed, it’s easiest to do all the tops at the same time, doing a reverse stitch at the start of each new package.

Once the tops are secured, stuff the bottom openings with whatever you’d like. Candy, ornaments or activity ideas for the season.

To close, gently fold and lightly crease the bottom of the tube in the opposite direction of the top. Staple or sew to secure.
And that’s it. See what I mean? Super simple. Easy DIY Advent Calendar at your service. Wouldn’t these be fun piled in a big bowl or pretty tray on the coffee table? Your kids will love choosing one to rip open each day.
The big question is: what will you put inside?
Happy Countdown! Happy Holidays!
—
Credits: Images and styling by Amy Christie.
I love how easy and cute this is!
Paige
http://thehappyflammily.com
Thanks for posting! I pulled one together tonight at the last minute, using my kiddo’s leftover Halloween candy. I am killin’ it with awesome parenting these days! 😄
Hah! Way to recycle. Brilliant parenting!
Pingback: DIY Advent Calendar | Blogmas Day 3 | jess edelblut
Pingback: 10 Free Printable Advent Calendars - Canary Jane
Pingback: The Ultimate List of Christmas Crafts - The Curiously Creative