Before I say goodbye to Winter this year, I was craving one last project that celebrates the season, so I asked Candice to come up with something cheery and warming. I think her idea is fantastic! — Gabrielle
—–
I must admit that I love winter. I love layers, mittens, and hot apple cider. I love the bite of cold that hits you when you open the door to head out into the day. I love the way we get to wear cute hats and no one ever thinks it’s just because you didn’t want to do your hair that day. I love the way the clouds hang heavy over mounds of sweeping white snow and how, in the cool light of dawn, you can almost believe in magic.
What I don’t love is that somehow that magic runs out by the end of February. It seems like glittery snow turns into tarnished muck. The winds no longer just nibble at your nose; they chase you to your car. Everything is brown and murky; it feels like the world is just waiting for spring and color. I find I’m not very good at waiting and the drag of a long winter brings me down from my happy self. So, this year, my boys and I decided to embrace the last few weeks of winter by spreading good cheer to all our friends who were waiting for spring and warmer days as well.
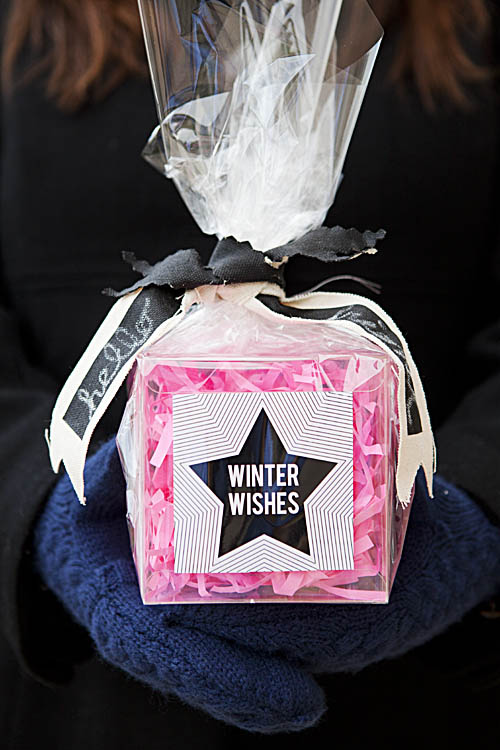
We called them boxes of “Winter Wishes.”
Part One: Bake Lime Melt-Aways.
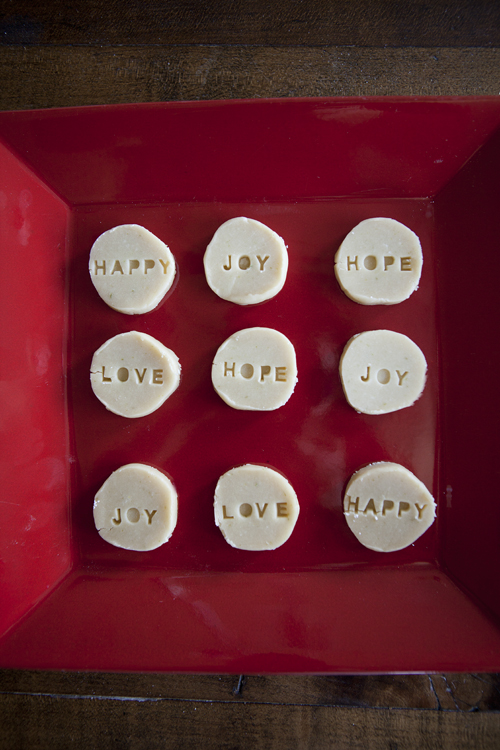
I got the original recipe from Martha Stewart years ago; you can find it here. Imagine shortbread cookies with just the right amount of crisp lime tartness and you have a Lime Melt-Away. I’ve adapted the recipe a little for my own tastes because I love having some extra lime and I found some beautiful Key limes I wanted to use!
Ingredients
3/4 cup (1 1/2 sticks) unsalted butter, room temperature
1 cup confectioners’ sugar
Finely grated zest of 3 key limes
3 tablespoons fresh key lime juice
1 tablespoon pure vanilla extract
1 3/4th cups of flour
2 tablespoons cornstarch
1/4 teaspoon coarse salt
Directions
Using a handmixer whip the butter and 1/3 cup of confectioners sugar together. You want it to be really fluffy so let it mix at a fairly high speed until it almost looks whipped.
Add lime zest and juice and vanilla, and mix until fluffy. I really like the zing the lime has so I added more than Marthas original receipe but if you don’t like things a little tart you don’t have to add as much!
Whisk together flour, cornstarch, and salt in a bowl. Add to butter mixture, and mix on low speed until just combined. I actually needed to knead it together for a minute after mixing it on low because it’s a fairly dry recipe.
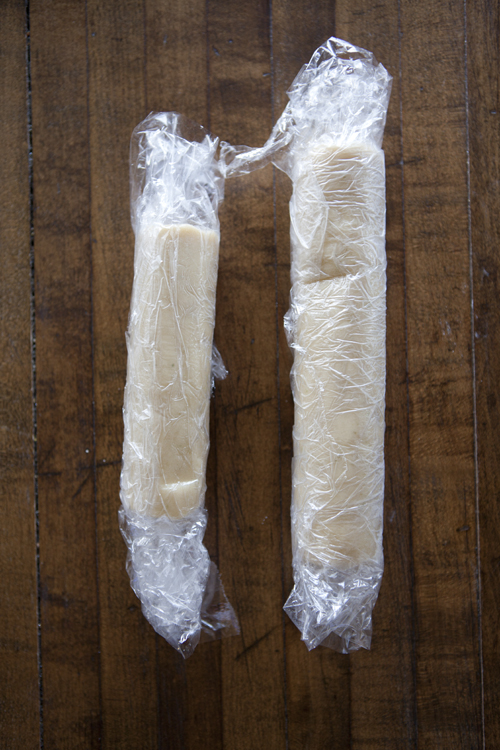
Divide dough in half. Roll to form a log 1 1/2 inches in diameter. I then wrapped them in plastic wrap and refrigerate logs until cold and firm, at least 1 hour.
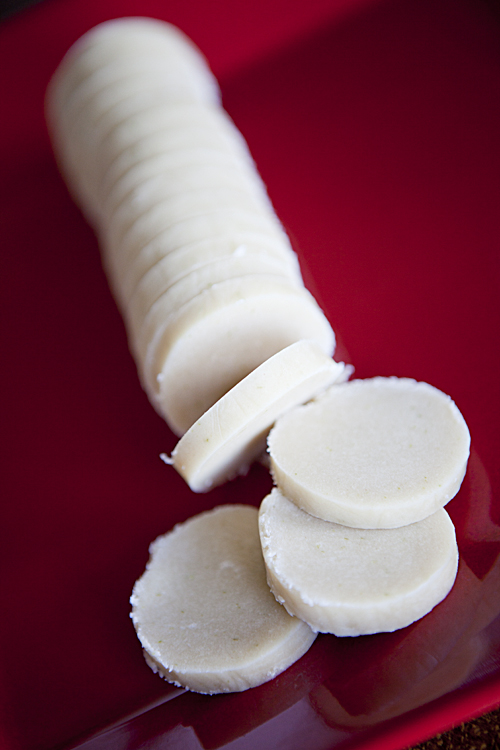
Preheat oven to 350 degrees. Remove the logs of dough from the plastic wrap and cut into 1/4-inch-thick rounds. Space rounds 1 inch apart on baking sheets.
You could skip this step but we used these letter stamps from Williams-Sonoma to stamp words or “wishes” into the dough. The words have to be fairly short to fit so we used things like happy, love, hope, joy.
Bake cookies until barely golden, about 13 minutes. Just a warning. These cookies are fairly dry cookies and can break easily so be carefully when removing them from the cookie sheets.
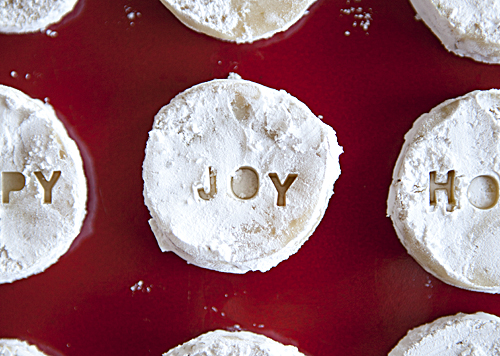
Transfer cookies to wire racks to cool. While they are still warm, toss cookies with remaining 2/3 cup sugar. Dust them off a little so you can see the words.
Part Two: The Packaging
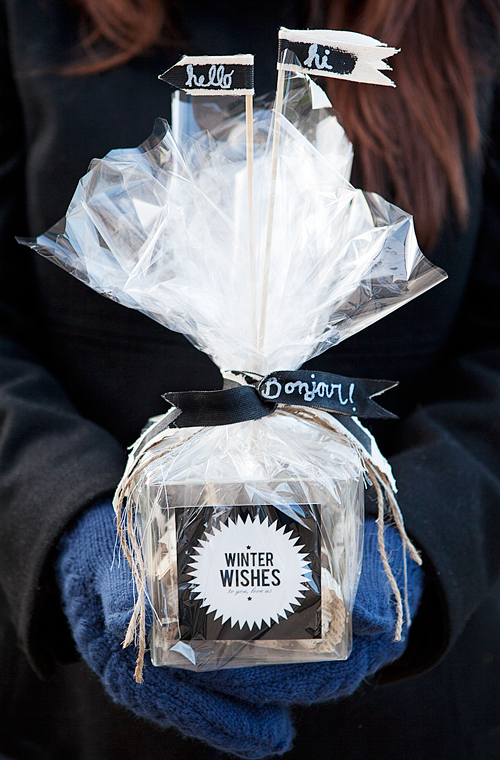
I had a bunch of 4 x 4 plastic boxes I bought for Christmas gifts one year. I like to keep clear plastic boxes on hand because they are inexpensive and they make little gifts seem like a much grander gesture. You can buy them in bulk here or find them at your local packaging store. If you don’t have them around, you could just use cellophane to wrap the cookies.
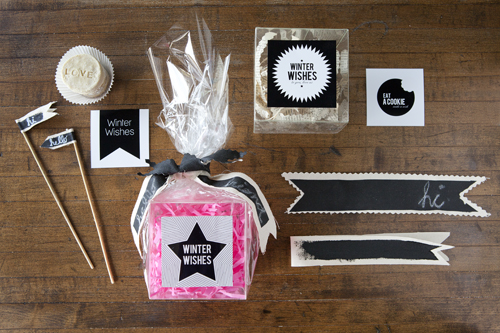
Fill the box with some shredded paper. Place the cookies inside and add a label. I made 6 different labels and you can download the free printable PDF right here! You could print it on sticker paper if you like, but I just printed it right onto cardstock and stuck it on with double-stick tape.
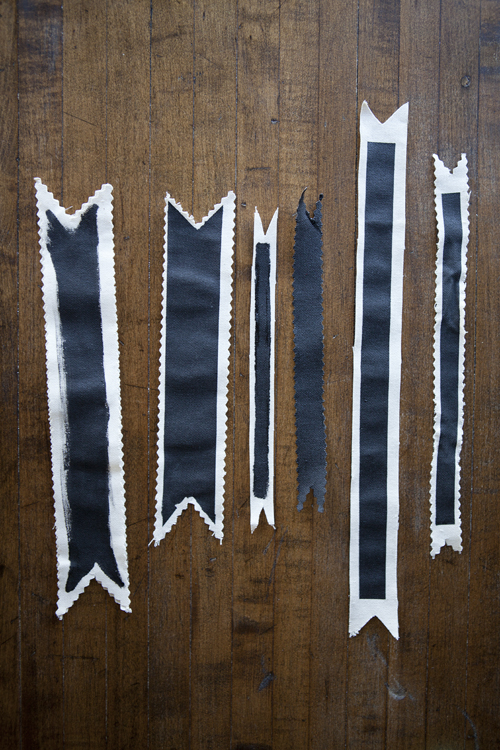
I wanted to add something fun and unique to the package, so I decided to try making chalkboard twist ties. It seems like everyone is painting things with chalkboard paint, so why not create your own cute reusable twist ties!
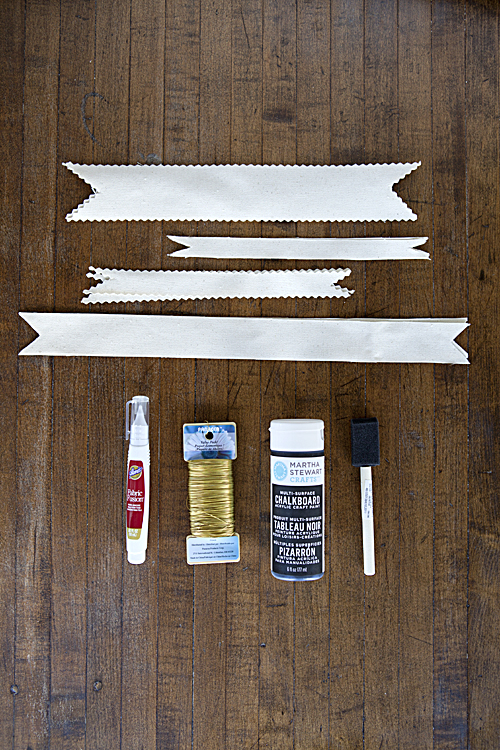
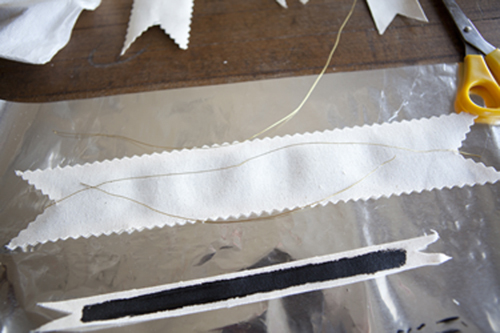
I cut strips in various sizes of canvas twill that I had left over from a project (you could use any fabric, though I think a heavy fabric would be best). You need to cut two strips exactly the same for each twist tie. I used pinking shears on some and normal scissors on others.
Next, I painted them with chalkboard paint. If you want a clean look, you can tape off the fabric with painters tape. If you want a messy feel, then just paint away! I did some of both.
After they dry, place the wire on top of one of the layers. For the thicker ties, I used two or three pieces of wire; for the thin ties, I just used 1. I used 26-gauge wire. It’s thin enough not to be bulky but thick enough to keep give the canvas shape.
Originally, I thought that I would use the fabric glue that I pictured, but it takes a really long time to dry. I wasn’t sure that it would really hold the wires in place, so I used hot glue to glue the wires down and then another thin layer to adhere the top strip of fabric down. Having the wire was really nice because I was able to shape them into any form I wanted. I also realized along the way that they were also really cute as chalk board ribbons without the wire or double layers of fabric, so I made some of both. I think they were great to tie the packages up with, but I also think they could be really cute as book marks and/or as ribbon to wrap presents with!
Write your greetings on the ribbon and wrap it all up! Now you have cheerful gifts to brighten all your friends’ day. Although they look like you put a lot of time and money into them, all you need is a few dollars and an open afternoon!



Hi, I’ve just stumbled on your blog and I love it! I too am hoping to move to France soon! Jules x
Wow! That would certainly cheer me on a bleak winter’s morning, or any morning! This recipe sounds divine! I love anything citrus flavored (or scented for that matter), and I love shortbread. We just harvested a bumper crop of lemons from our tree, so I may just give this a whirl today with lemon 1st, but I definitely will make a trip to purchase limes. Thanks for sharing the fun printable.
How fun that you have a lemon tree, Erin!
I love all things citrus too — lemon tartlettes are my favorite treat at the bakery. : )
It is called “mud season” after all ;)
I’m running to my grocery store & Target right now! This is amazing!
these look positively darling!
Love this ideas. But your pin it button isn’t working