I saw Andrea’s gorgeous seed bead necklace and asked her to come up with another seed bead creation especially for Design Mom Readers. I adore seed beads, and I love the color scheme she picked. Happy beading! — Gabrielle
——
I’ve been playing with jewelry since I was a teenager; nothing too complicated or fancy. I mainly stick to pretty materials and simple designs, which is why seed beads are one of my favorite things to work with. They’re available in a huge assortment of colors, from the palest pinks to the brightest neons, and the finishes are just as diverse. Now, you can get fancy with seed beads and weave intricate patterns and designs, but I prefer to keep mine on the rather clean side and just string a lot of lovely coordinating colors together. Stringing seed beads is not complicated, it just requires a bit of patience, so let me show you. Happy creating!
Materials (available at any large craft store like Michaels): Assorted colors of Seed Beads, Jewelry Spacers, Monofilament Wire (looks like fishing line), 6 Jump Rings in 3 sizes – 4mm (qty 1), 6mm (qty 3) and 8mm (qty 2), Crimp Beads (1.8mm recommended), 1 Lobster Claw closure, Chain.
Scissors, Wire Cutters & Needle nose Pliers are also needed. *Take note, at Michaels they sell a package of jump rings in assorted sizes that will contain all 3 sizes that you need.
Begin by cutting a length of filament wire approximately 24” in length.
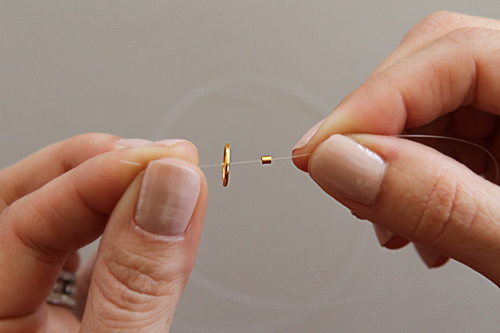
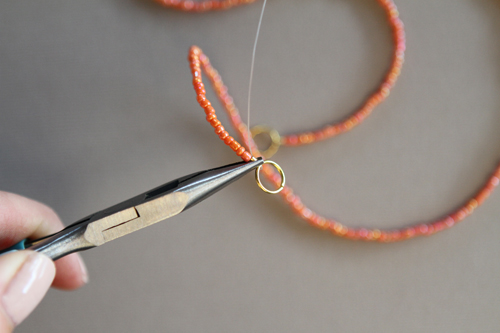
Place your crimp bead and then your larger size jump ring on one end of the wire, leaving about 2 inches free on one end.
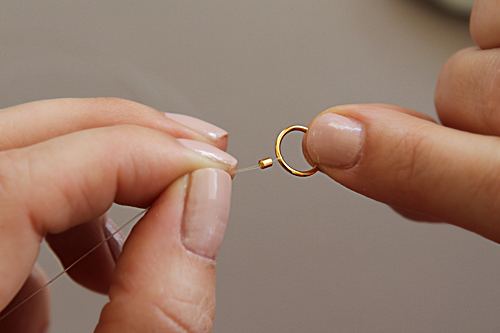
Take that free end of wire and loop it over the jump ring and through the crimp bead to hold it in place.
Make sure the crimp bead is slid all the way up to the edge of the jump ring so it’s nice and secure, and then simply squeeze the bead with your pliers to lock it in place. Your string is now secure and you can start beading. Trim the extra wire off with scissors. Take note, you will be repeating this step over and over.
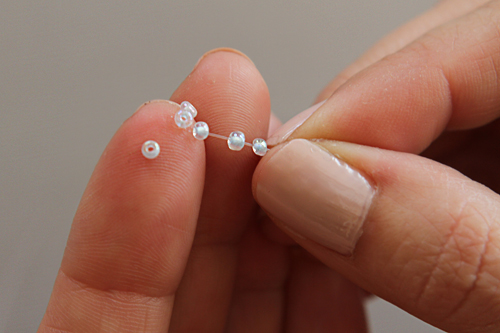
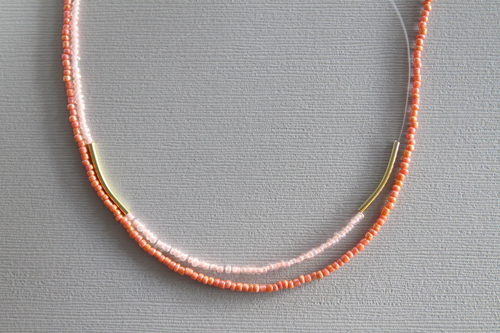
Start stringing your beads in whatever pattern you like. I personally liked all one color on one strand for this piece, but I’ve done it mixed before and it also creates a cool effect. A tip for stringing, lightly moisten the tip of your finger with a wet sponge and then dip your finger into your bowl of beads so that a few stick to them, and then string. This limits the amount of times you dip your hand in to grab a bead.
Once you’ve created a string of beads, finish it off by attaching a crimp bead to a jump ring exactly as you did in the first step, and close the crimp bead shut. You now have your two ends of jump rings in place and will just be attaching your strung beads to these from here on out. Note, the strung beads end up measuring about 20” in length, but you can make yours longer or shorter as you wish.
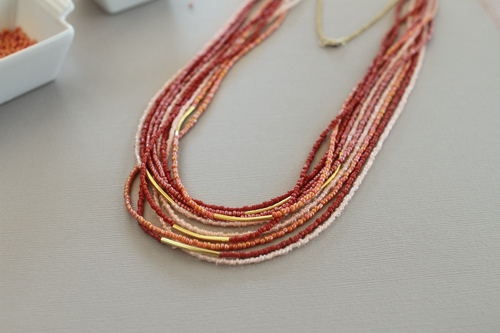
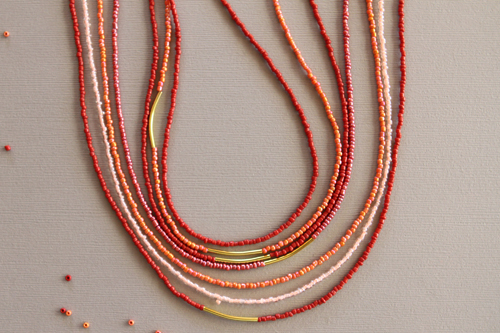
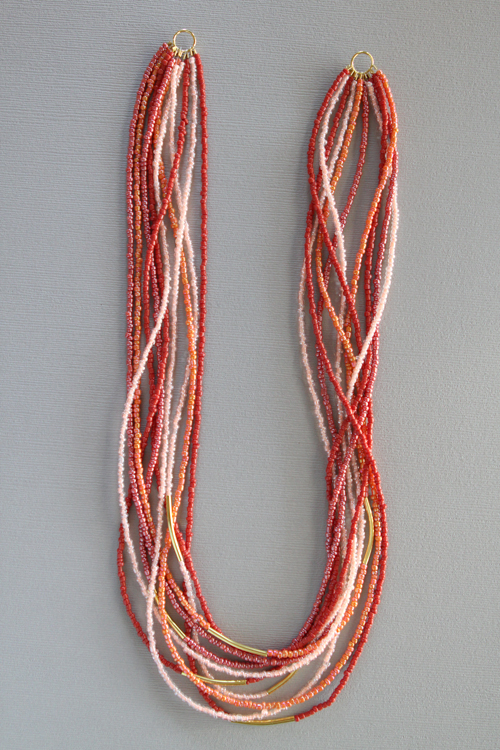
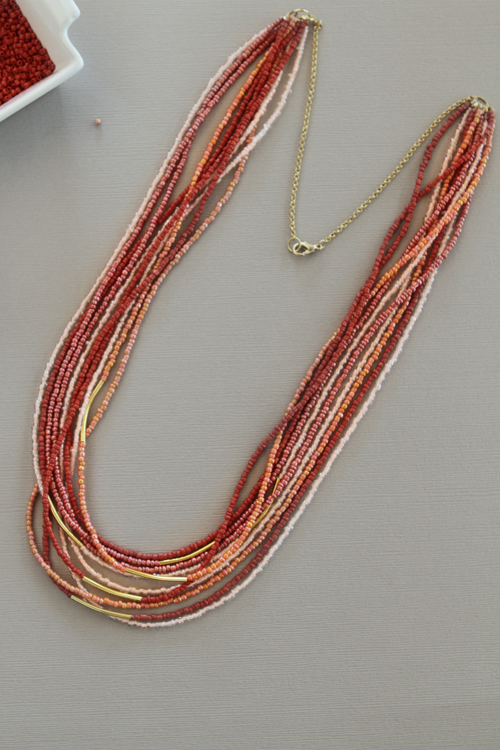
You repeat the stringing process again and again, adding in your different colors in whatever pretty pattern you wish. You will see that I also added in a few of the jewelry spacers throughout to add some interest to the necklace. I didn’t add them on each strand or in the same exact pattern, but just added them when and where I thought they looked pretty. In total this necklace consists of 12 strings of beads of approximately 20-21 inches in length.
With all your strings of beads securely in place, it’s time to finish it off. Gently pry open your mid-size 6mm jump ring with your needle nose pliers and attach it to an 8 inch length of chain, and then attach that to your larger jump ring, gently squeezing the jump ring shut.
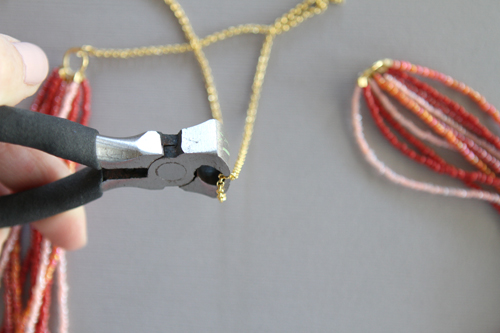
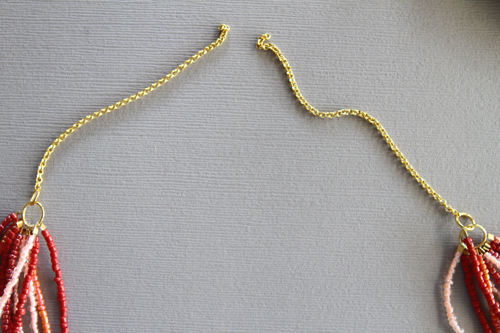
With your wire cutters, snip the chain in half, repeating the same process on the other side. I like to add the extra length of chain to my pieces because then it gives me the option to lengthen or shorten the necklace as needed.
Finally, take your lobster claw closure and to secure it to your chain, attach it to the smallest jump ring, and then attach that to the end of your chain. Take your 3rd 6mm jump ring and attach it to the other end of chain to complete your closure.
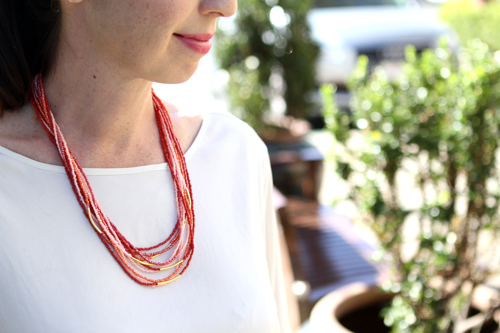
You are now officially finished! In all this necklace took me about 3 hours to create, the stringing obviously taking the most time. I usually just sit on the couch and string at night when watching TV. I love the simple statement these strung beads make. Layered over a tee or a great chambray shirt, it gives just the pop of color you need to complete your look. I hope you’ve enjoyed this little tutorial!
