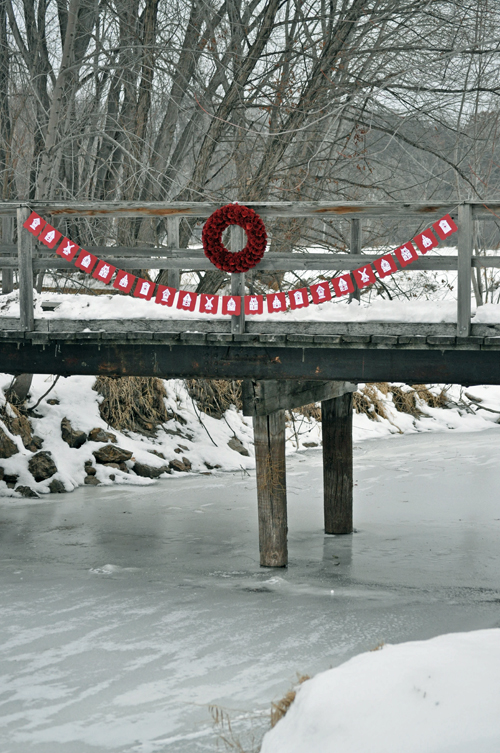
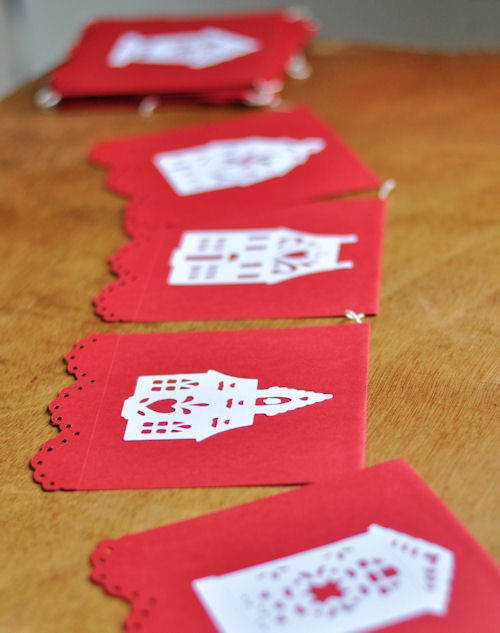
Charming images of Dutch architecture always feel Christmas-y to me. They make me want to create a little holiday village with twinkle lights, and a vintage matchbox car riding through town with a tiny tree tied on top. The holiday village won’t be happening this year, but I did make this Dutch House garland and I love how it turned out!
If you have access to a Cricut, this is a fun and easy project that you can do while you’re in front of the TV. (I’ll assume your watching Elf or It’s a Wonderful Life.) Grab some cardstock and the Folk Art Festival cartridge — and a bowl of something to snack on — and you’ll put this together in a snap. In plenty of time for your holiday parties this weekend!
Do you want to see how it works?

Supplies:
–Cricut and cutting mat
–Folk Art Festival cartridge
-red cardstock
-white cardstock
-double-sided tape (Glue dots would be perfect for this but all I had in my stash was double-sided tape.)
-scissors
-ruler
-scoring tool
-white cord
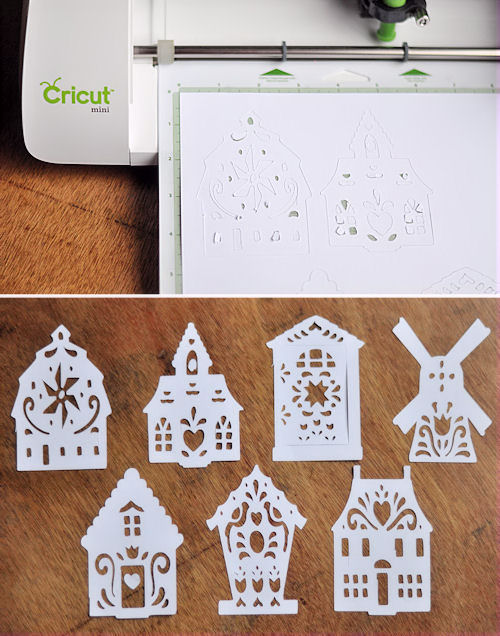
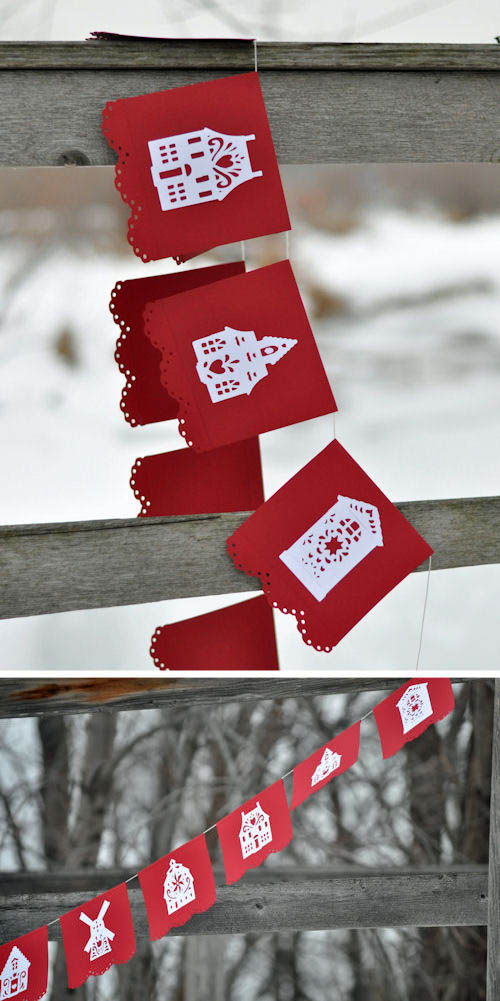
Using the Folk Art Festival cartridge and white cardstock, I cut out all seven housing structures three times for a total of 21 pieces. (Make sure to keep the itty bitty interior pieces like the heart, the bell and the oval too!) With the Cricut Mini and the free Craft Room software, I was able to manipulate both the height and width of the images so they were uniform. Their dimensions are 4″ tall by 2.75″ wide.

I used the red cardstock and the cartridge to also cut out 21 scallop edges, sized to 6″ wide and 1″ tall.
The rest of the cardstock I cut down to 6″ by 6″ pieces.
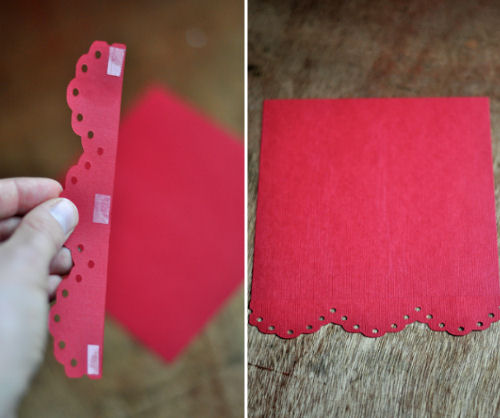
Taking one red scallop and one red square, I used double-sided tape to connect them.
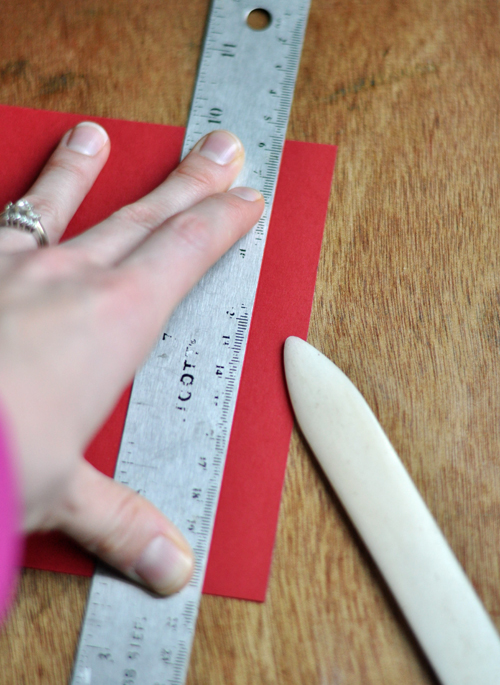
Then I used my ruler and scoring tool to score a fold line about 3/4″ from the top edge and then made a good, hard fold on the line.
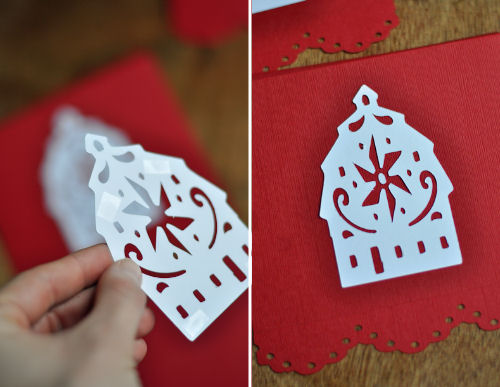
With small pieces of double-sided tape, I stuck all 21 folksy houses to each of the 21 scalloped edge flags.
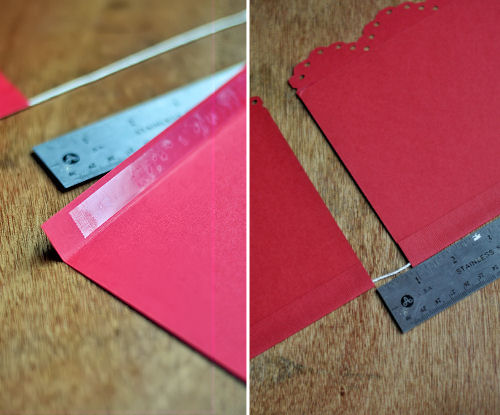
A strip of double-sided tape went on the inside of the folded flap. I laid the white cord in the fold and firmly pressed the flap down, making sure the tape was securely stuck. I continued with the rest of the little flags, spacing them 1″ apart.
When all the flags are connected, the garland is finished. Yeah!

Hang and enjoy. Happy Holidays!
Photos and project by Amy Christie for Design Mom.
So cute! Thank you for sharing! :)
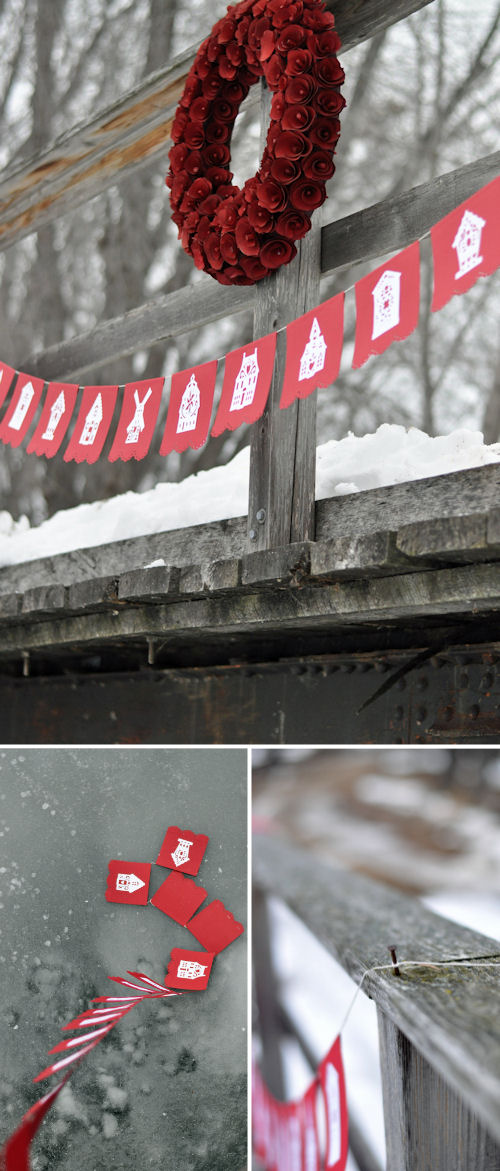
Lovely! This makes me want to buy a Cricut just for this project. I love the wreath, too. Did you make that or score it somewhere in France?
Thanks for the lovely words! I picked up the wreath at a second-hand store actually but it’s originally from Target. It’s Smith & Hawkins and they have a brighter red version available this season. :)
So charming!! And we love the wreath! We want to know where that’s from too!!
xox Liz and Lo {celesteandpearl.blogspot.com}
Thanks! It’s from originally from Target. There is a brighter red version available this year. Just saw it earlier this week!
Beautiful. the red pop of color next to the gray and white.
Now I know why so many people gush about their Cricuts! That is gorgeous!
Thank you!
Thanks so much! I used your tutorial to create a banner for our Children’s Program! Without you I was just planning on making the letters!
Nice blog here! Also your web site quite a bit up very fast! What host are you the use of? Can I get your affiliate link for your host? I want my web site loaded up as quickly as yours lol