Note from Design Mom: While I’m busy with the move to France, I’ve got a crew of talented Guest Moms filling in for me. Today Dani is sharing three terrific painting projects with you. Enjoy!
This is such a thrill for me to step out of my life as a full-time mom for a moment and share some painting ideas here on one of my favorite sites! I hope that these art projects inspire you to go out and buy your children some paints and canvas and encourage them to express their own unique creativity. Since my first son was born almost 6 years ago I have looked forward to providing each of my children with opportunities to create through art. You will see that these projects are not complicated (or expensive) and only require a few simple materials.
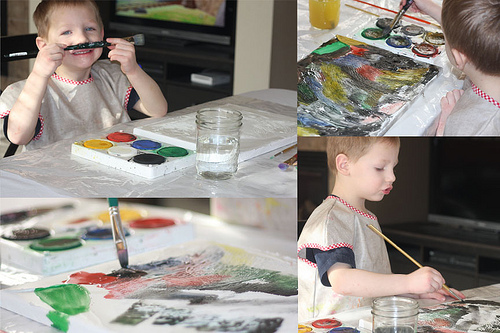
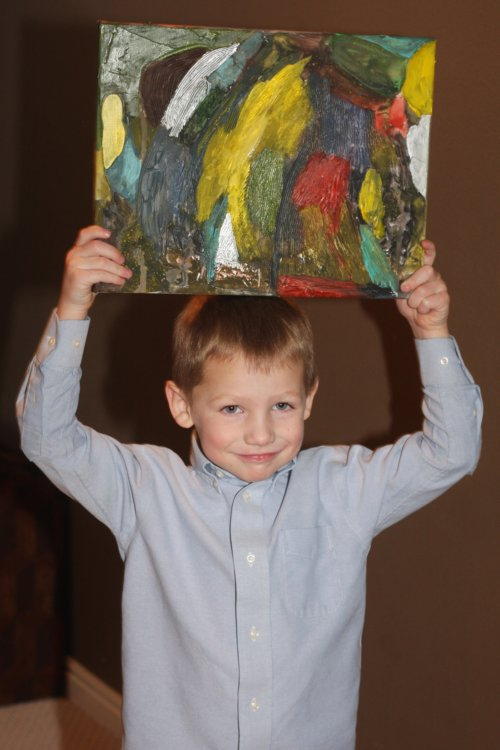
My sons Liam (5) and Lance (3 ½) created 3 simple Abstract paintings to share.
Abstract #1: Pressed Shapes
You will need a very handsome child, a blank canvas, acrylic molding paste (sold in the painting section of art supply stores and craft stores like Michaels), a palette knife, paper cups and a beaded necklace (or other items of your choosing), and children’s tempera or professional acrylic paint.
Before starting I recommend reading these guidelines about safety when painting with children.
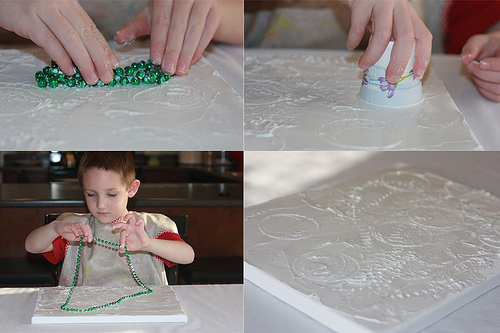
Step 1: Spread the molding paste over the canvas with a palette knife making sure it is at least 1/8th inch thick.
Step 2: Press the cups and beaded necklace (or other items you selected) into the paste to make interesting designs. Allow it to dry 8 hours or overnight. You may speed up the drying process with a hair dryer.
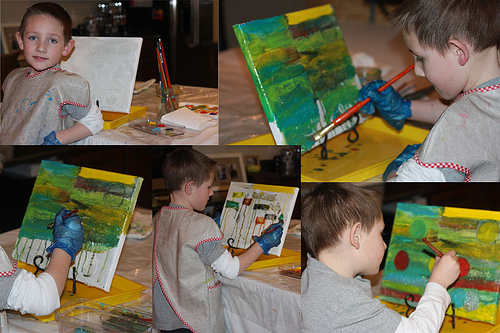
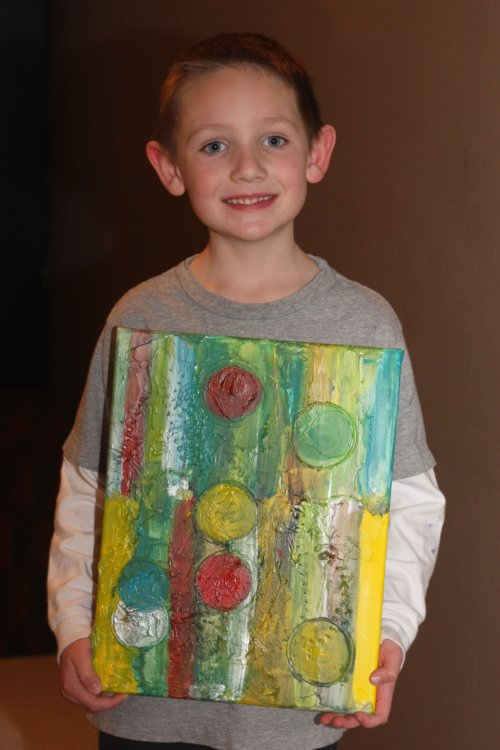
Step 3: Paint the canvas. Make sure your child wears gloves if using professional acrylic paints. My son likes to make his paint drip so he propped up the canvas and diluted the paint with water to make the colors run together. He also decided to color the circles in to make them stand out.
Abstract #2: Fun Lines
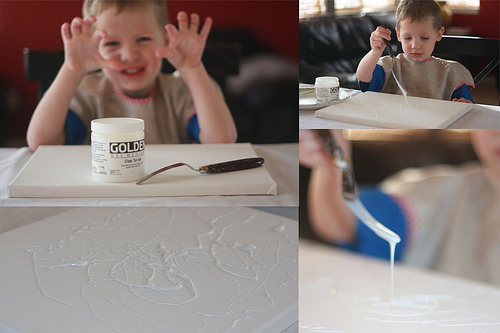
You will need a very silly child, a blank canvas, a jar of acrylic clear tar gel (sold at art supply and craft stores), a palette knife, paint and paintbrushes.
Step 1: Have the child dip the palette knife into the clear tar gel and then move the knife over the canvas allowing the gel to drizzle and make interesting lines and patterns. Allow it to dry for 8 hours.
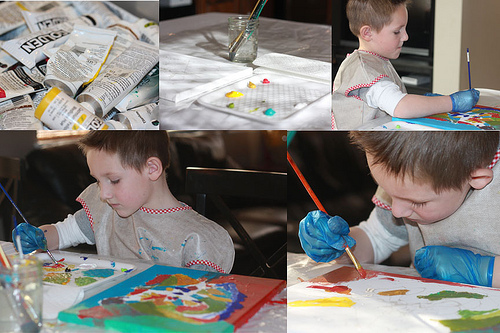
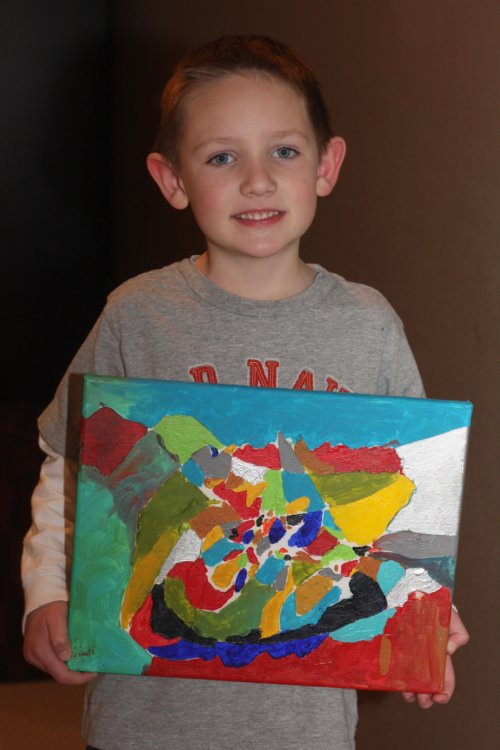
Step 2: Paint the canvas. Liam took over the painting portion of this project. He painted with Golden brand acrylics. He liked the shapes that were made by the tar gel lines and decided to paint all the shapes in different colors.
Abstract #3: Comb Lines
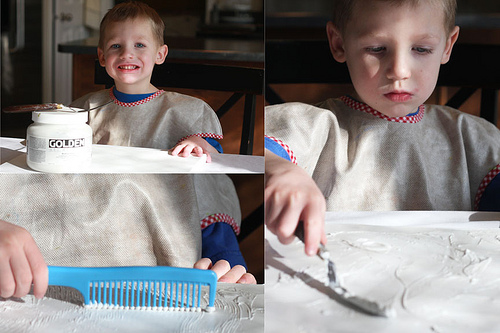
You will need a blank canvas, acrylic molding paste, a palette knife, a comb, paint and paintbrushes.
Step 1: Spread the acrylic molding paste across the canvas with a palette knife. Then drag a comb through the paste to create fun lines. Allow the surface to dry 8 hours.
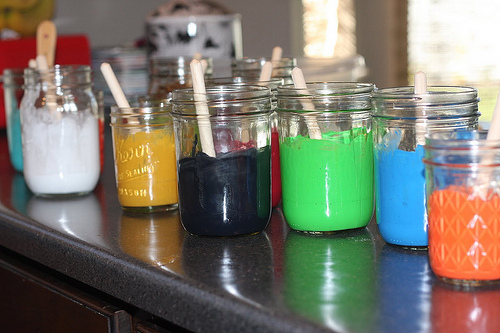
Step 2: Paint! I think Lance is still too young for professional acrylics (for safety reasons) so he used these. The colors are very concentrated and mix really well. At the end Liam added a little silver acrylic paint to the canvas just for fun.
The best part about these projects is that they allow a lot of freedom of expression. The most important thing is not necessarily the final product but the process don’t you think? If you want more ideas check out my art blog, Pineapple Paintbrush. You can even follow along with my Online Preschool Art Class starting this Spring. I am documenting the class with step-by-step instructions and lots of helpful tips. I am very excited about it! I have to say thank you to Gabrielle for this opportunity to share these ideas with you. She is amazing and I can’t wait to read all about her adventures in France! I guess I better get back to my kids who are on the loose in my house – this has been fun!
